Spring is an exciting time for wildlife photographers in the Greater Yellowstone Ecosystem.
, the best time to visit Yellowstone National Park is in the fall. Depending on the animal, many species are in the rut and engaged in exciting behavior for those fortunate enough to encounter these animals. By mid-September, the summer crowds have died down, and cooler weather is changing animal behavior while generally making it more pleasant to be outside for long hours. But the fall is also a time when a variety of weather conditions can make for dramatic extremes and the need to plan for just about everything. In this post, we break down top recommendations for what to pack for gear and clothing for fall photography travel to Yellowstone.
Photography Gear
When it comes to cameras and lenses, there is no set answer for what to take to Yellowstone. After all, each photographer has their own idea of how and what they want to shoot. That said, the following recommendations align with commonly preferred approaches to wildlife in Yellowstone and what I generally bring to Yellowstone and Grand Teton National Parks in the fall.
Camera Bodies
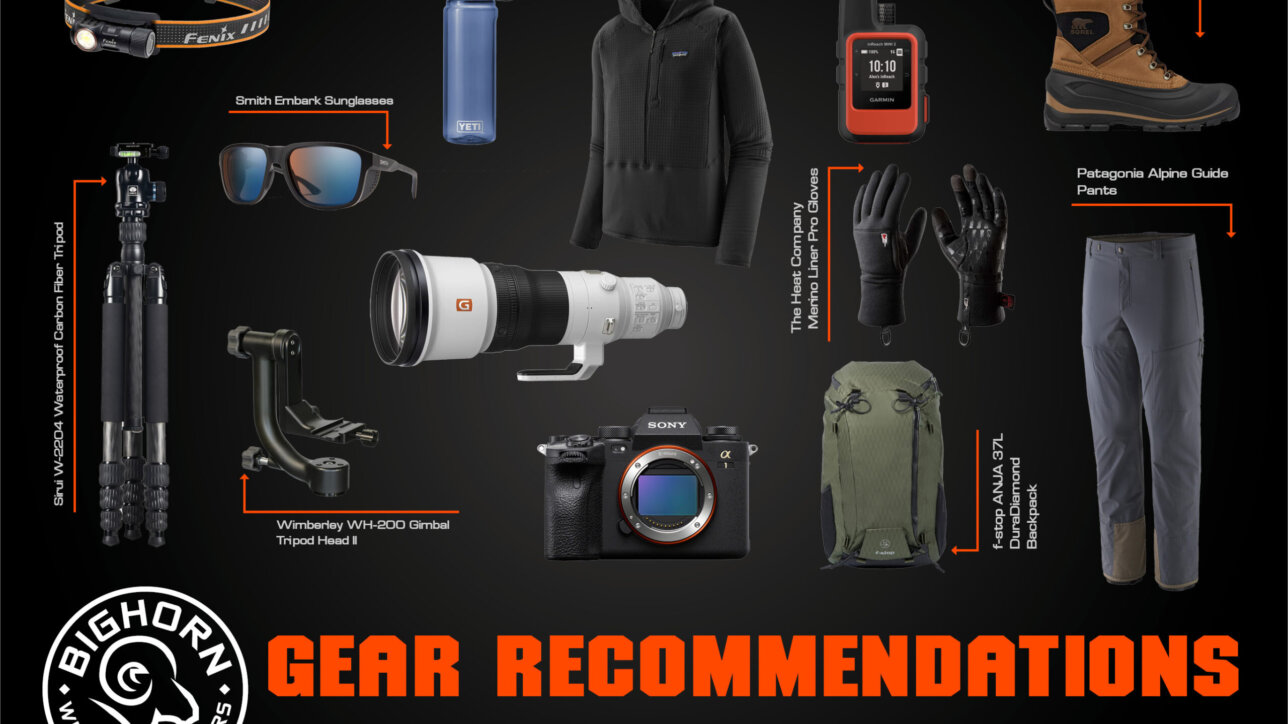
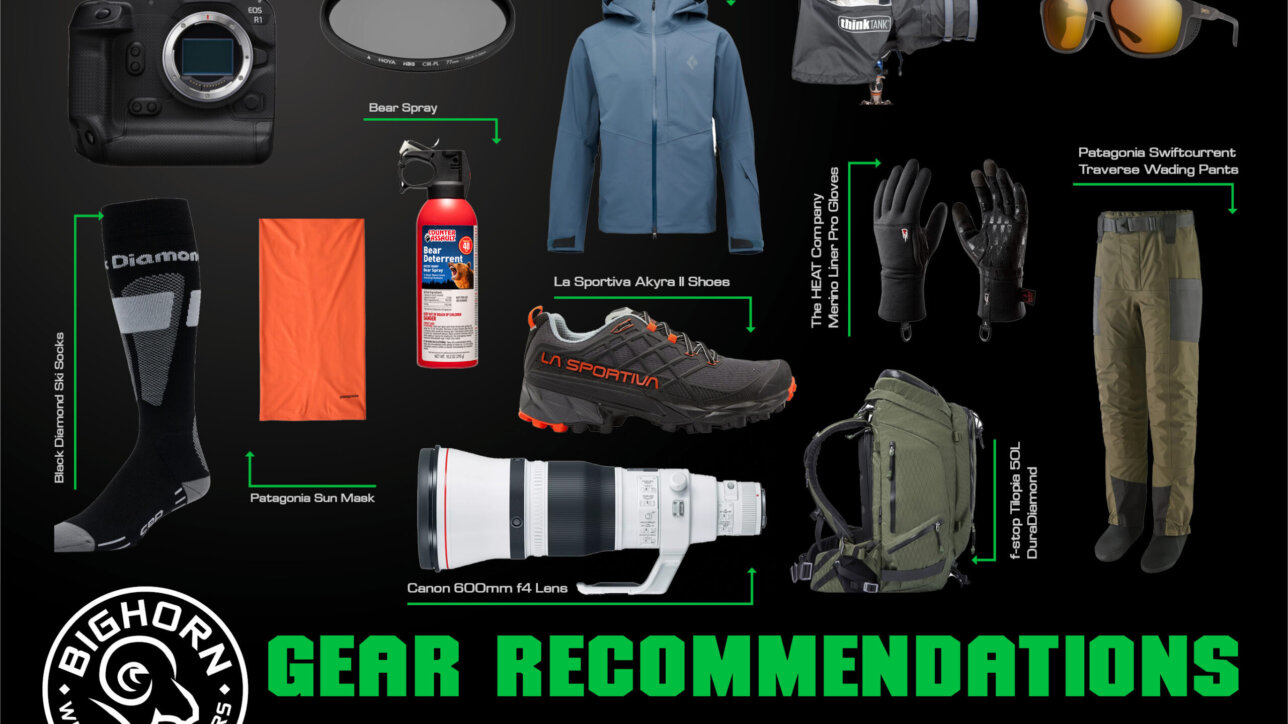
My go-to camera body for Yellowstone is a Sony A1. Sony now makes an A1 II that offers some new features, but I like the A1 (and would like the A1 II) because it’s a full-frame, mirrorless, high megapixel, fast sports body that checks every box for me for wildlife photography. One main reason I want a higher MP body is for the ability to crop while maintaining good resolution. There are days that the animals are simply so far that the composition I might want can only be achieved with significant cropping. Additionally, I like photographing individual aspects of animals such as a bison eye or bear claw. A good telephoto lens and a high MP camera can go a long way. Because it’s good to have a second body on hand, I also bring a Sony A7R5 and/or a Sony A7 IV. For me, the A7R5 is slower than the A1 but offers more megapixels. The A7 IV offers the fewest number of megapixels but is excellent at low light.
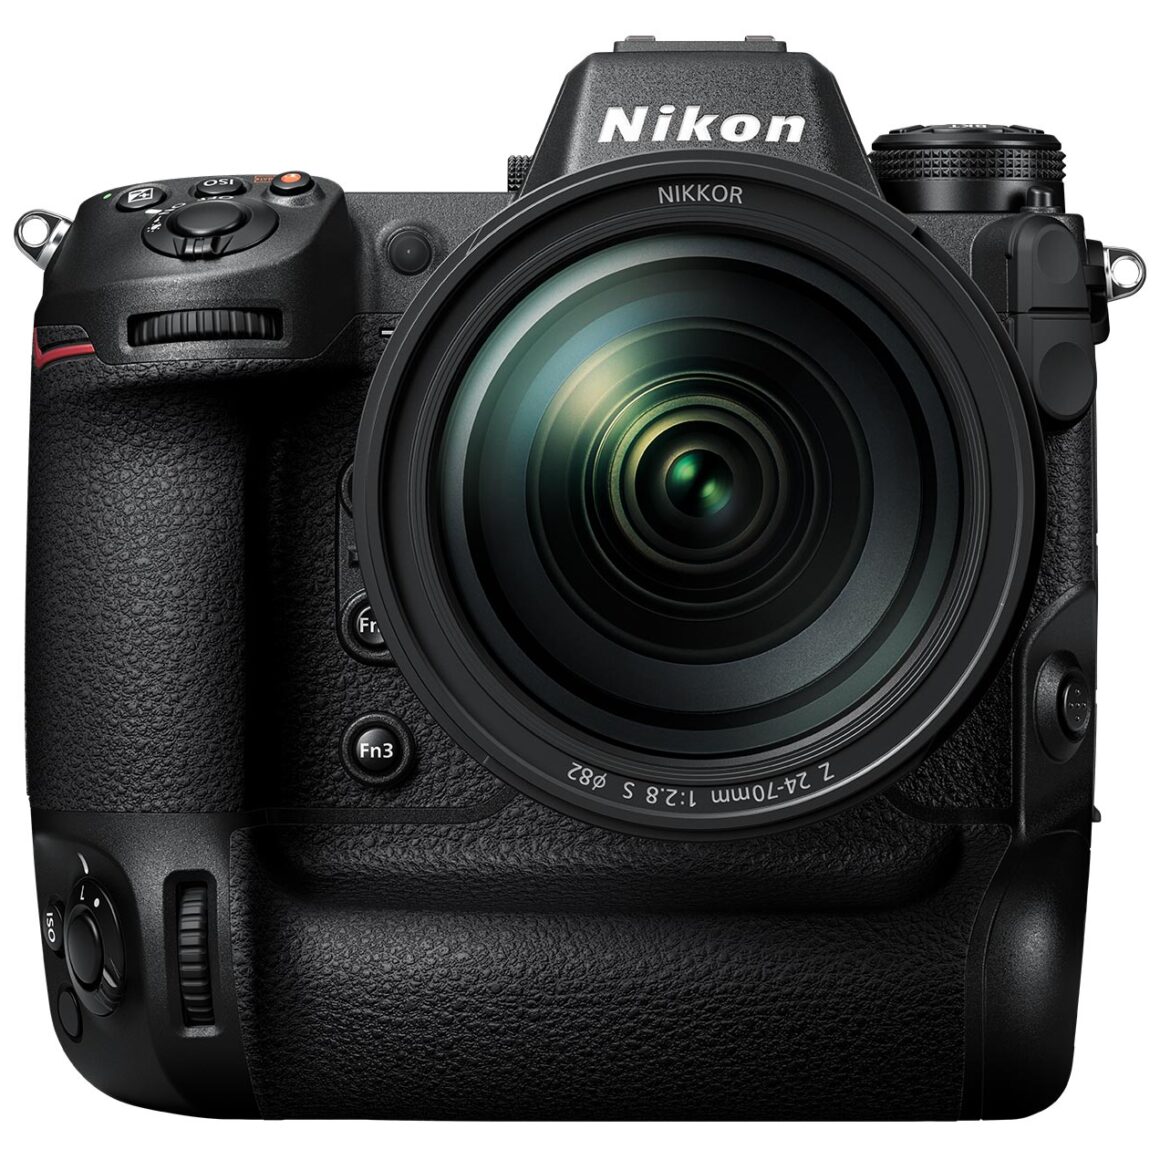
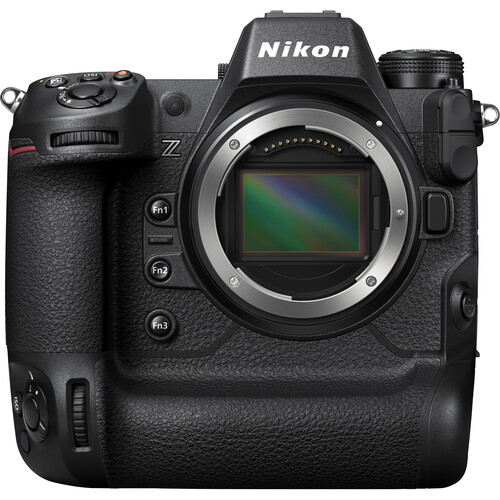
For Nikon users, comparable bodies would be the Nikon Z8 (which is a 45.7MP camera that can reach up to 20 frames per second raw). The Nikon Z6 III offers 24.5 MP and up to 20fps raw).
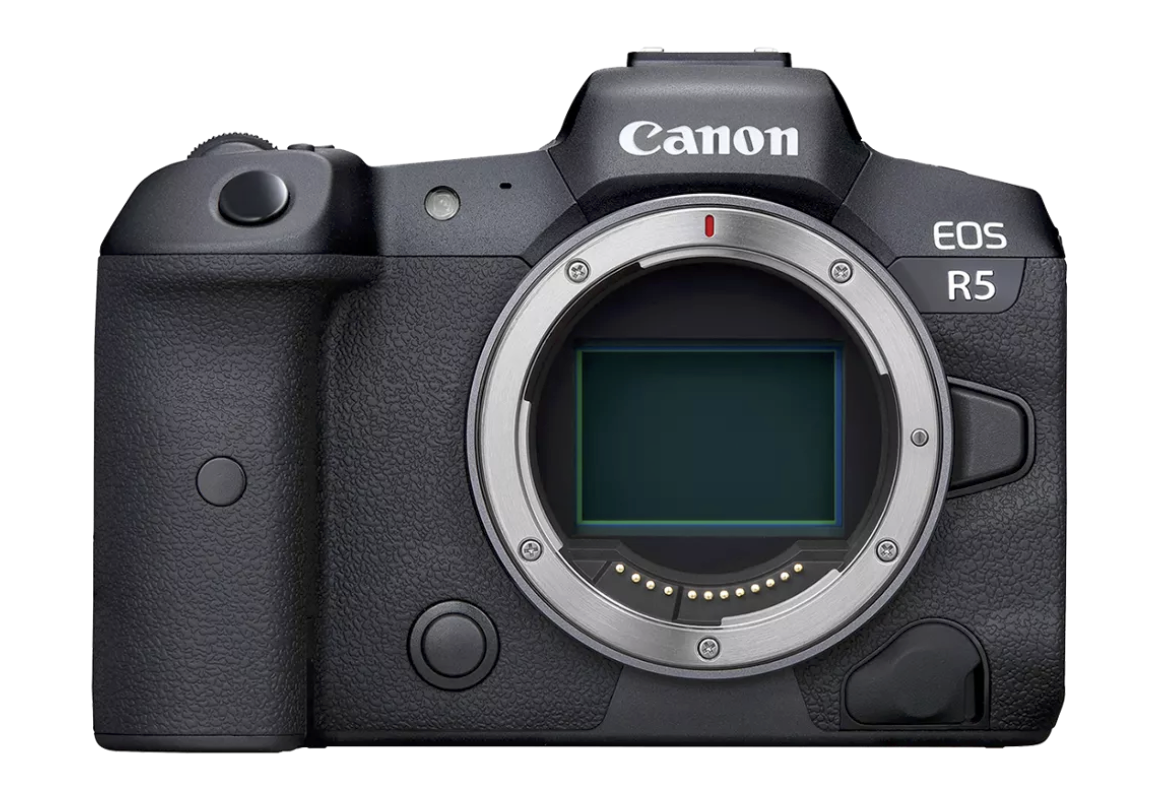
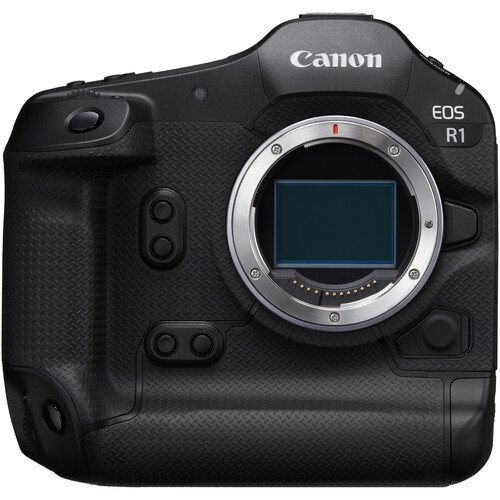
And while there are many more outstanding cameras to consider, we’ll keep this list to the big three (Sony, Nikon, Canon) and end with Canon. The Canon R5 and R5 II are phenomenal fast, high MP mirrorless bodies that best compare to the Sony A1 and Nikon Z8. The Canon R1 is Canon’s flagship camera and is a great option (with fewer MPs but higher frame rate and other features), and the like with Sony and Nikon, there are a variety of other options that would also make for great cameras for photographing wildlife.
Lenses
Sony
A lens with good reach goes a long way with wildlife. For me, prior to using the Sony 600mm f/4, the Sony FE 200-600mm f/5.6-6.3 G lens was the lens for me in the Park. That range of 200-600 can cover a wide variety of situations, and in many instances, this lens is less restrictive than a 600. Sometimes with the 600, animals are closer or move closer, and I am stuck at 600. Another favorite for many is a 400mm f/2.8; however for my needs and for travel, I use a 300mm f/2.8. This is a great lens that costs less than a 400 and can be well-paired with a 1.4x or 2x teleconverter. Note: Be sure to have a good lens foot for these larger lenses.
In addition to these long lenses, I like to be prepared for scenarios in which the animals are farther away or even not present at all. A 16-35mm f/2.8 lens can cover a variety of needs, and a 24-70mm f2.8 can be great to have along as well. And if those bigger lenses above are too big, a 70-200mm f/2.8 (especially with a teleconverter) is another excellent option.
Nikon
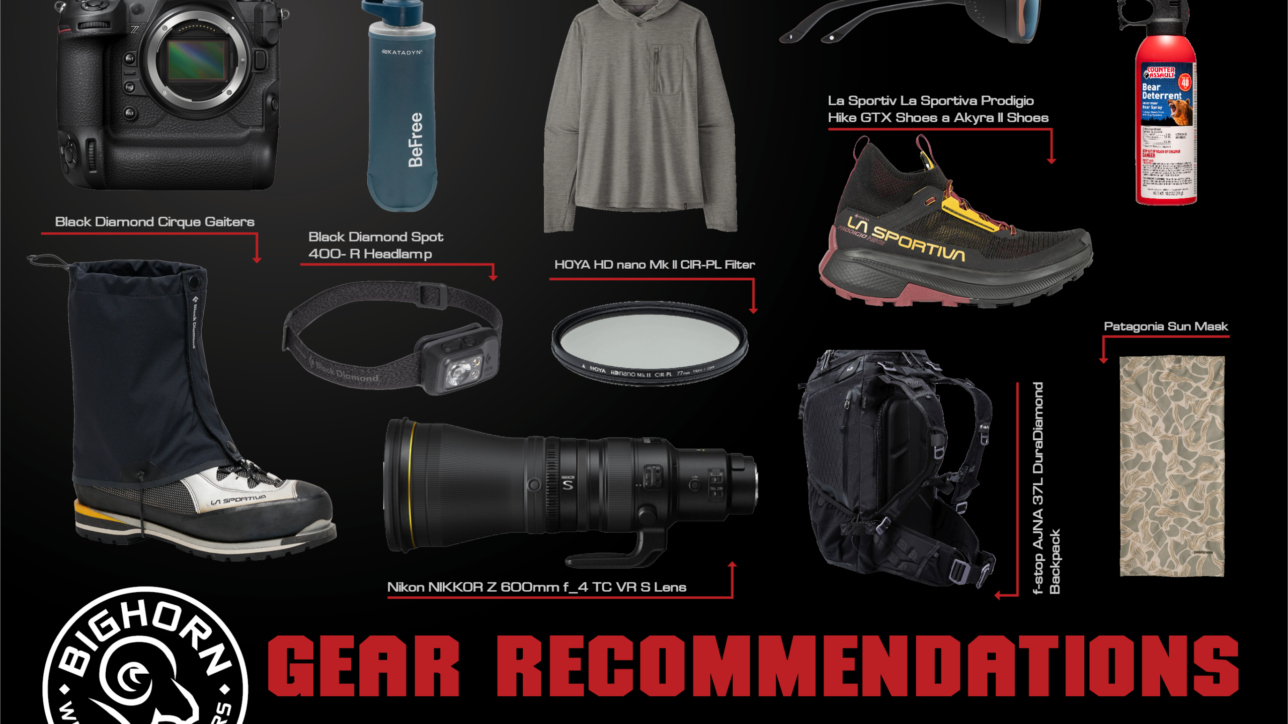
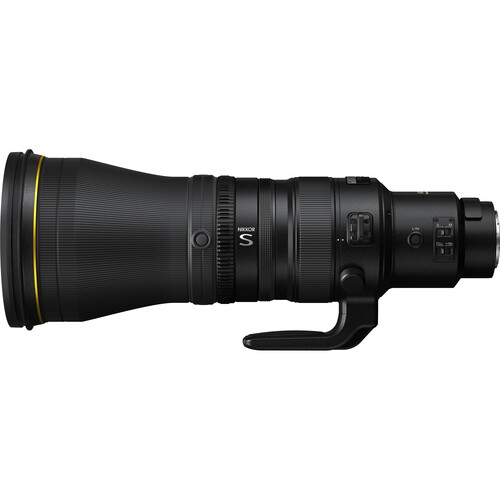
For Nikon users, the NIKKOR Z 180-600mm f/5.6-6.3 lens can cover a wide range of focal lengths and be great as a (nearly) all-purpose lens for wildlife photography at a moderate price. The NIKKOR Z 600mm f/4 TC VR S lens is an impressive lens that includes a built-in 1.4x teleconverter that enables photographers to easily switch to a 800mm f5.6 — a very cool feature. Similarly, the NIKKOR Z 400mm f/2.8 TC VR S lens offers a lower aperture than the 600mm but also includes a built-in 1.4x teleconverter to easily switch this lens to a 560mm f/4. Again, do be sure to have a lens foot for these lenses.
Also for consideration: A NIKKOR Z 24-70mm f/2.8 and a NIKKOR Z 70-200 f/2.8 (especially with a teleconverter) can be excellent lenses for landscape and wildlife photography.
Canon
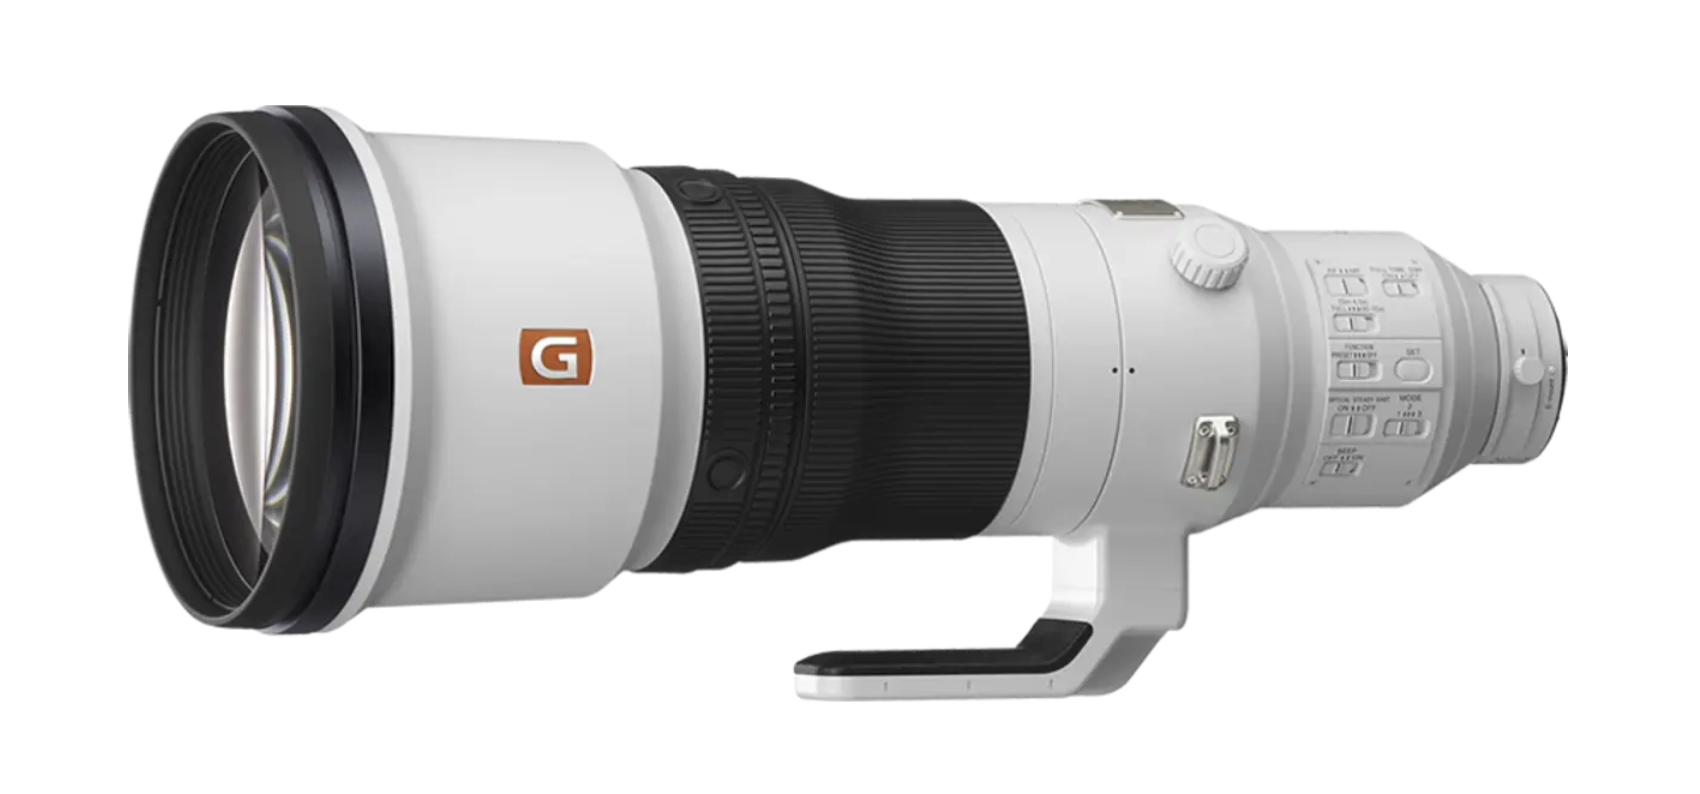
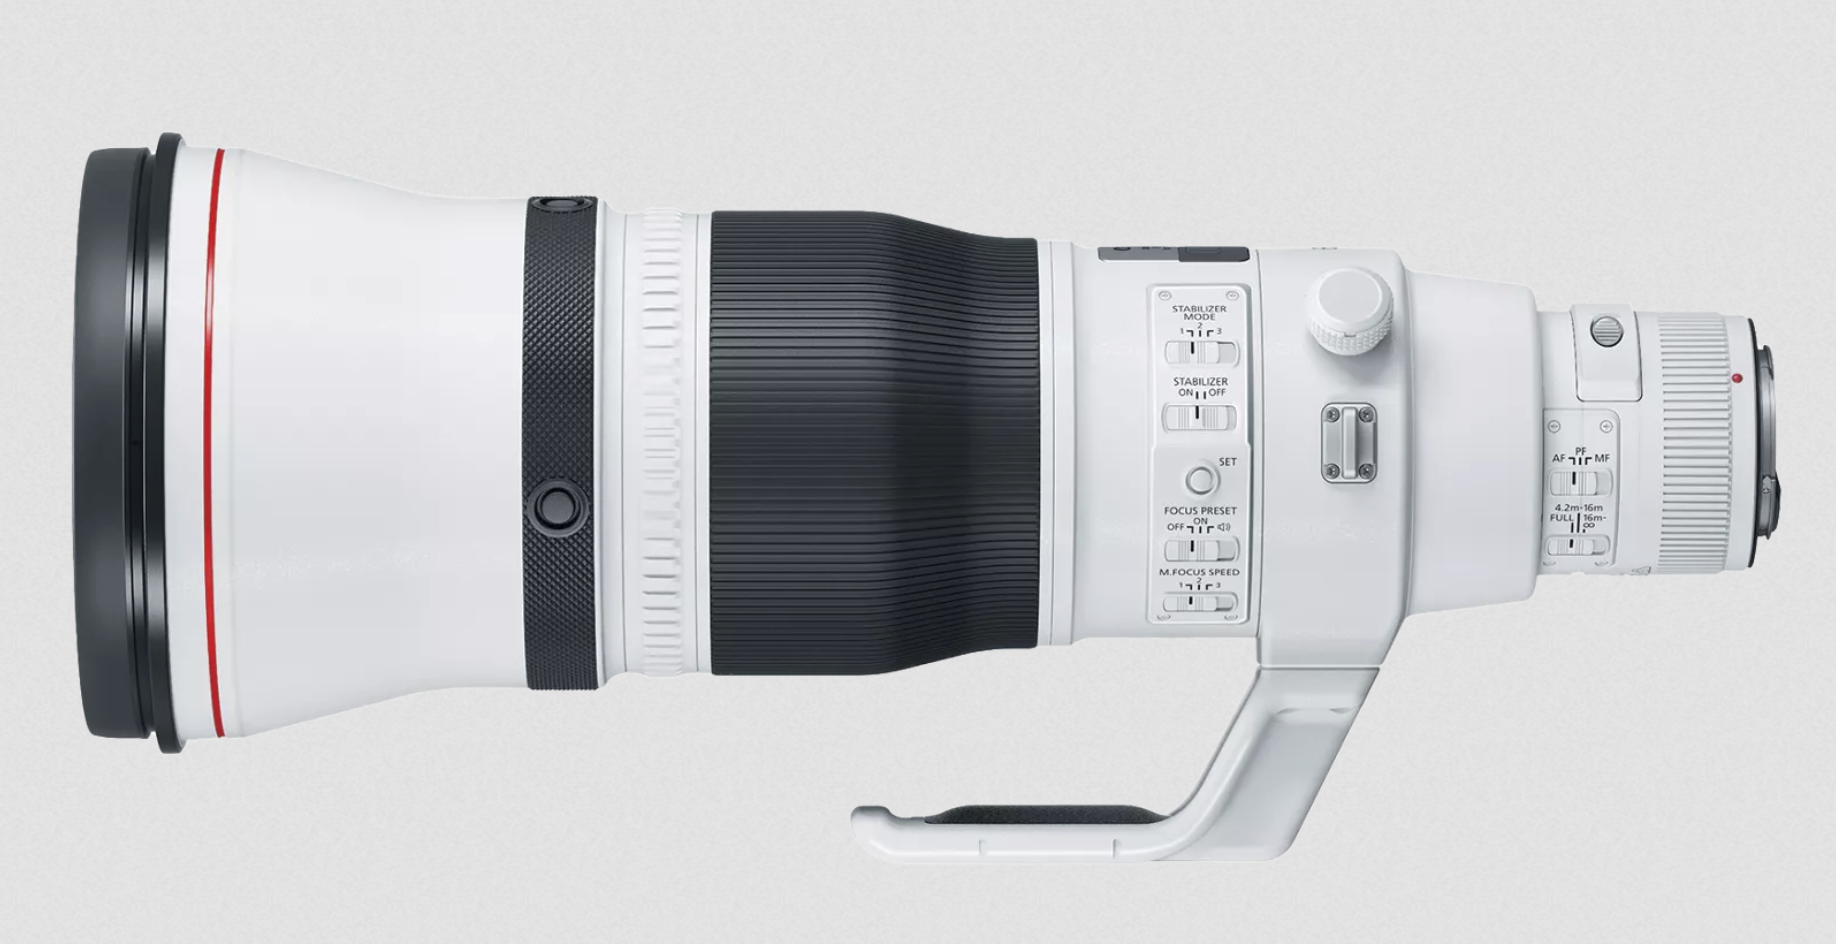
The Canon RF 200-800mm f/6.3-9 lens covers a broad range of focal lengths and is moderately priced though it doesn’t have some of those lower apertures that can be great for speed and blurring backgrounds. Canon also offers an RF 100-500mm f/4.5-7.1 that has lower f-stops. For those looking to go (very) long, Canon has an RF 800mm f/5.6 lens, and for a little less reach, Canon has an RF 400mm f/2.8 and an RF 600mm f/4 lens that are ideal for wildlife photography — especially for bears, wolves, and other animals that you’ll want to stay a little further away from.
As for smaller lenses, Canon’s RF 15-35mm f/2.8, the 24-70mm f/2.8, and their 70-200mm f/2.8 lenses are great to have.
Clothing, Apparel, Boots, Baselayers
Many are intimidated by weather in the Northern Rockies, especially when fall weather could be as warm as the 90s or cold enough to bring deep snow, but great clothes and smart layering can make most weather manageable. Some favorite apparel items are listed below.
Gloves
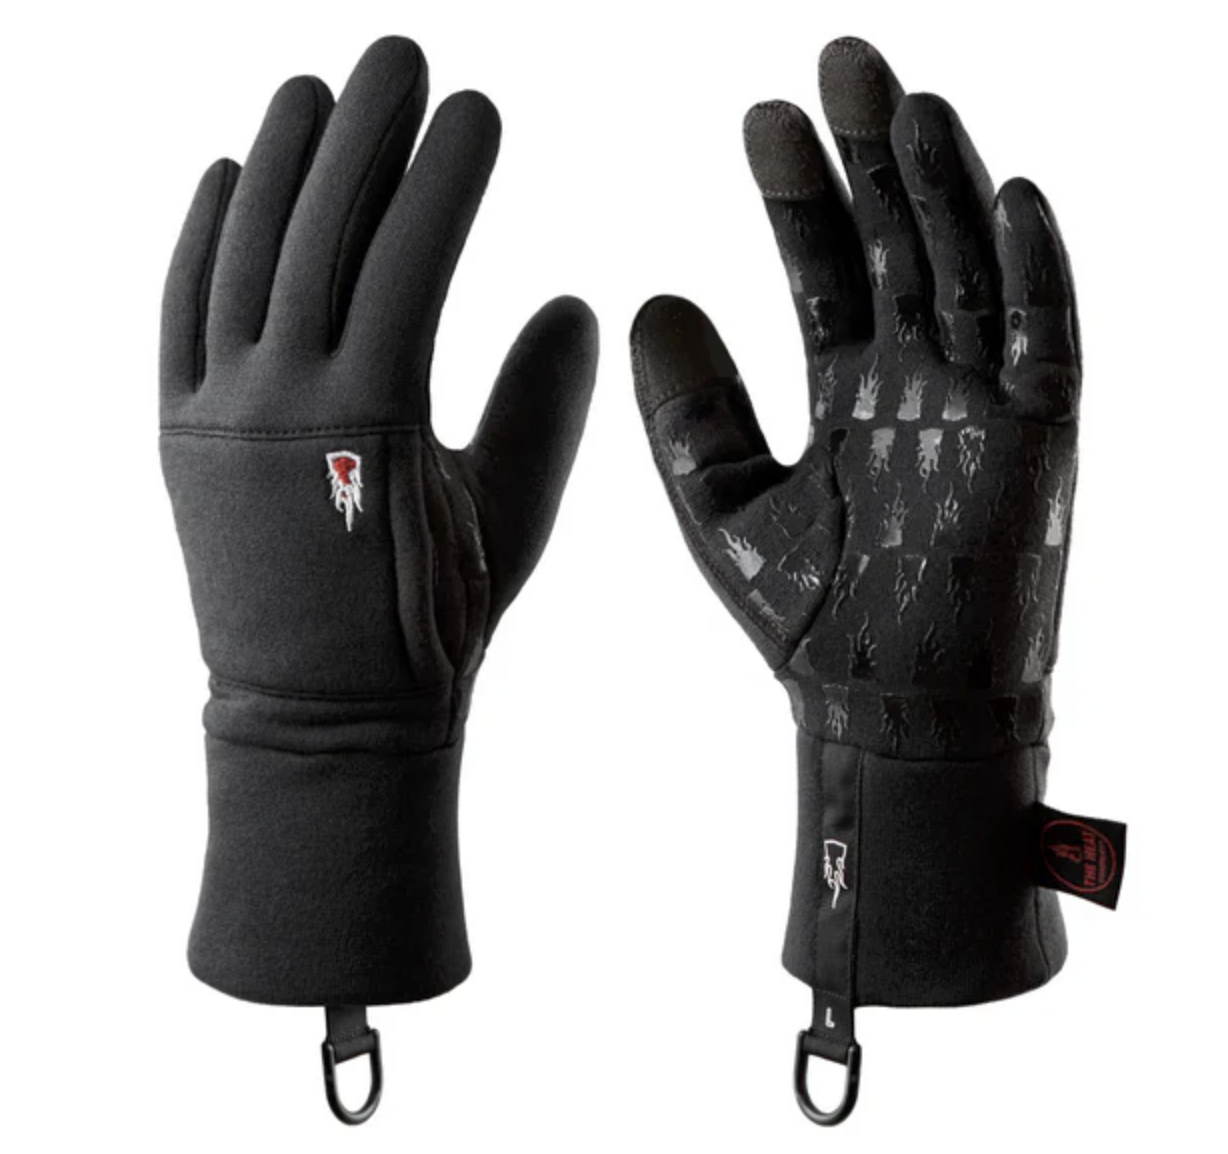
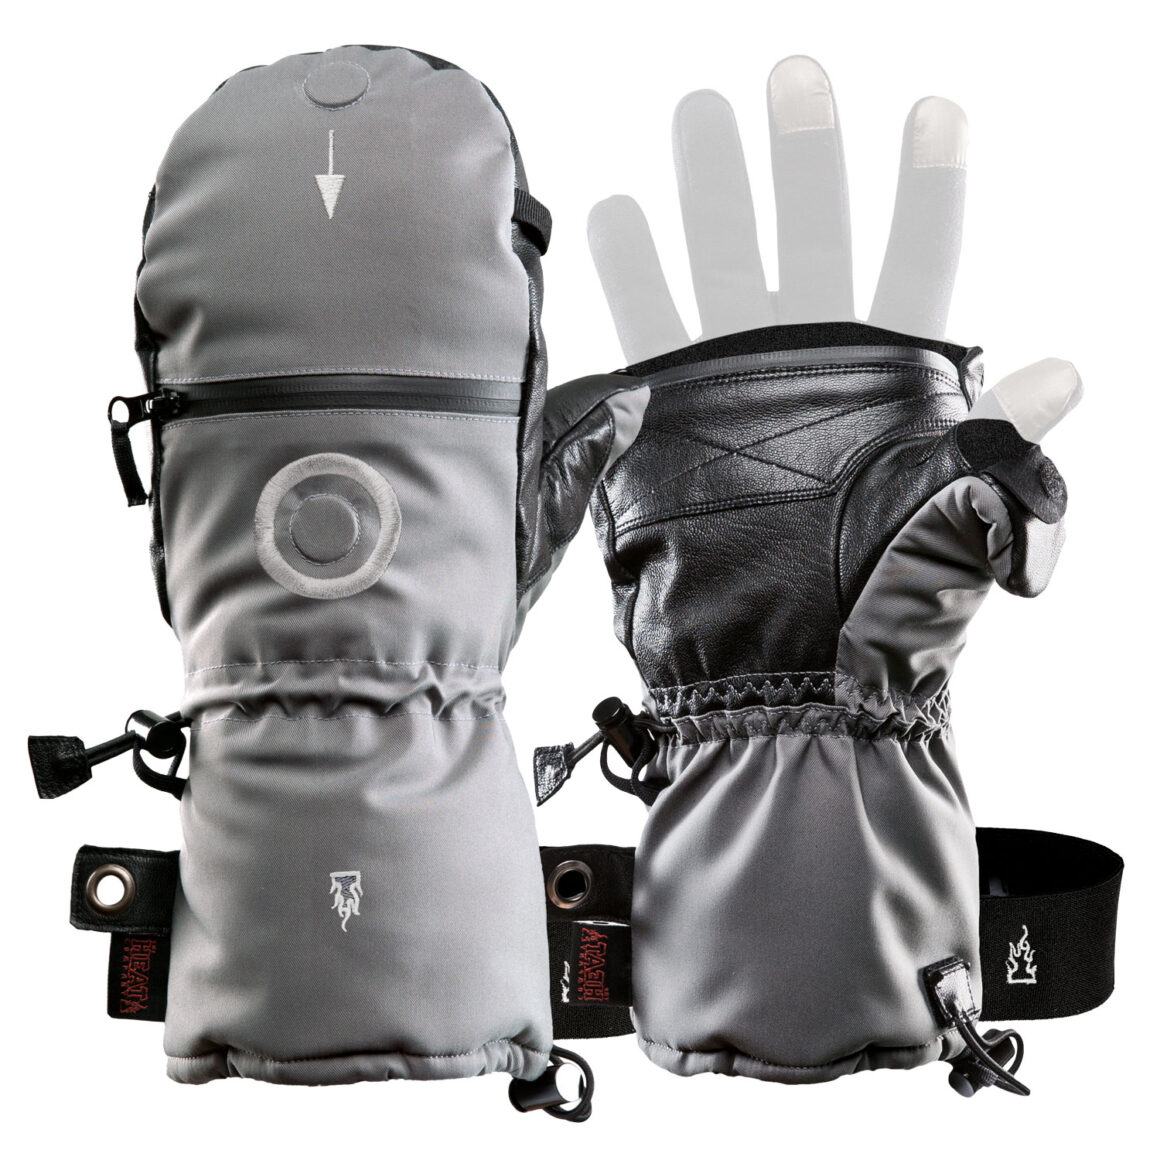
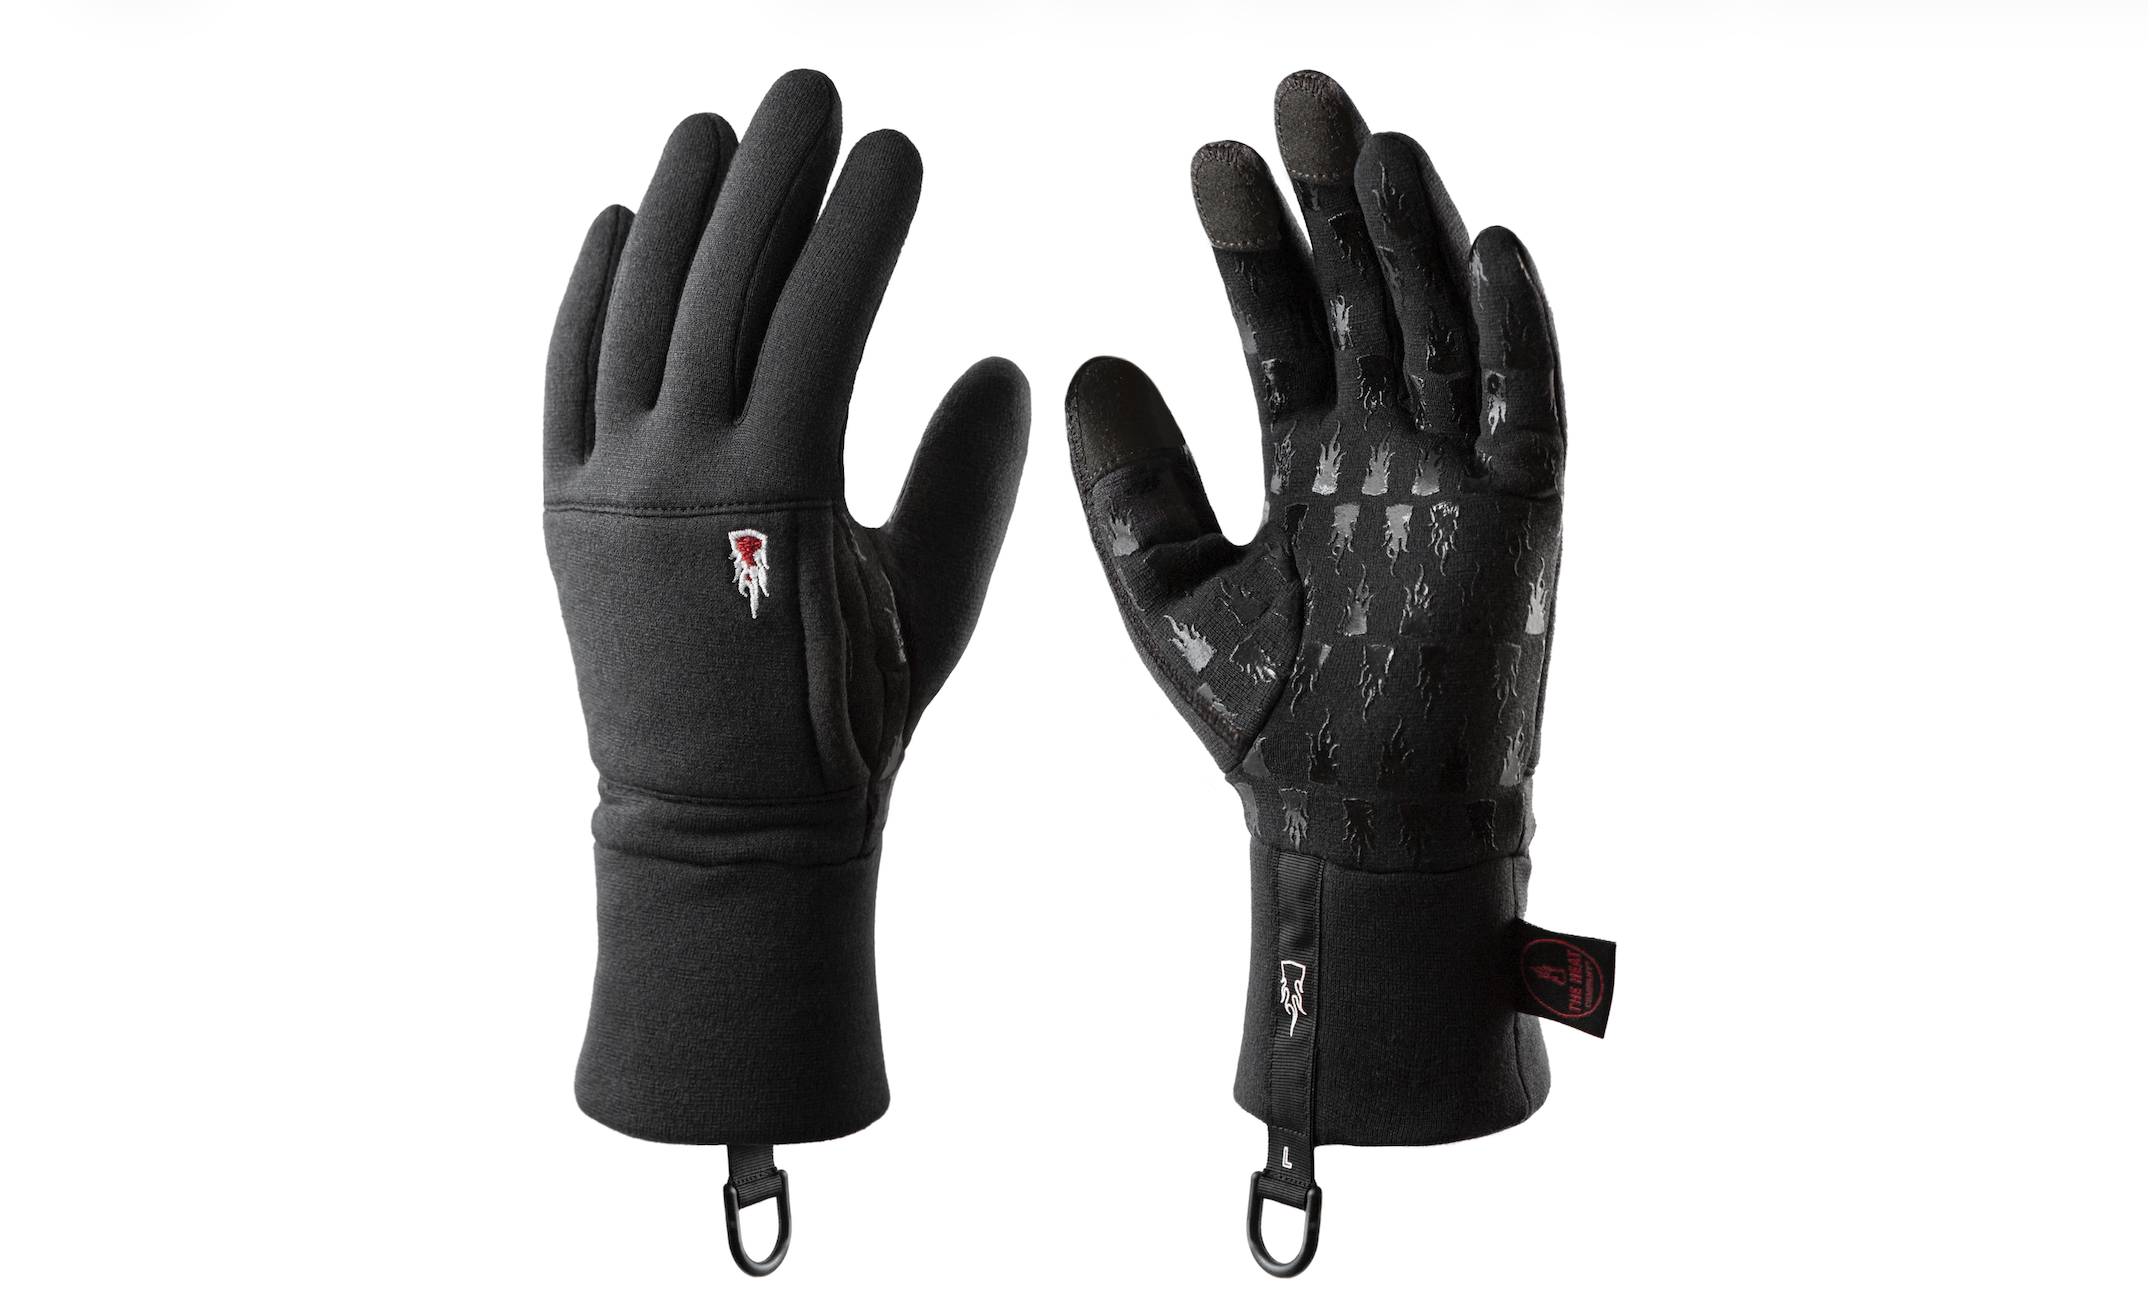
Cold hands can have a big impact in the field. Since wearing gloves from The Heat Company, I couldn’t be more pleased, and I haven’t looked back. The Heat Company offers a good selection of gloves. My go-to gloves are below.
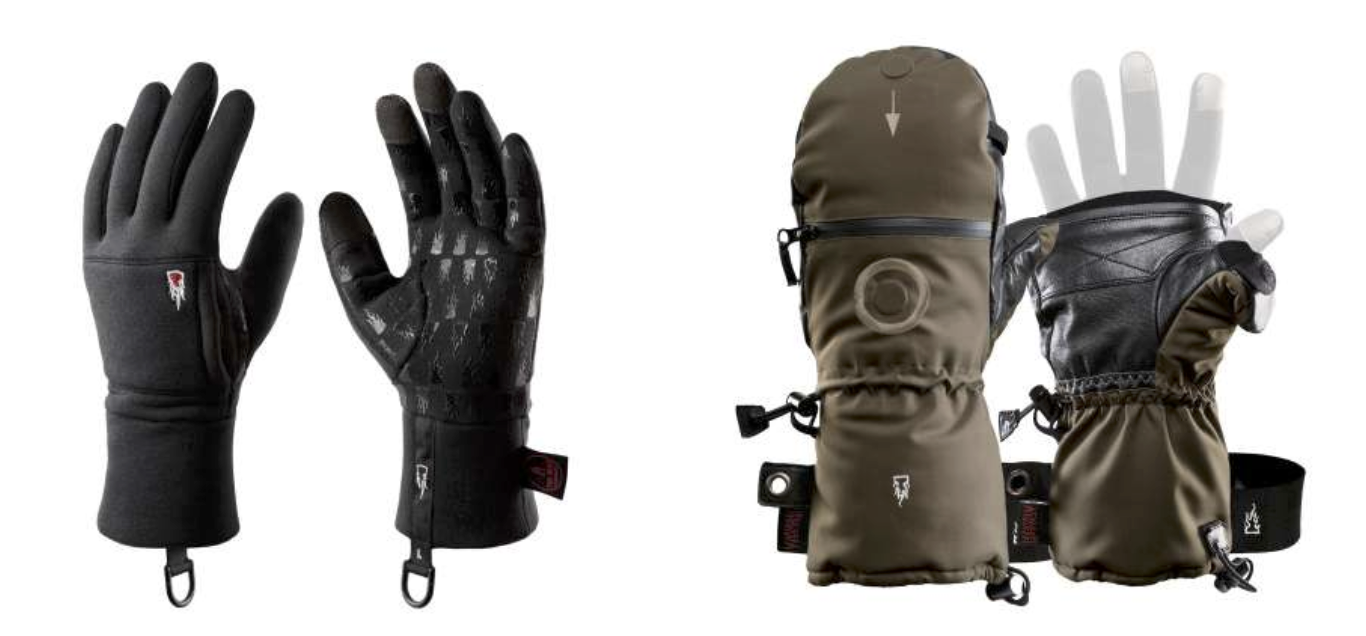
The Heat Company Merino Liner Pro gloves are great for when the temperatures get a bit chilly. Frankly, I generally want to avoid wearing gloves as nothing beats the feel and functionality of having bare hands on a camera. But when cold temperatures restrict functionality or impact stamina, I’m eager to get gloves on. For that first layer, the Merino Liner Pro gloves are a warm liner glove with an outstanding fit with great grip and the ability to use with camera touchscreens. These gloves have a pocket for handwarmers, and they are also very breathable, which is essential for situations in which hands sweat, and you need to keep from having cold, wet hands and gloves.
In addition to their liners, I like to have shells from the Heat Company on hand (literally) too. These liners work perfectly with The Heat Company’s Shell — a windproof and water repellent mitten that has a great grip and magnets for holing the pull-back coverings for the thumbs and fingers.
Baselayers
For baselayers, Patagonia is a big favorite on this end, and you’ll definitely find that preference in the items below. Note: While Patagonia is what I wear, this list should offer guidance, as some other companies offer comparable products.
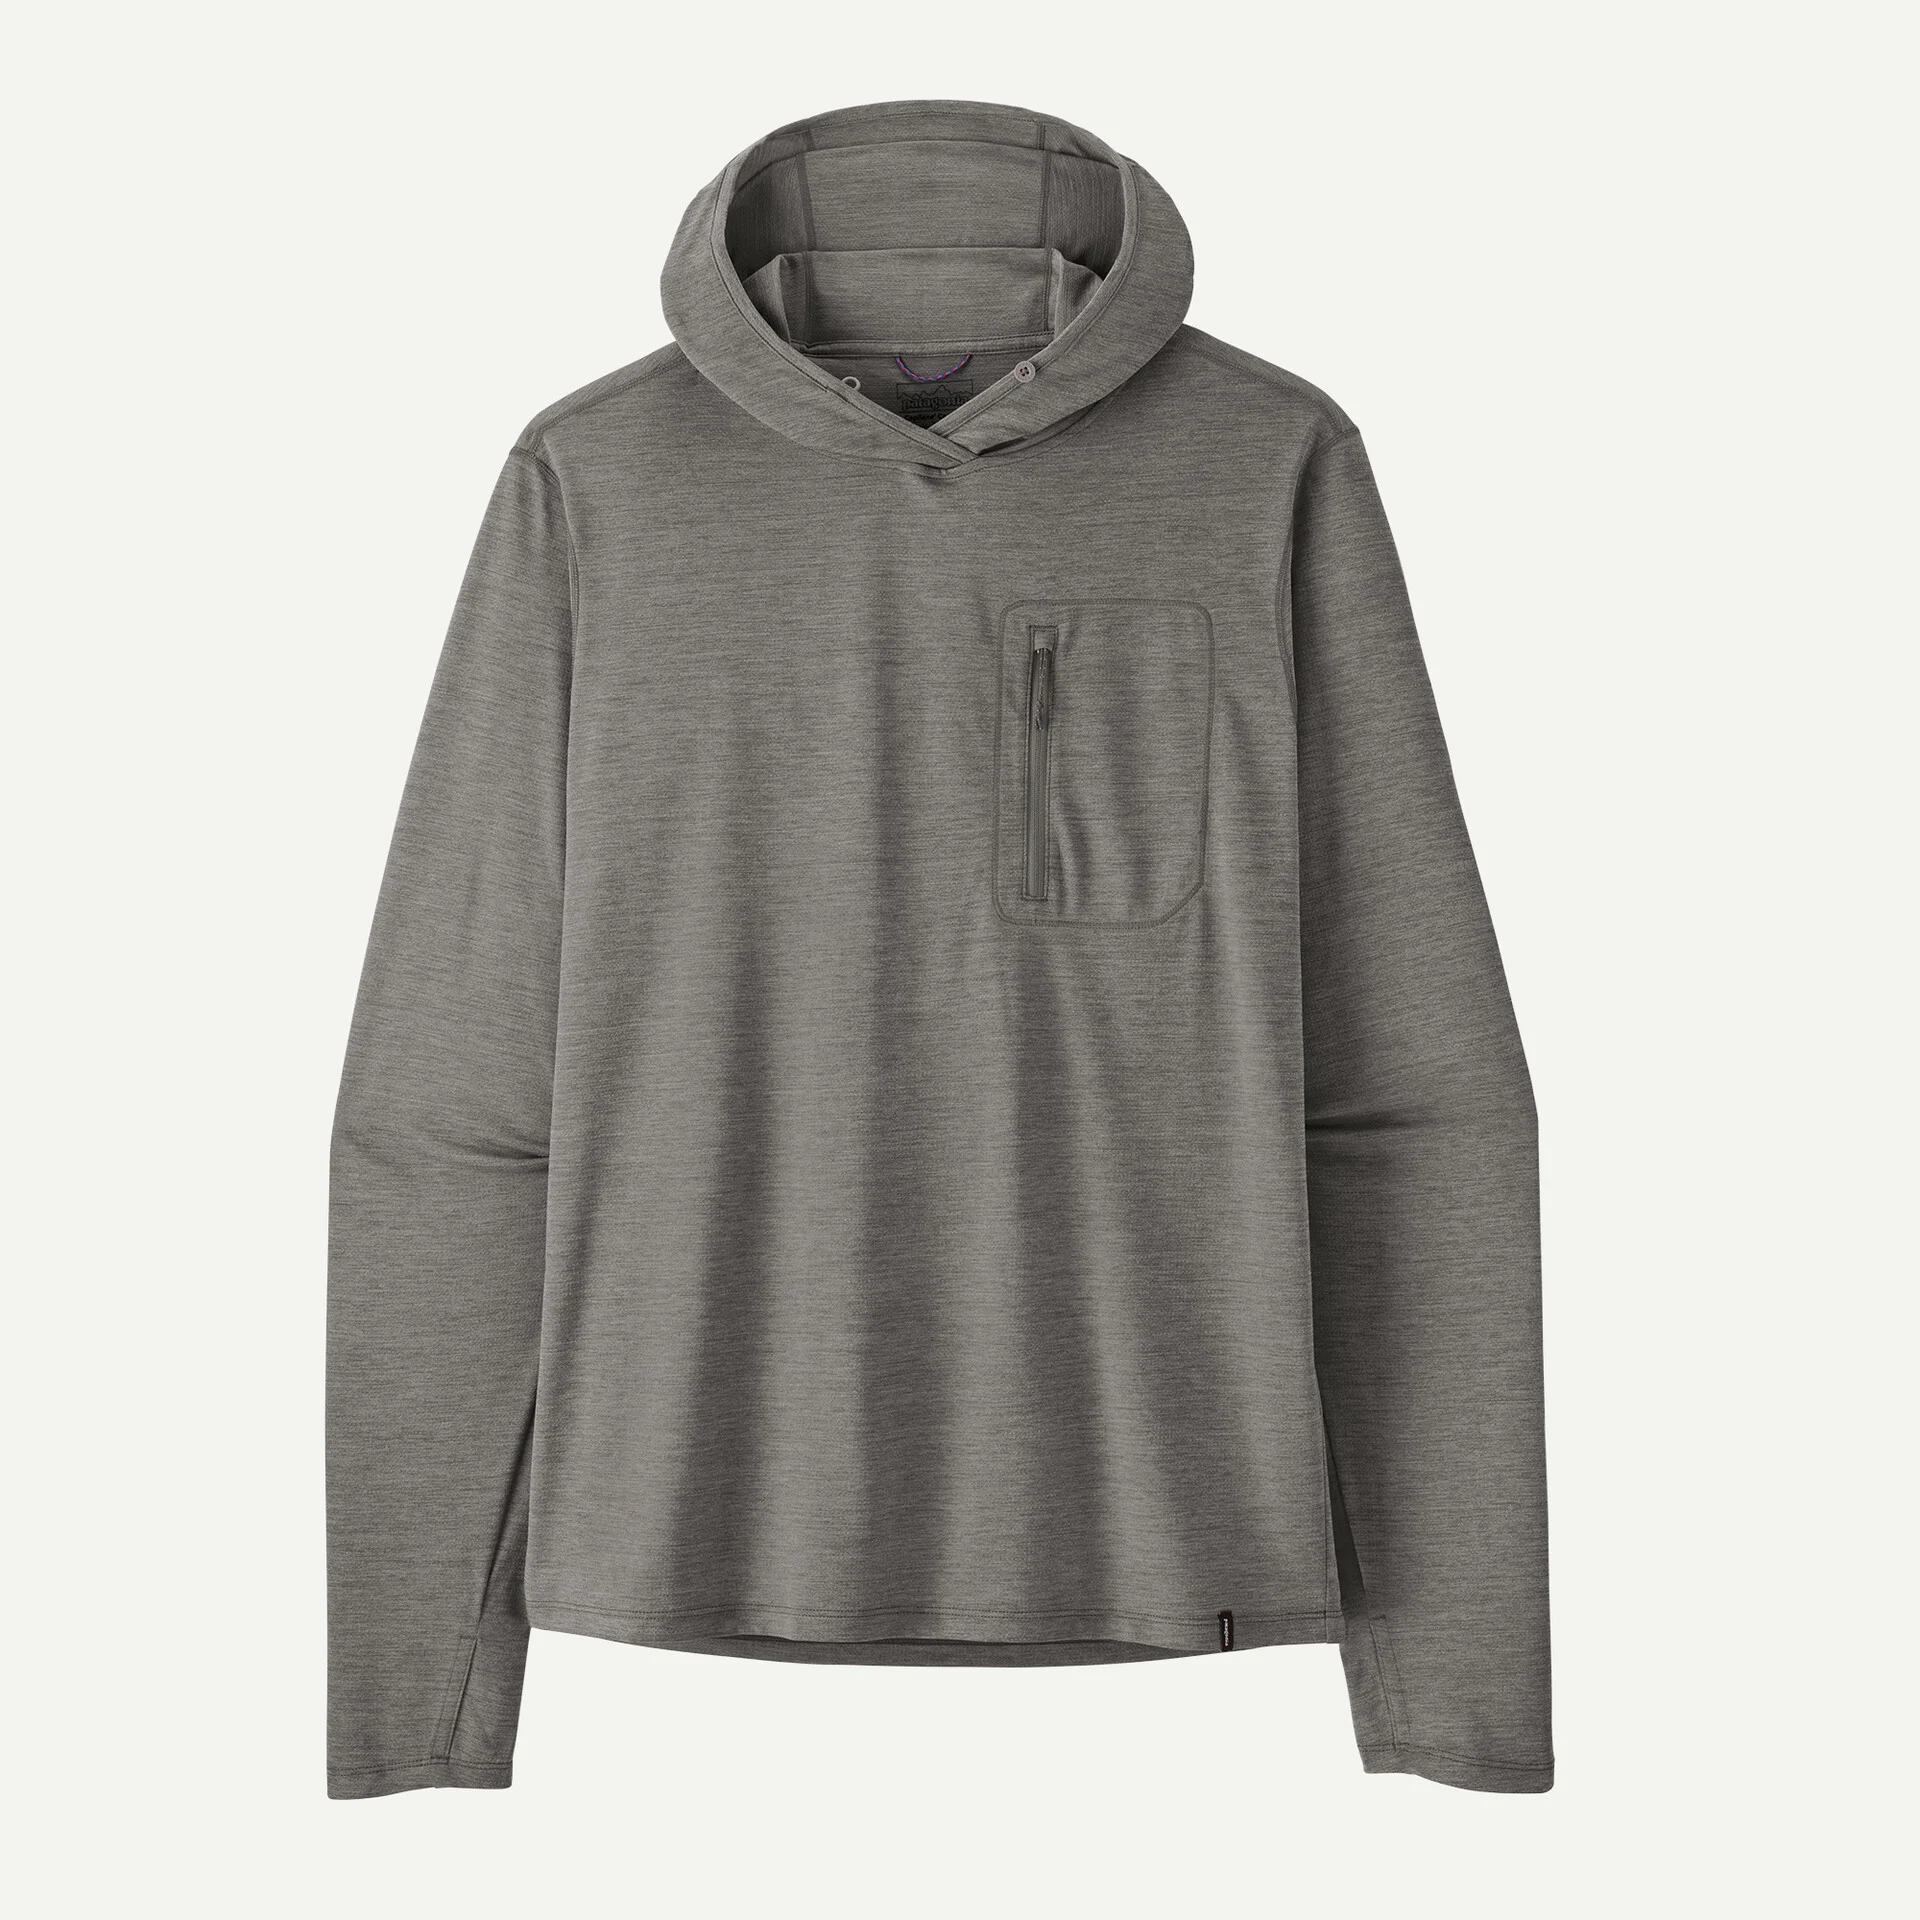
When the weather is a bit warmer, the Patagonia Capilene Cool Daily Hoody is a preferred piece. This long-sleeved hoody is so lightweight, I generally wear this instead of a t-shirt. It is not only extremely light, it dries quickly, is very breathable, and I like having my arms, head, and neck covered at times.
When it’s cooler out, the Patagonia R1 Fleece Pullover Hoody and Patagonia Capilene Thermal Hoody are warmer technical tops that are breathable and designed for function. I will wear these over the Capilene Cool Daily Hoody as I like having two hood weight options between two tops at one time. And when it’s colder out, the Patagonia R2 TechFace Pullover is outstanding. I was even involved in the production of videos for this item.
As for baselayer bottoms, I like the Patagonia Capilene Midweight Bottoms for cool days and the Patagonia Capilene Thermal Weight Bottoms for cold days.
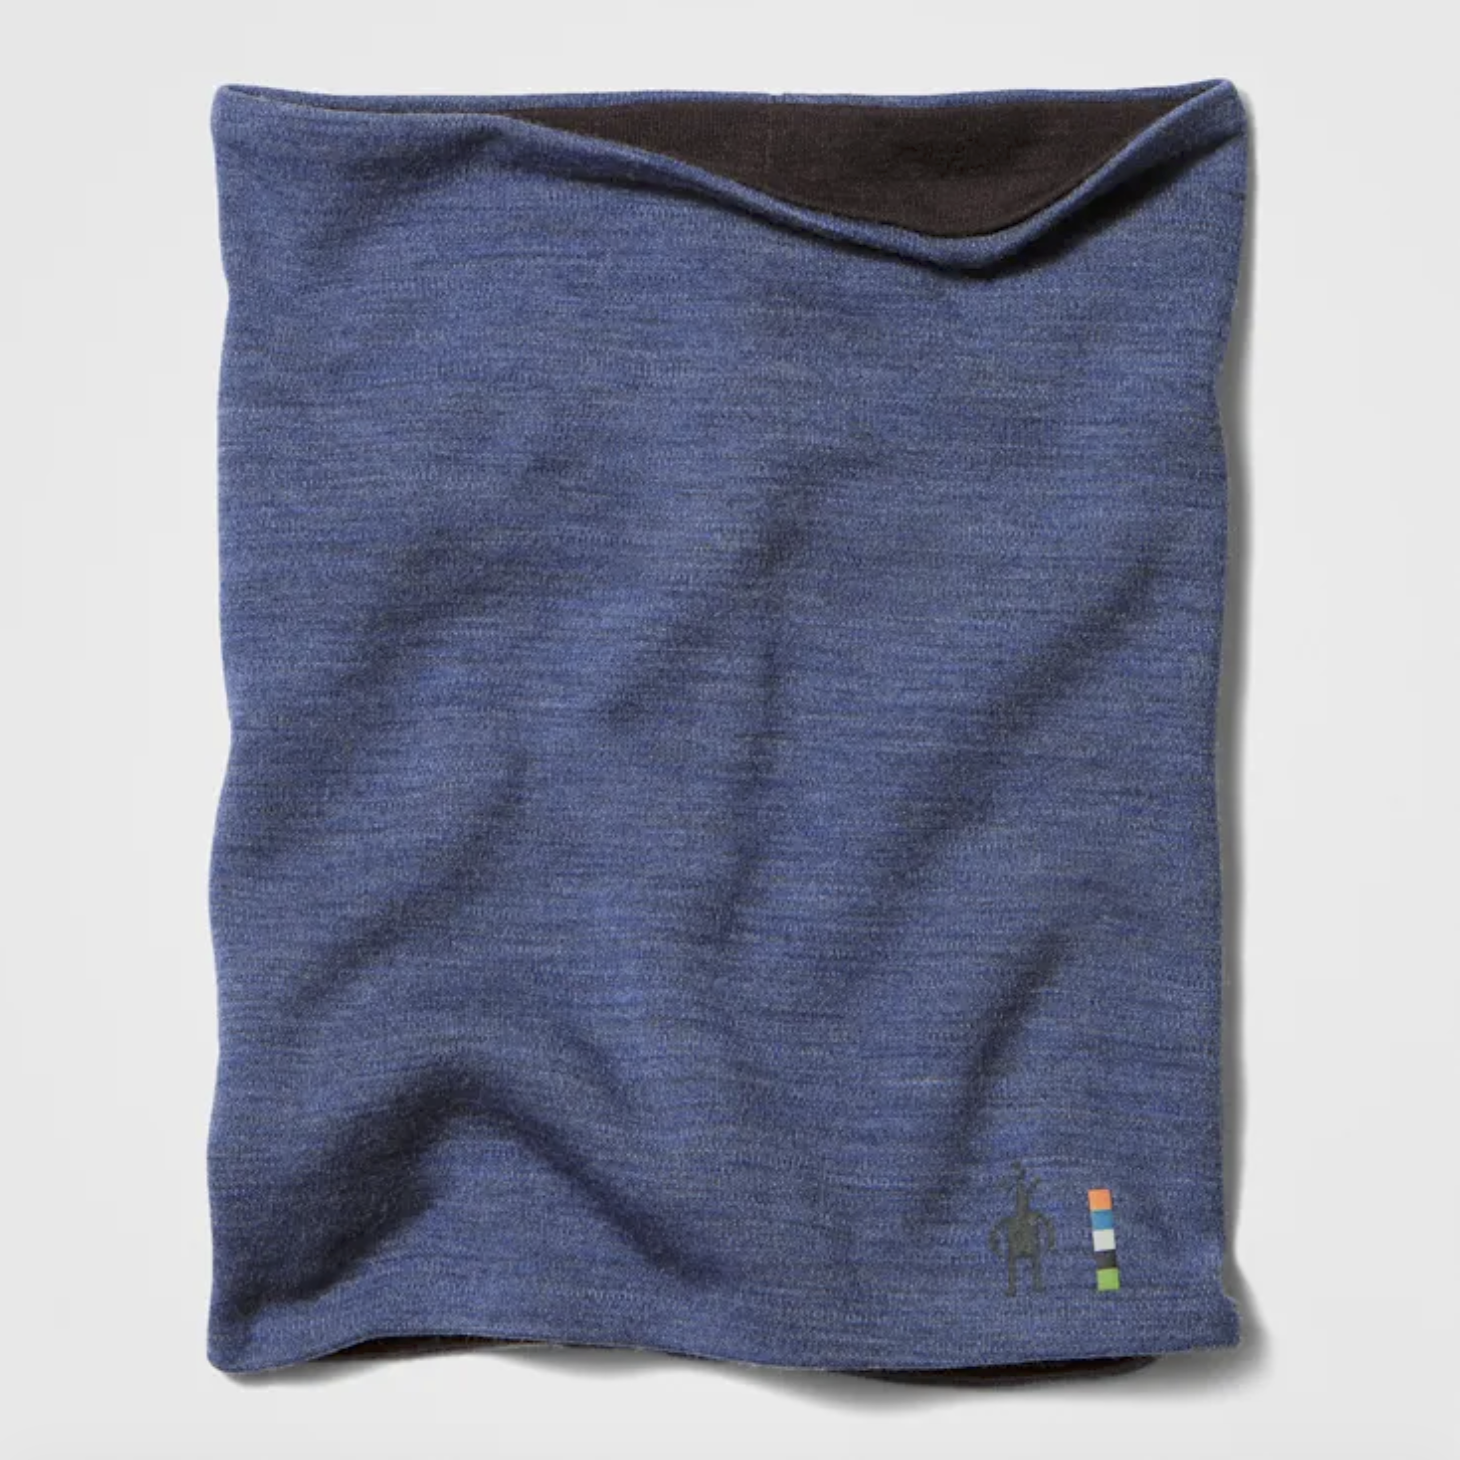
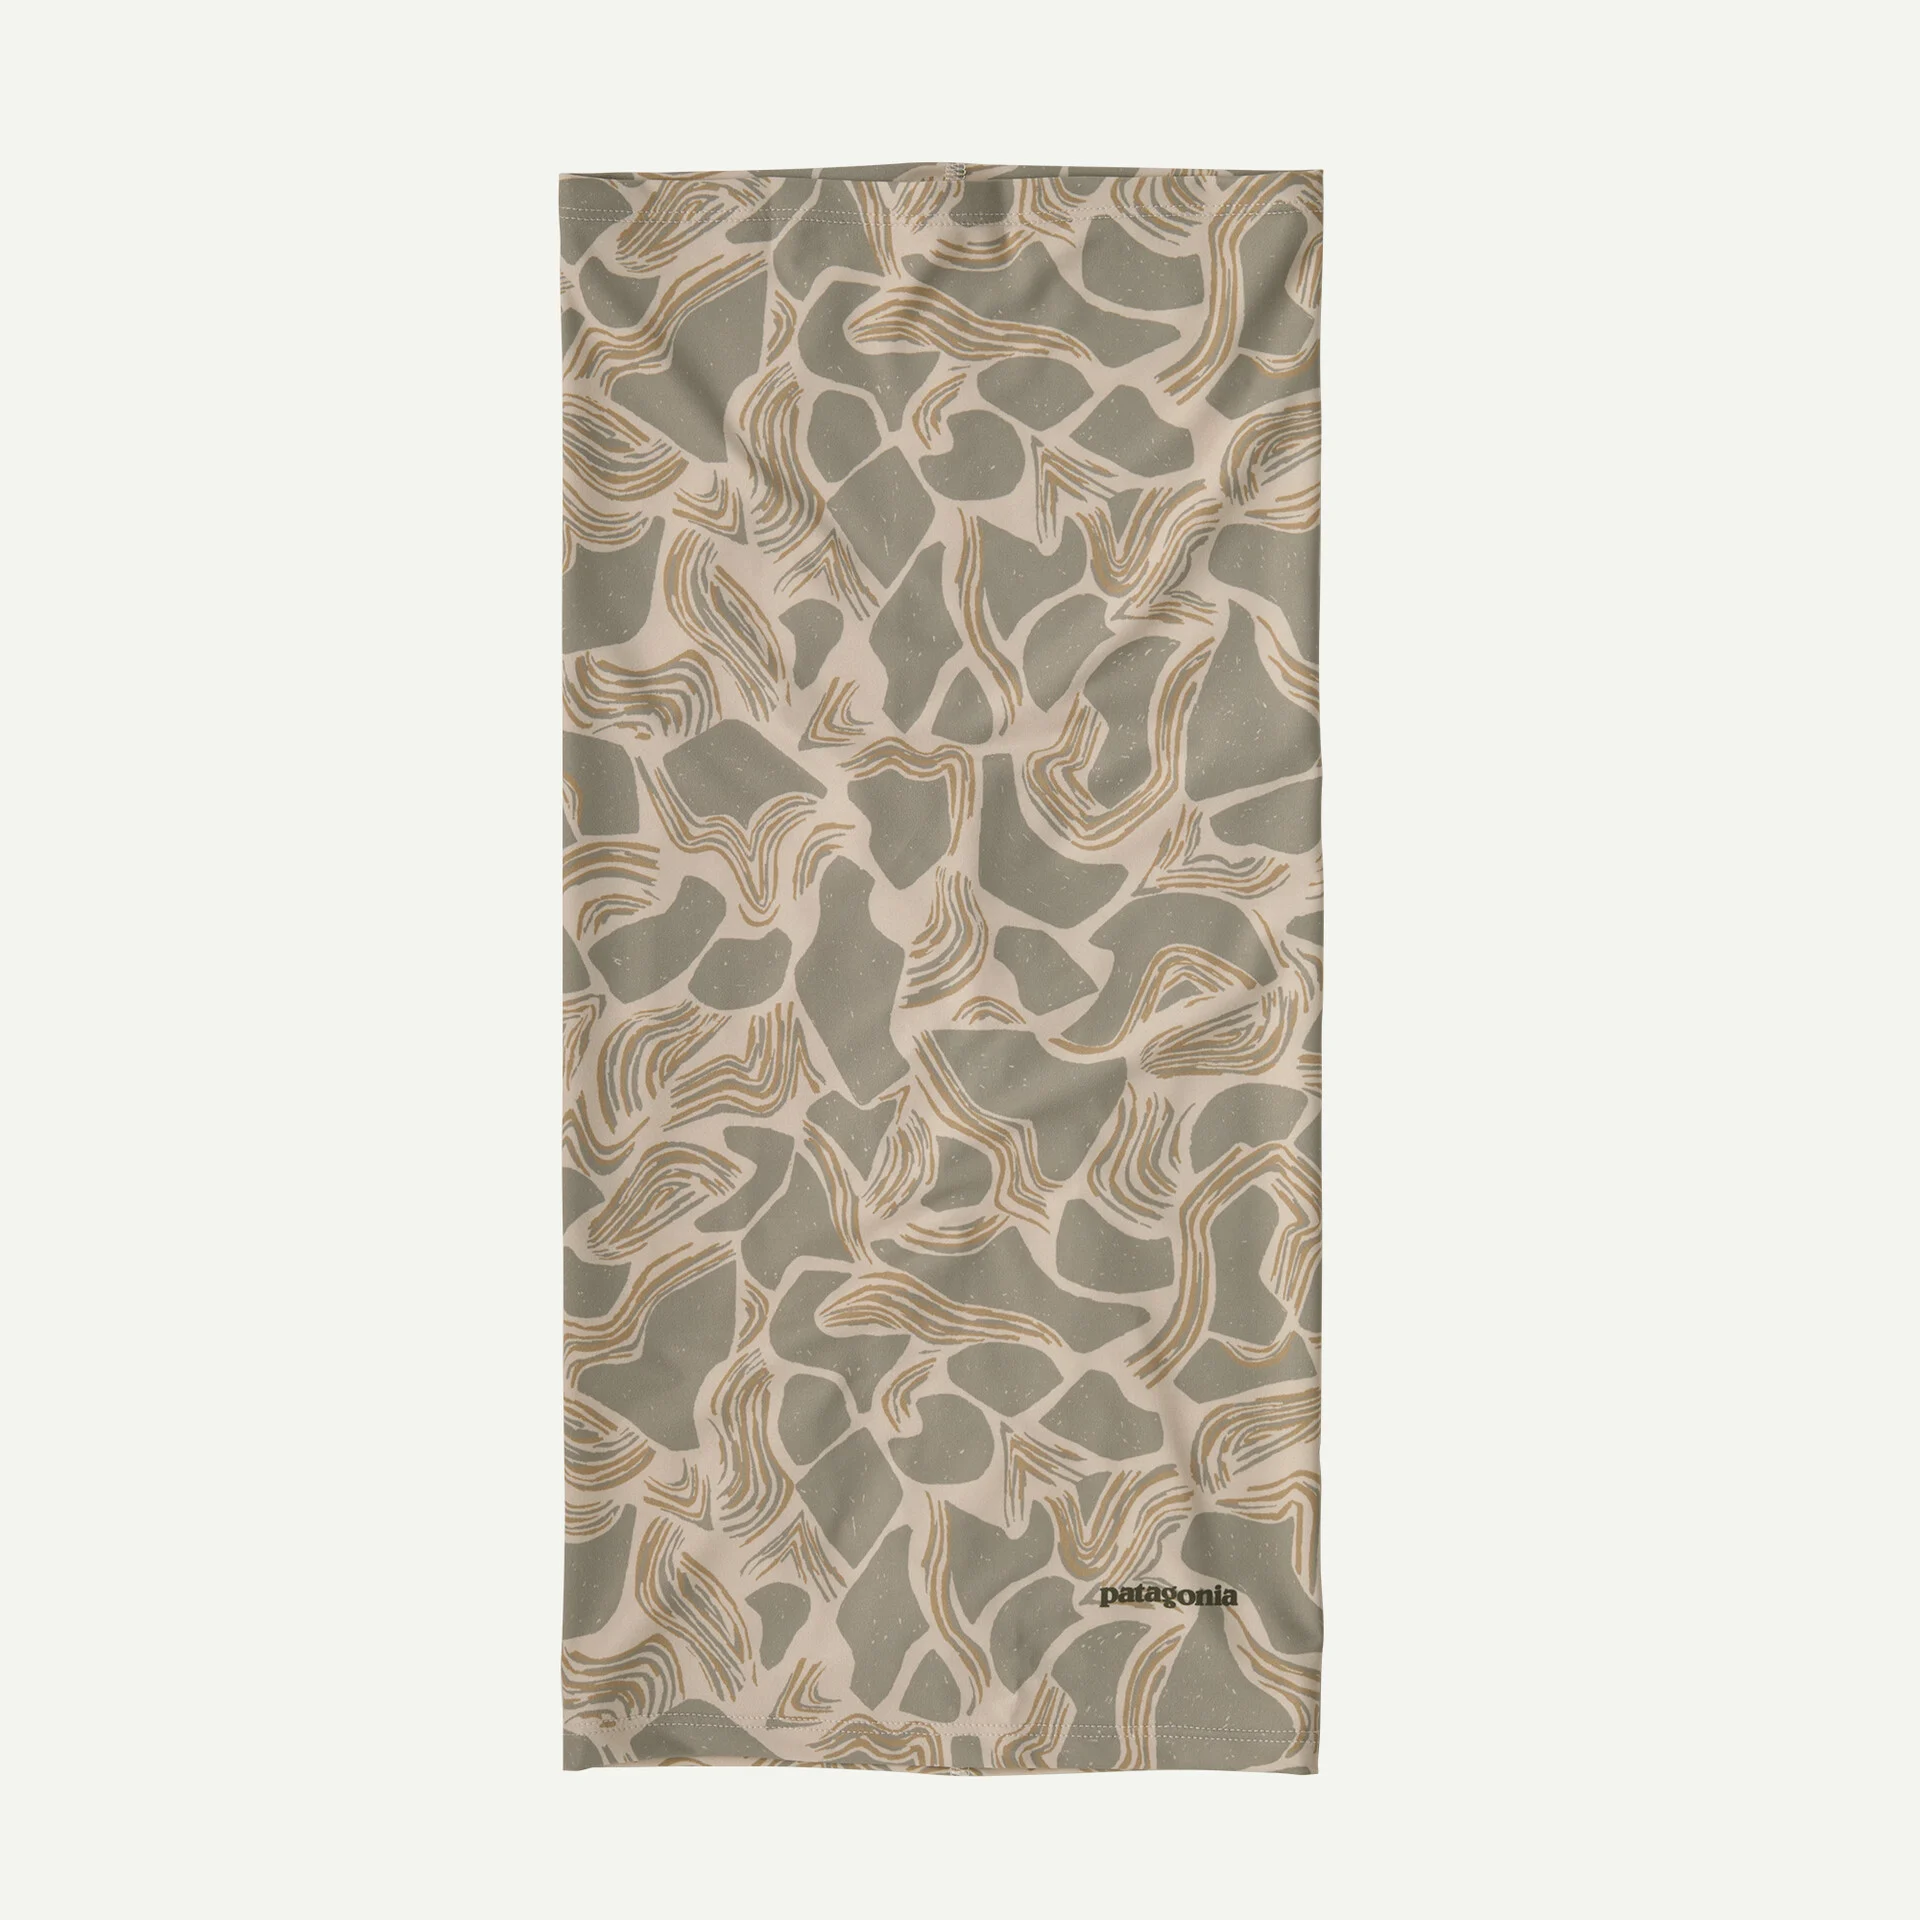
For keeping covered and even keeping warm, neck gaiters such as the Patagonia R1 Daily Neck Gaiter or the Patagonia Micro D Gaiter are great options. For warmer conditions, consider the Patagonia Sun Mask or a Buff.
 Socks
Socks
My preference for socks is midweight ski and snowboard socks. Though I have heavier and thicker socks, I’ve never felt the need to go heavier, and I want to avoid sweating as much as possible. The Smartwool Merino Wool Ski Socks are a current favorite. They aren’t too much on cool days, and as the temperatures change throughout the day as they generally do in the Rocky Mountains, I will lower and raise the socks to maintain just the right amount of warmth. When it gets much colder, I rely more on warmer baselayer pants and boots to deal with the cold rather than thicker socks.
Headwear
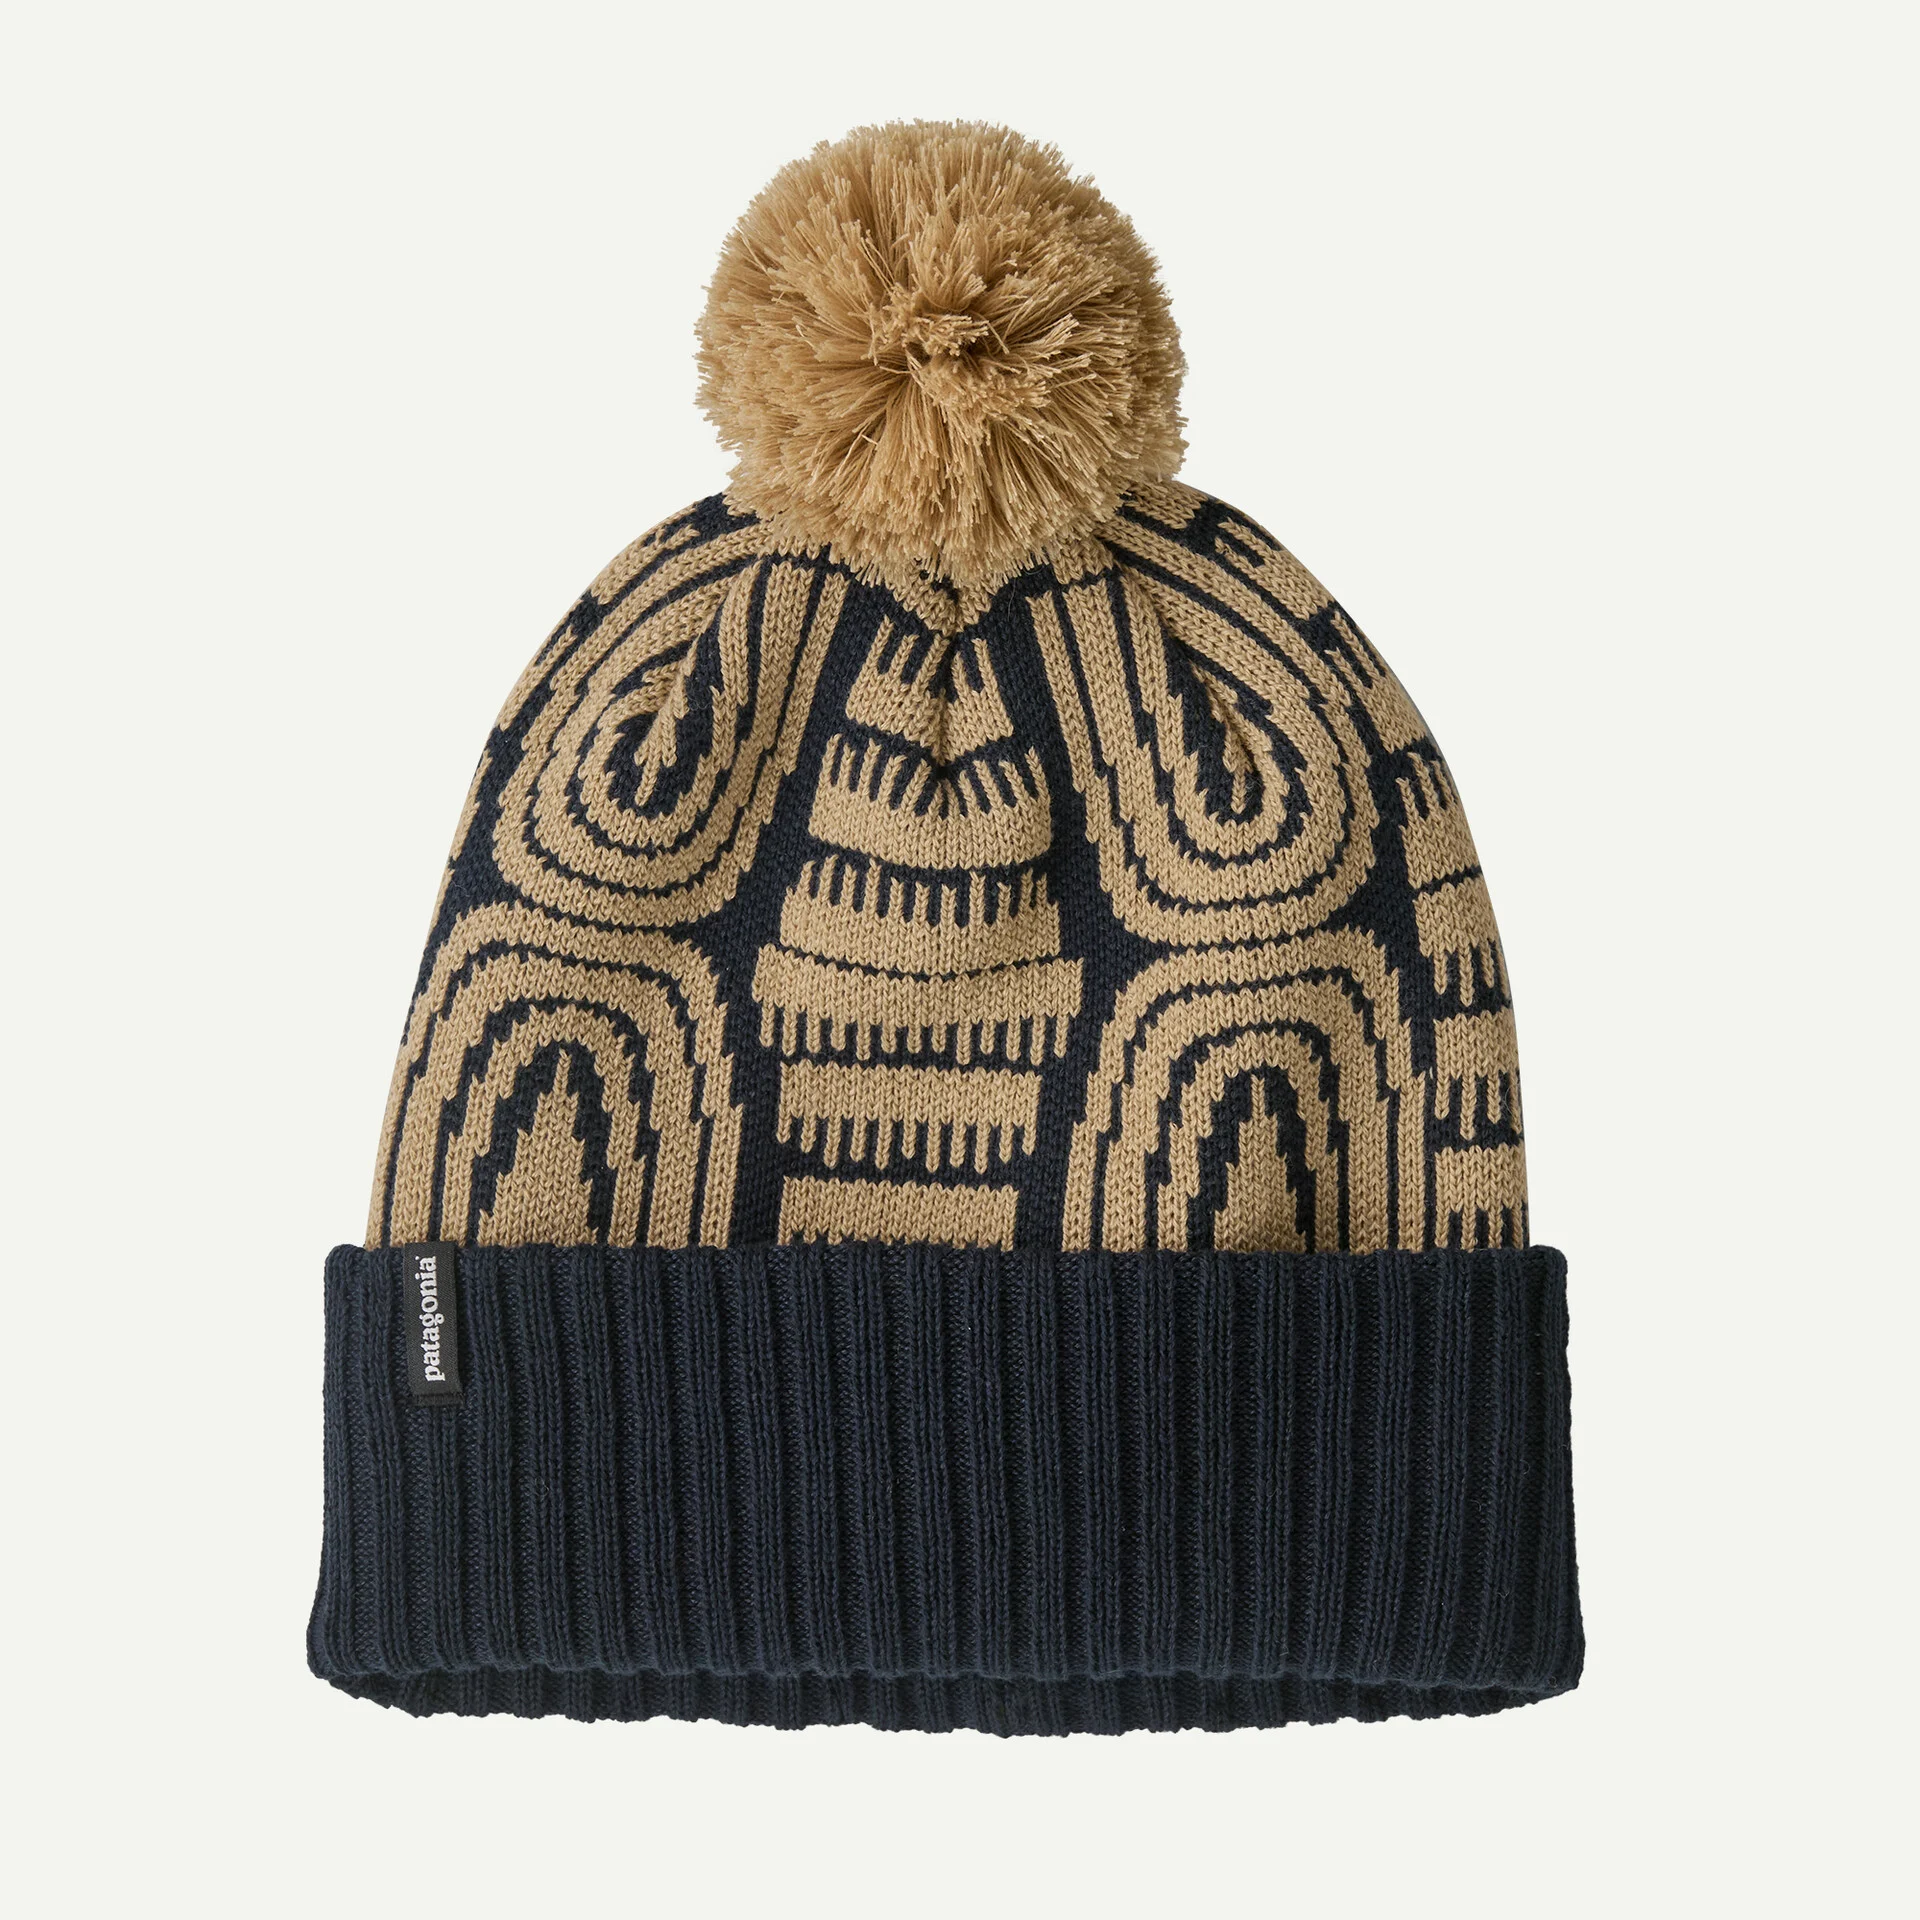
If you find a good beanie, buy two. It seems like most outdoors apparel companies make good beanies. But a favorite can be hard to find and preferences are subjective. Beanies are recommended for colder days as regulating head temperatures can have a big impact on how warm and cold you are throughout a day.
Jackets
In the Rockies, the Patagonia Nano Puff is so commonly seen, one might think it’s mandatory apparel. Like many outdoors enthusiasts, the Patagonia Nano Puff Hoody might be my most frequently worn jacket. This jacket is windproof, water-resistant, and very lightweight and packable. It almost has no impact on my load when traveling or in the field, so it often comes with me. And when it gets a bit colder, I do like this jacket under a heavier coat. Note: These jackets will take on some water, but they aren’t waterproof. It’s always good to have a waterproof jacket.
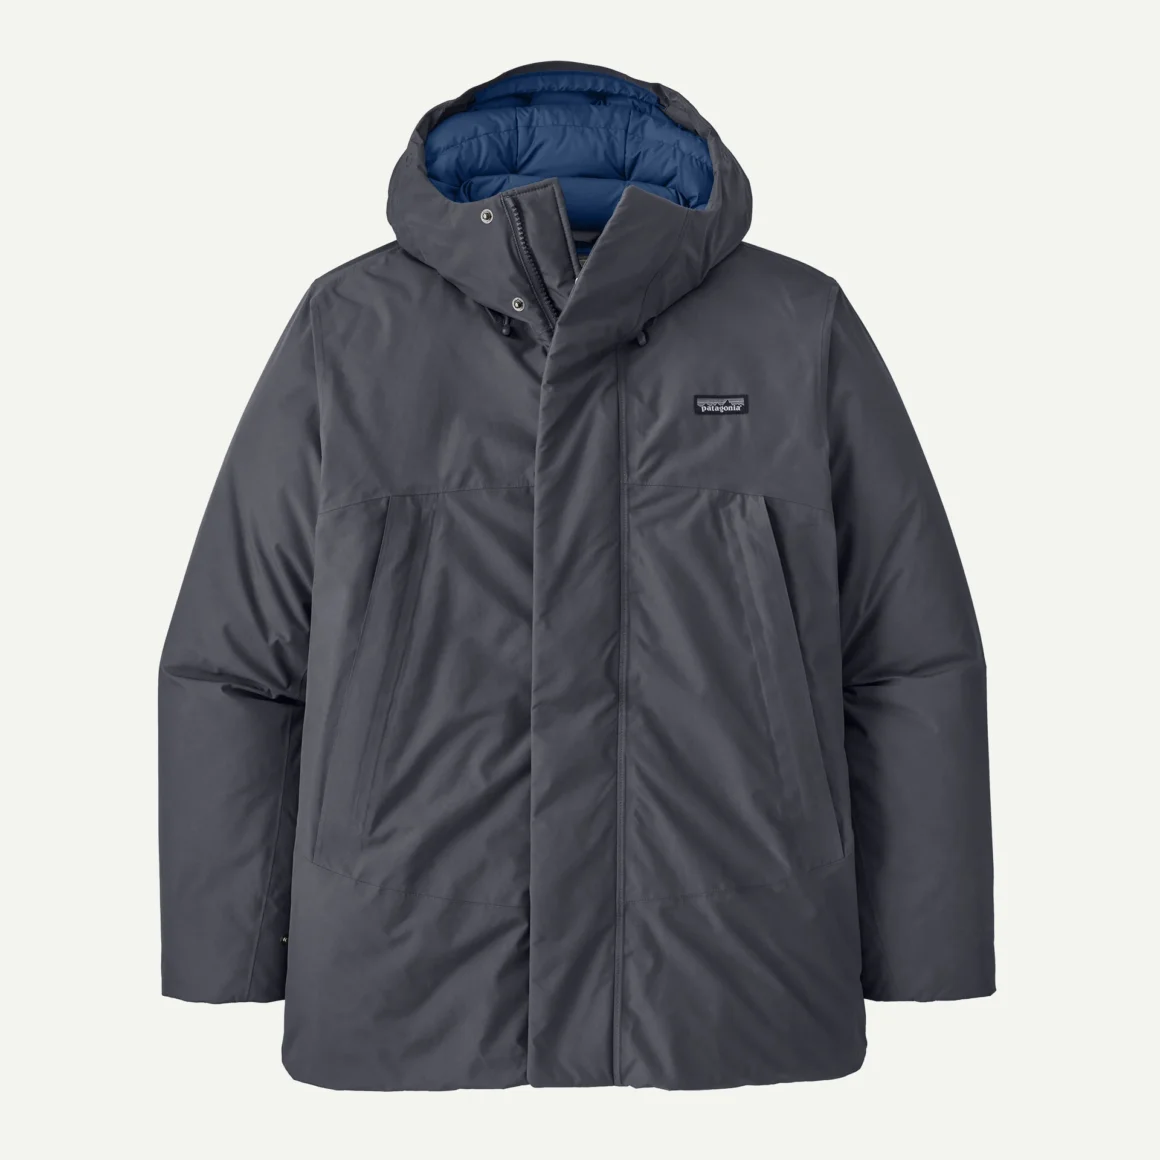
Frigid cold and snow happens in the fall. On most cold days, I wear the Patagonia Down Sweater Hoody, which is fairly lightweight, packable, windproof, and water resistant. For a much heavier but waterproof option, I go with the Patagonia Jackson Glacier Jacket. If it’s not too frigid but I want to stay dry, a good waterproof ski shell over good baselayers might work just fine.
Pants
The search for the perfect all-around fall pants is an ongoing quest. Presently I generally go with the Patagonia Alpine Guide Pants, which are windproof and water resistant and generally perfect, but in a hard rain, that water resistance can only do so much, and one can get wet, and I would not characterize these pants as quick drying.
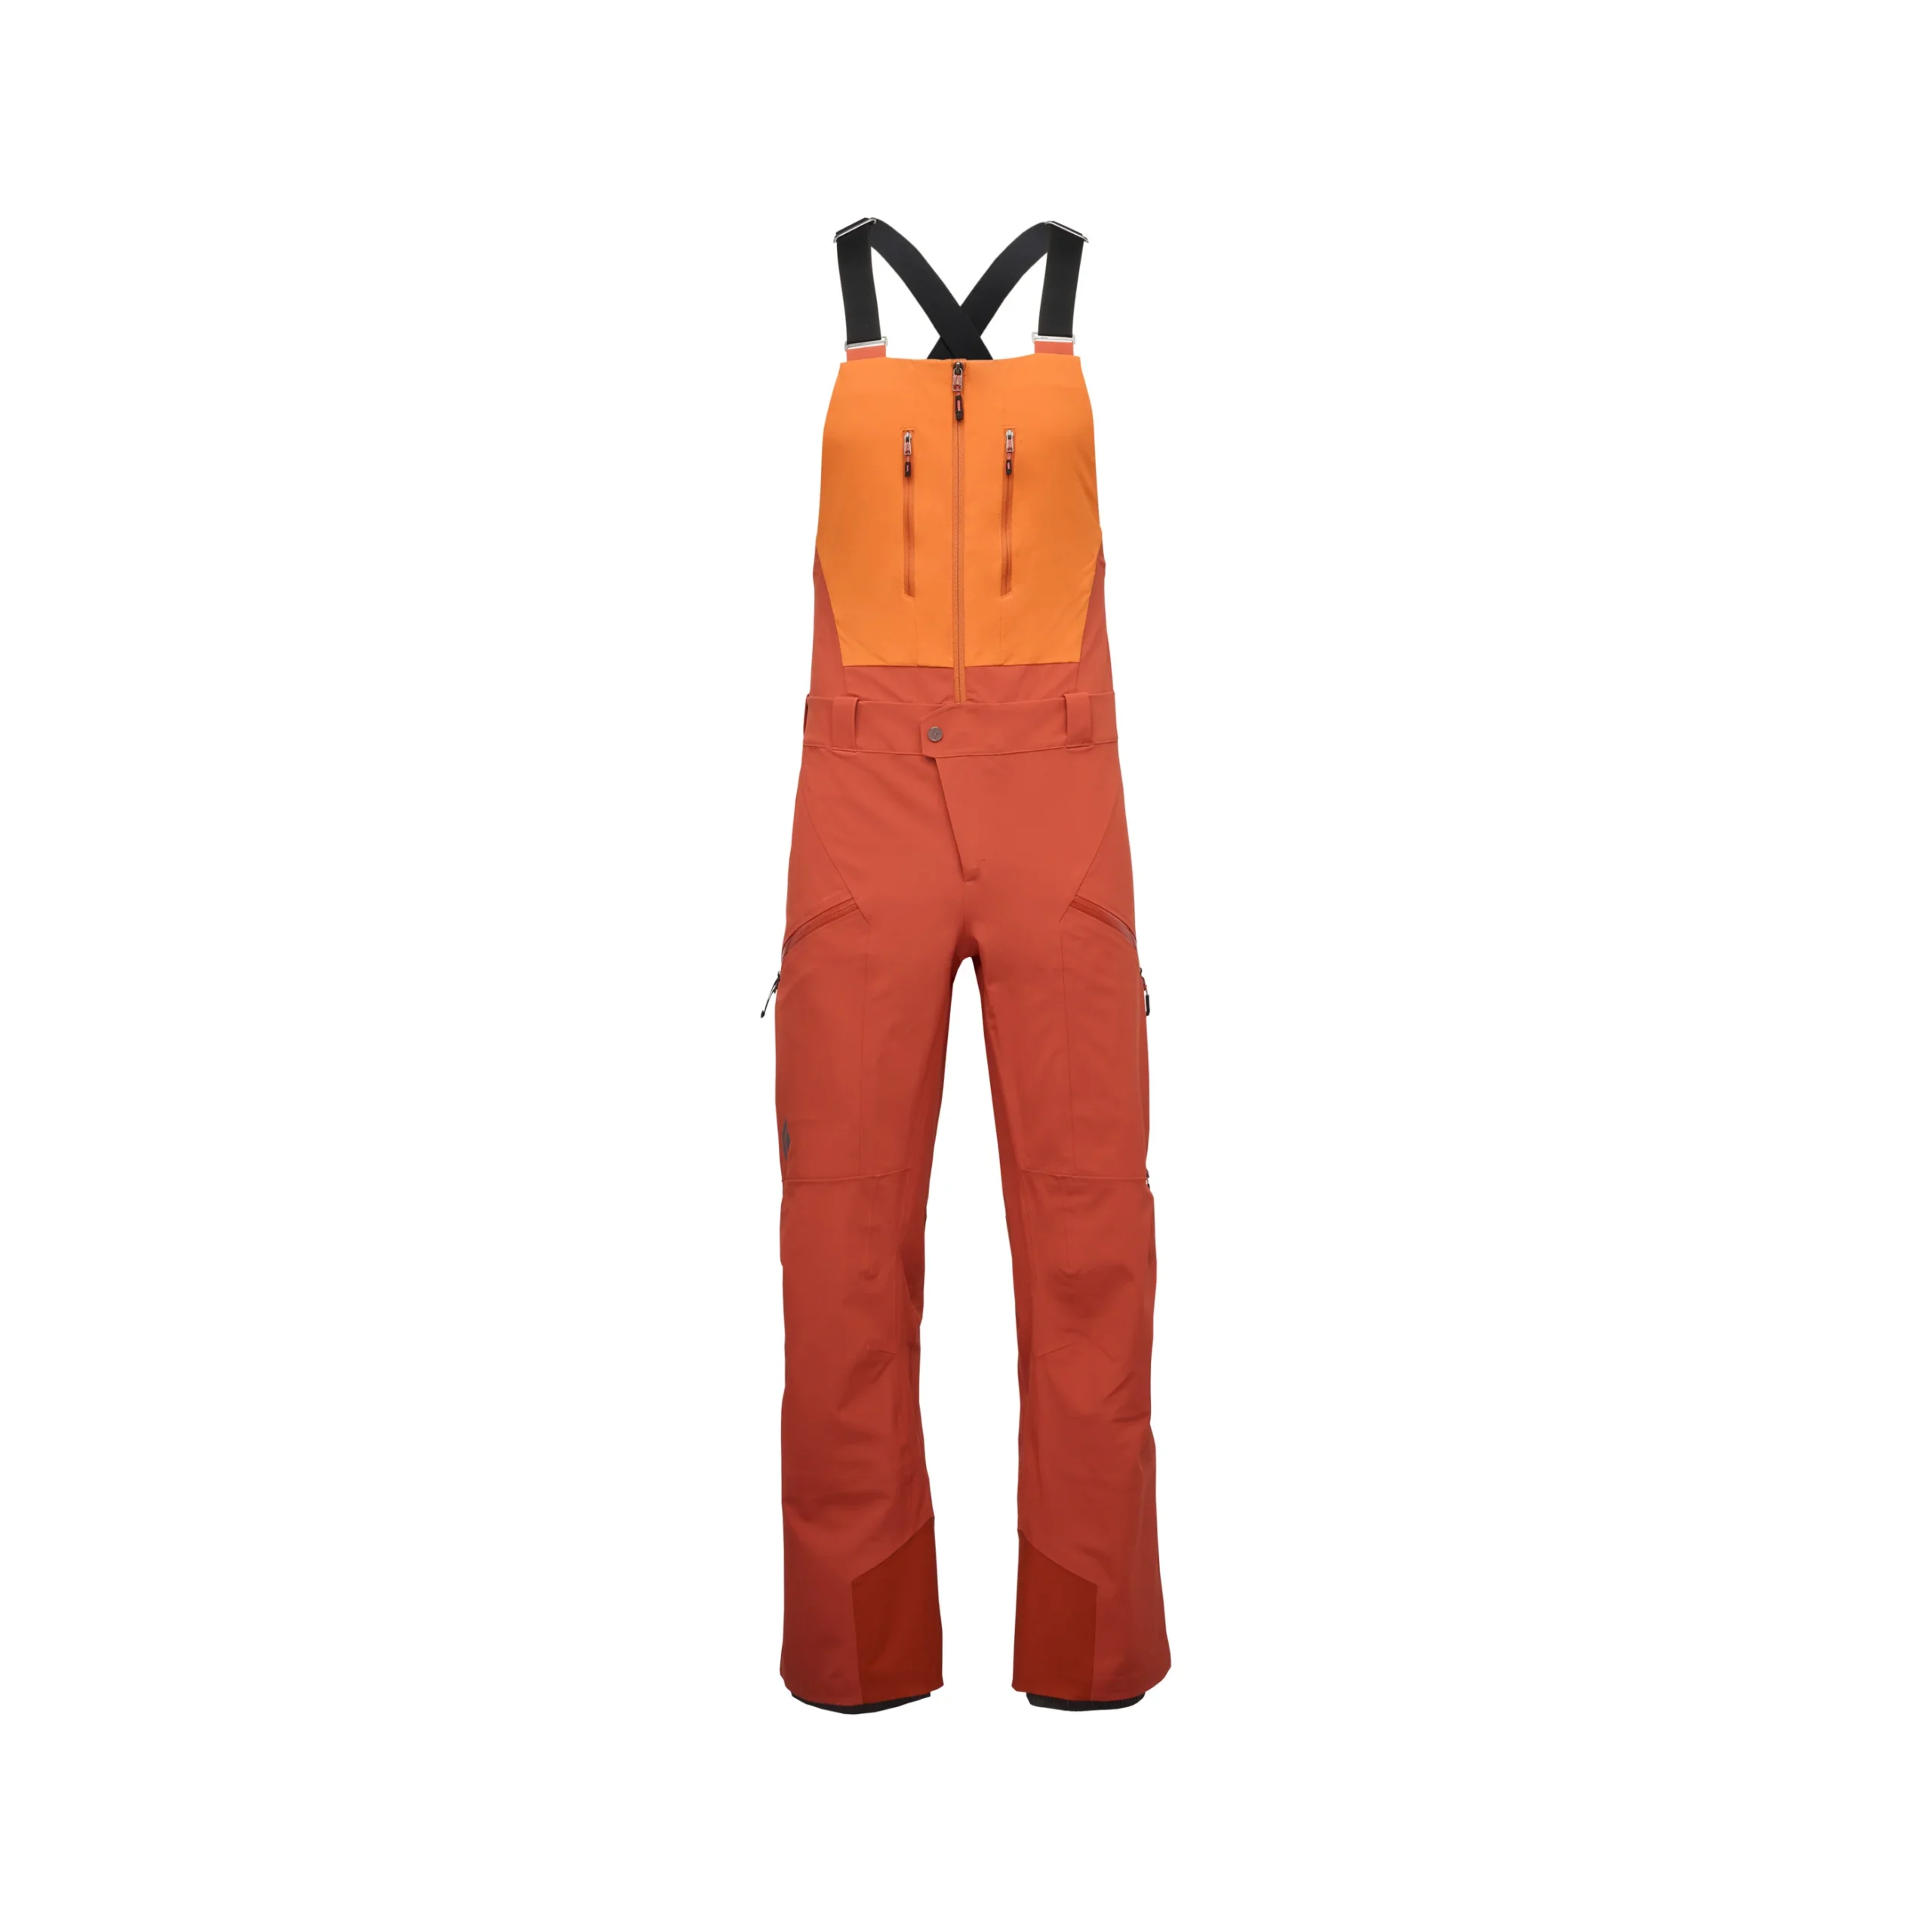
It can get pretty cold and snowstorms happen. In that case, I would recommend ski pants. Current favorites are the Patagonia Storm Shift Pants, the Patagonia Powder Town Pants, and the Freedom Pants from The North Face. All of these options should be worn with baselayer pants. And don’t forget a good belt.
 Boots and Shoes
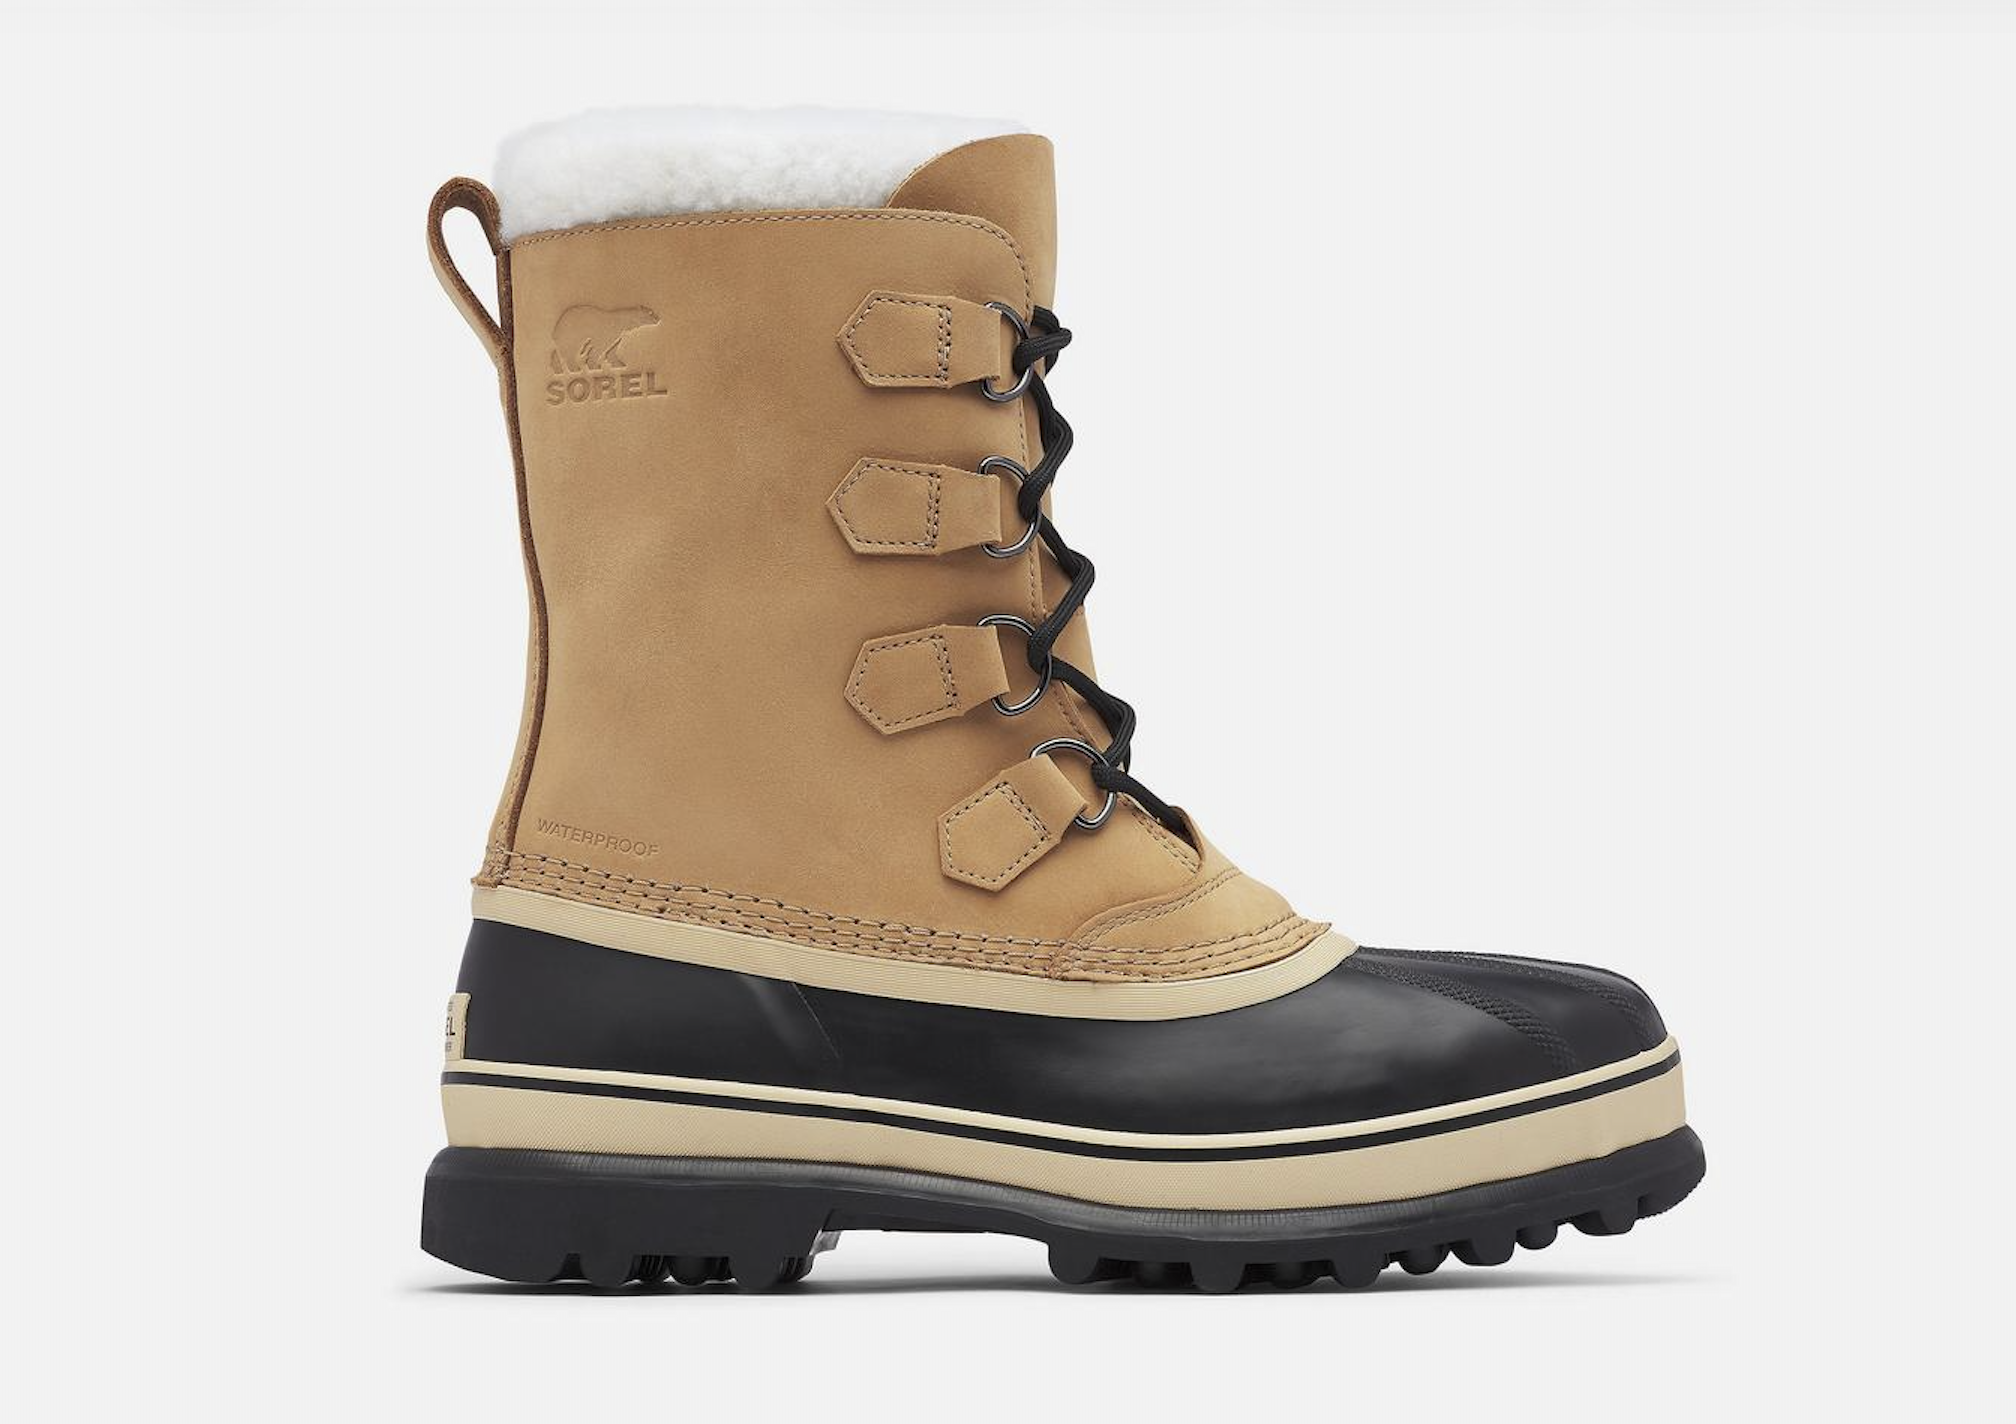
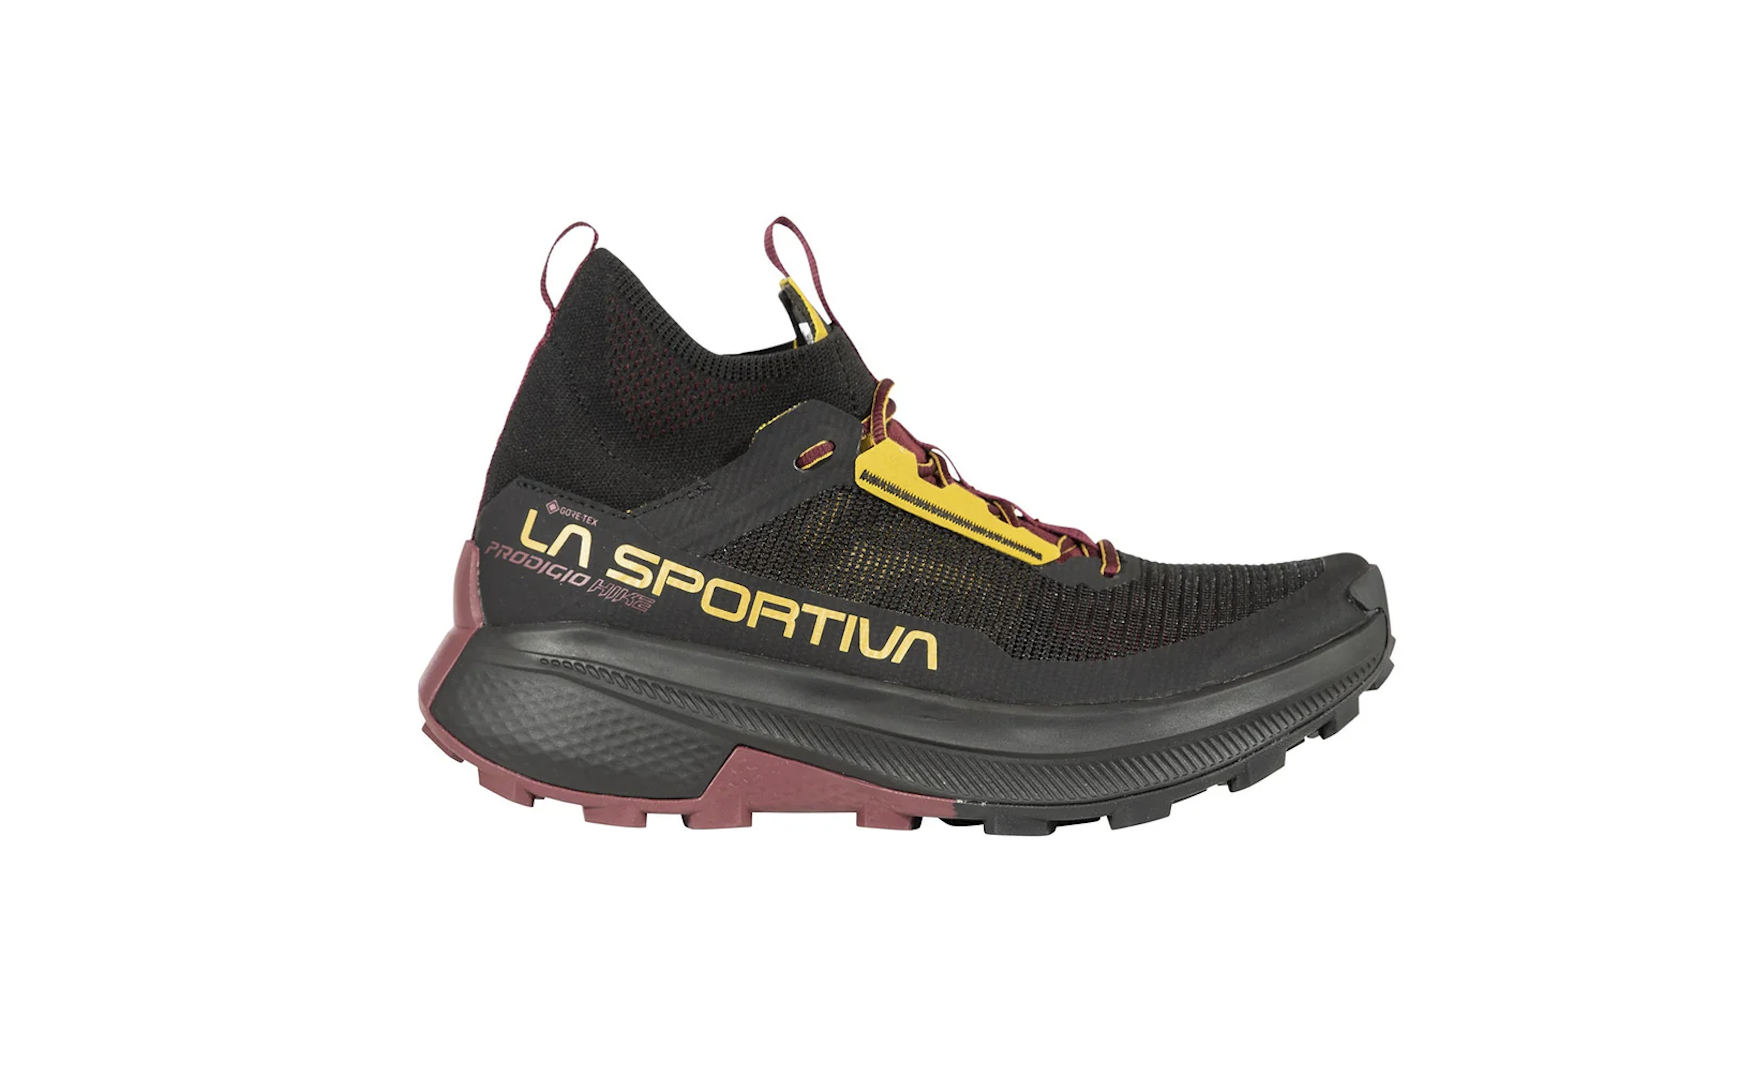
Boots are heavily subjective. I recommend going tall and waterproof with an athletic fit (if possible). A good sole and grip is essential. The SOREL Caribou waterproof boots are what I wear throughout the winter or if it snows. Generally, the taller SOREL BUXTON boots are what I wear in the fall. If I’m going to hike more, I go with the La Sportiva TX Hike Mid GTX boots.
Miscellaneous Gear
Tripods
There are many different tripods to fit a variety of needs for photographers. For wildlife photography, a tripod that is light enough to not weigh you down and is strong enough to hold heavy lenses is what you’ll need to look for. The Sirui W-2204 Waterproof Carbon Fiber Tripod and the Sirui W-2004 Waterproof Aluminum Alloy Tripod are excellent. The carbon fiber option is lighter. I’ve heard it said that the aluminum is stronger in extreme cold. I have yet to find out the hard way which is stronger.
Gimbal
There are many great-looking and high functioning gimbals out there now. For wildlife photography, I like the Wimberley WH-200 Gimbal Tripod Head II with Quick Release Base. It is strong, easy to use, and has a nice smooth motion when set properly.
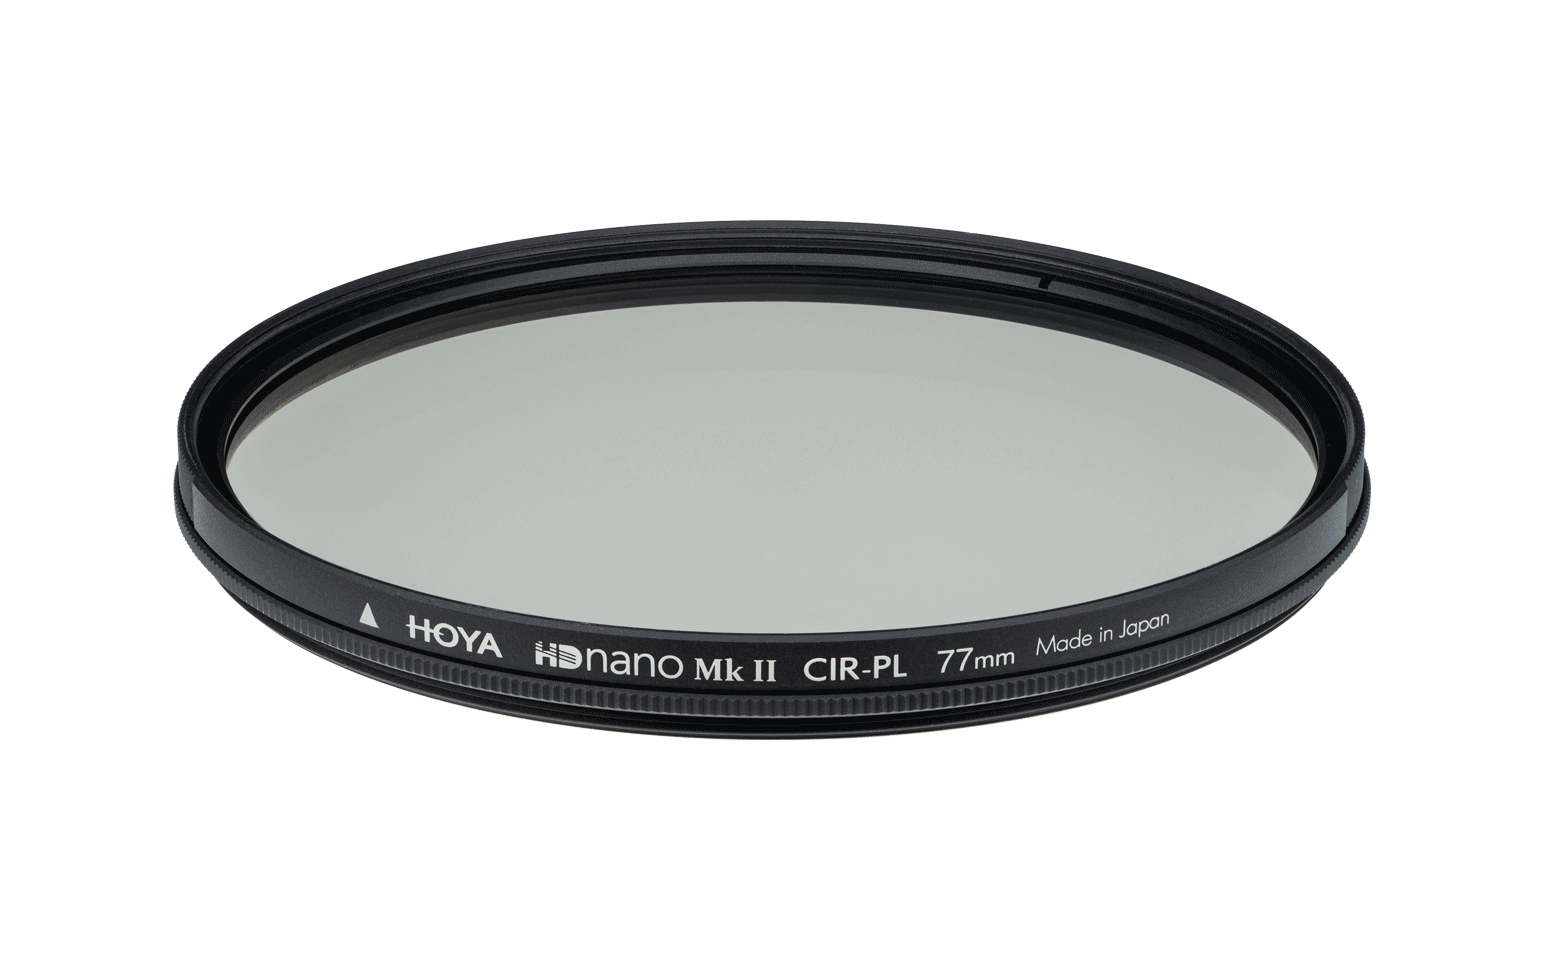
Sunglasses
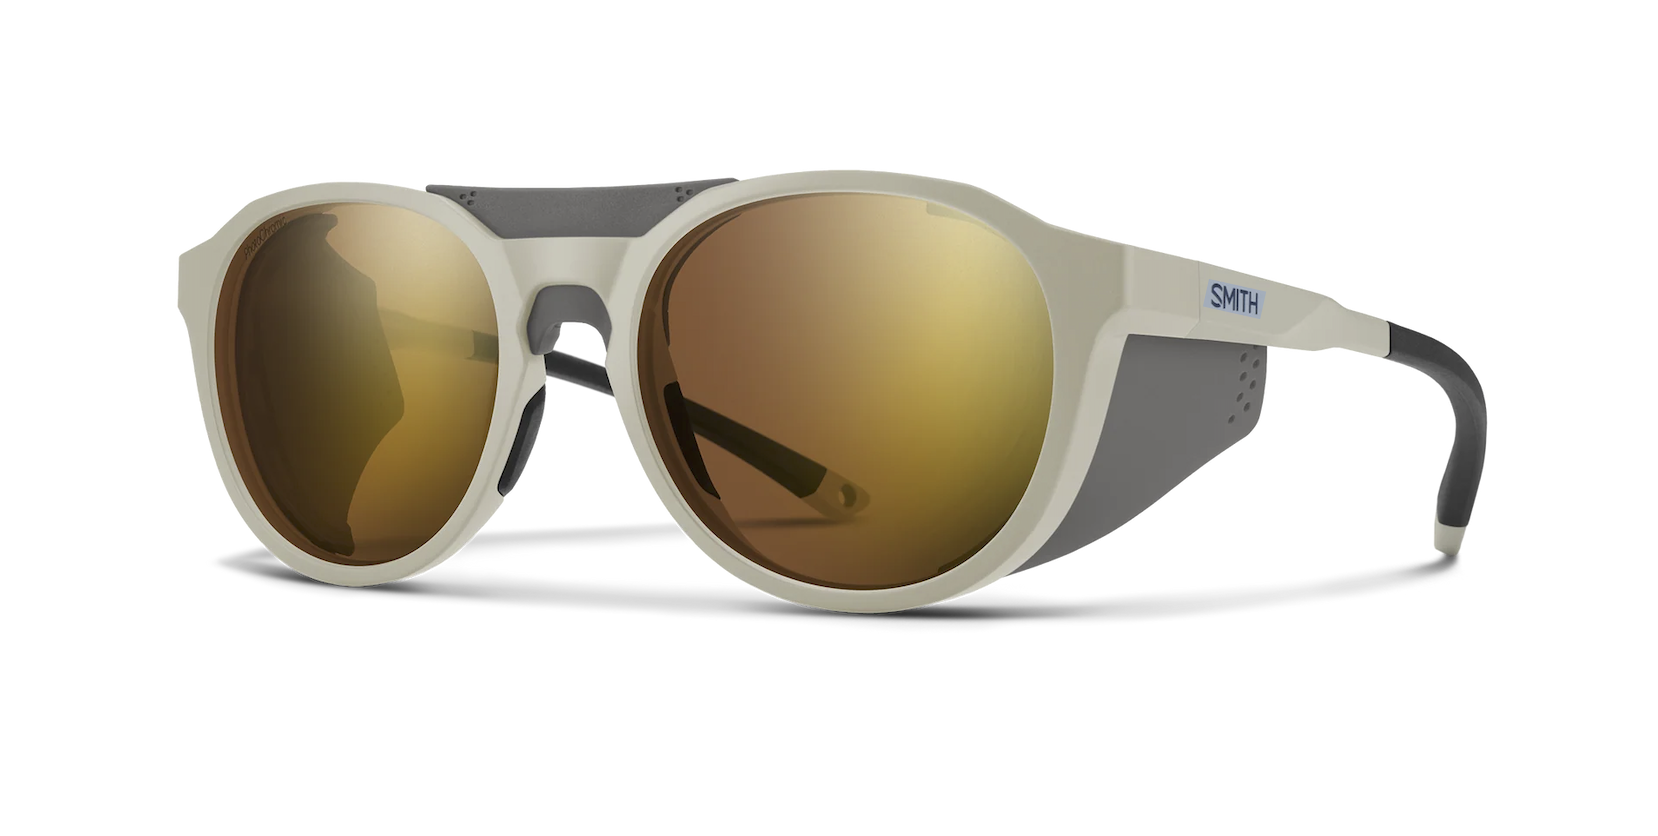
Good, quality polarized sunglasses can really help you see and reduce eye fatigue. Smith and Costa are among a number of top brands. The Smith Embark and Smith Venture sunglasses offer side shields that block light from the side, which can be very useful, especially if there is glare from snow.
Backpacks and Packs
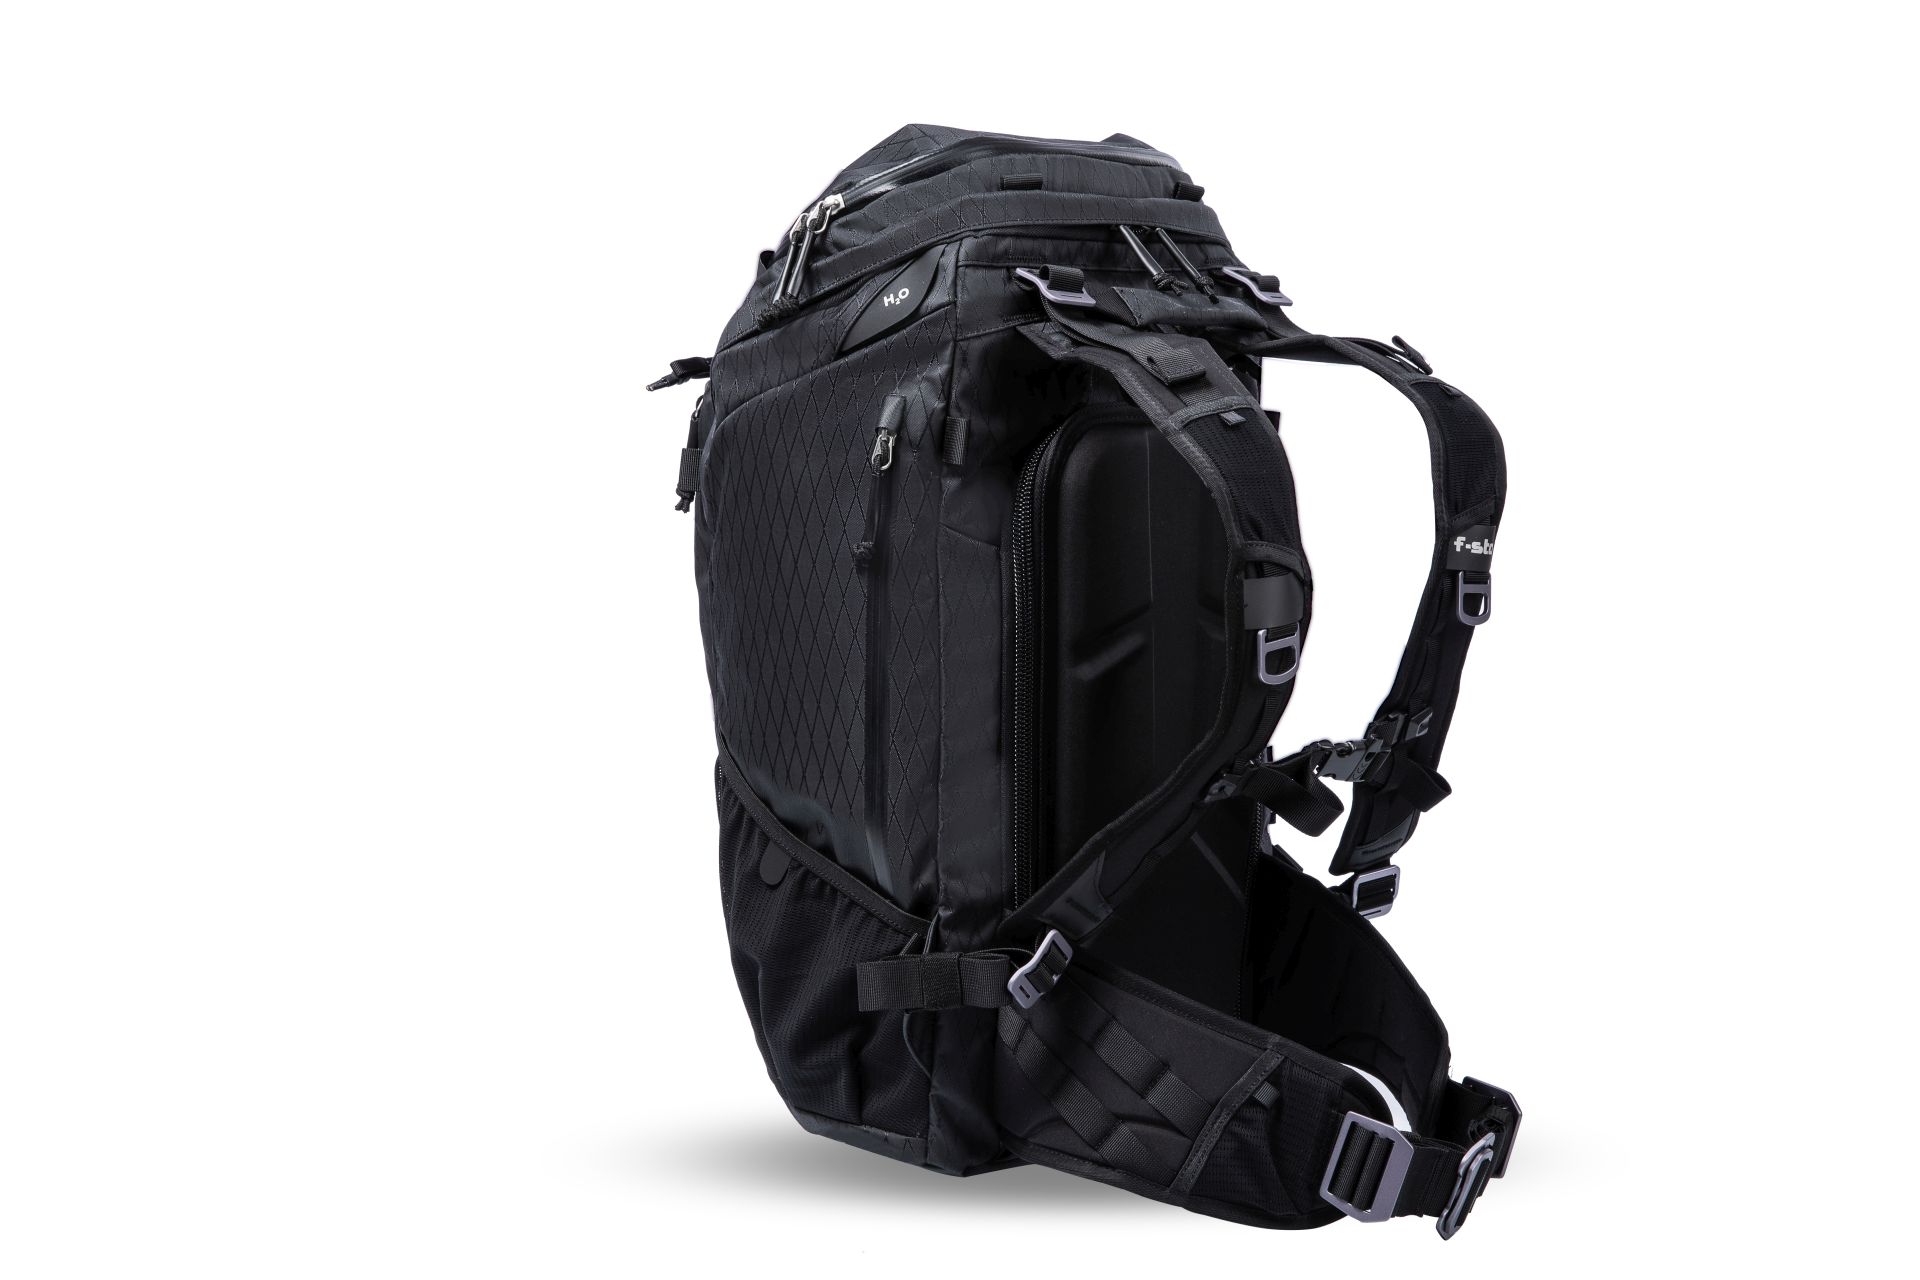
For carrying gear in the field, I highly recommend f-stop backpacks. The Mountain Series packs have gone with me to mountain shoots all over the world. I currently use the f-stop ANJA 37L DuraDiamond, the TILOPA 50L DuraDiamond, and the SHINN 80L DuraDiamond backpacks. When I am solo and on most trips, I use the TILOPA. If I am guiding or need more than one big lens with me, I go with the SHINN. I have put these packs through a lot, and they are durable and tough while remarkably comfortable to wear for hours and hours on end. These packs have an endless number of features, but their comfort and ability to withstand weather and more are at the top of my list of reasons to go with one (or all) of these packs.
 Drinkware
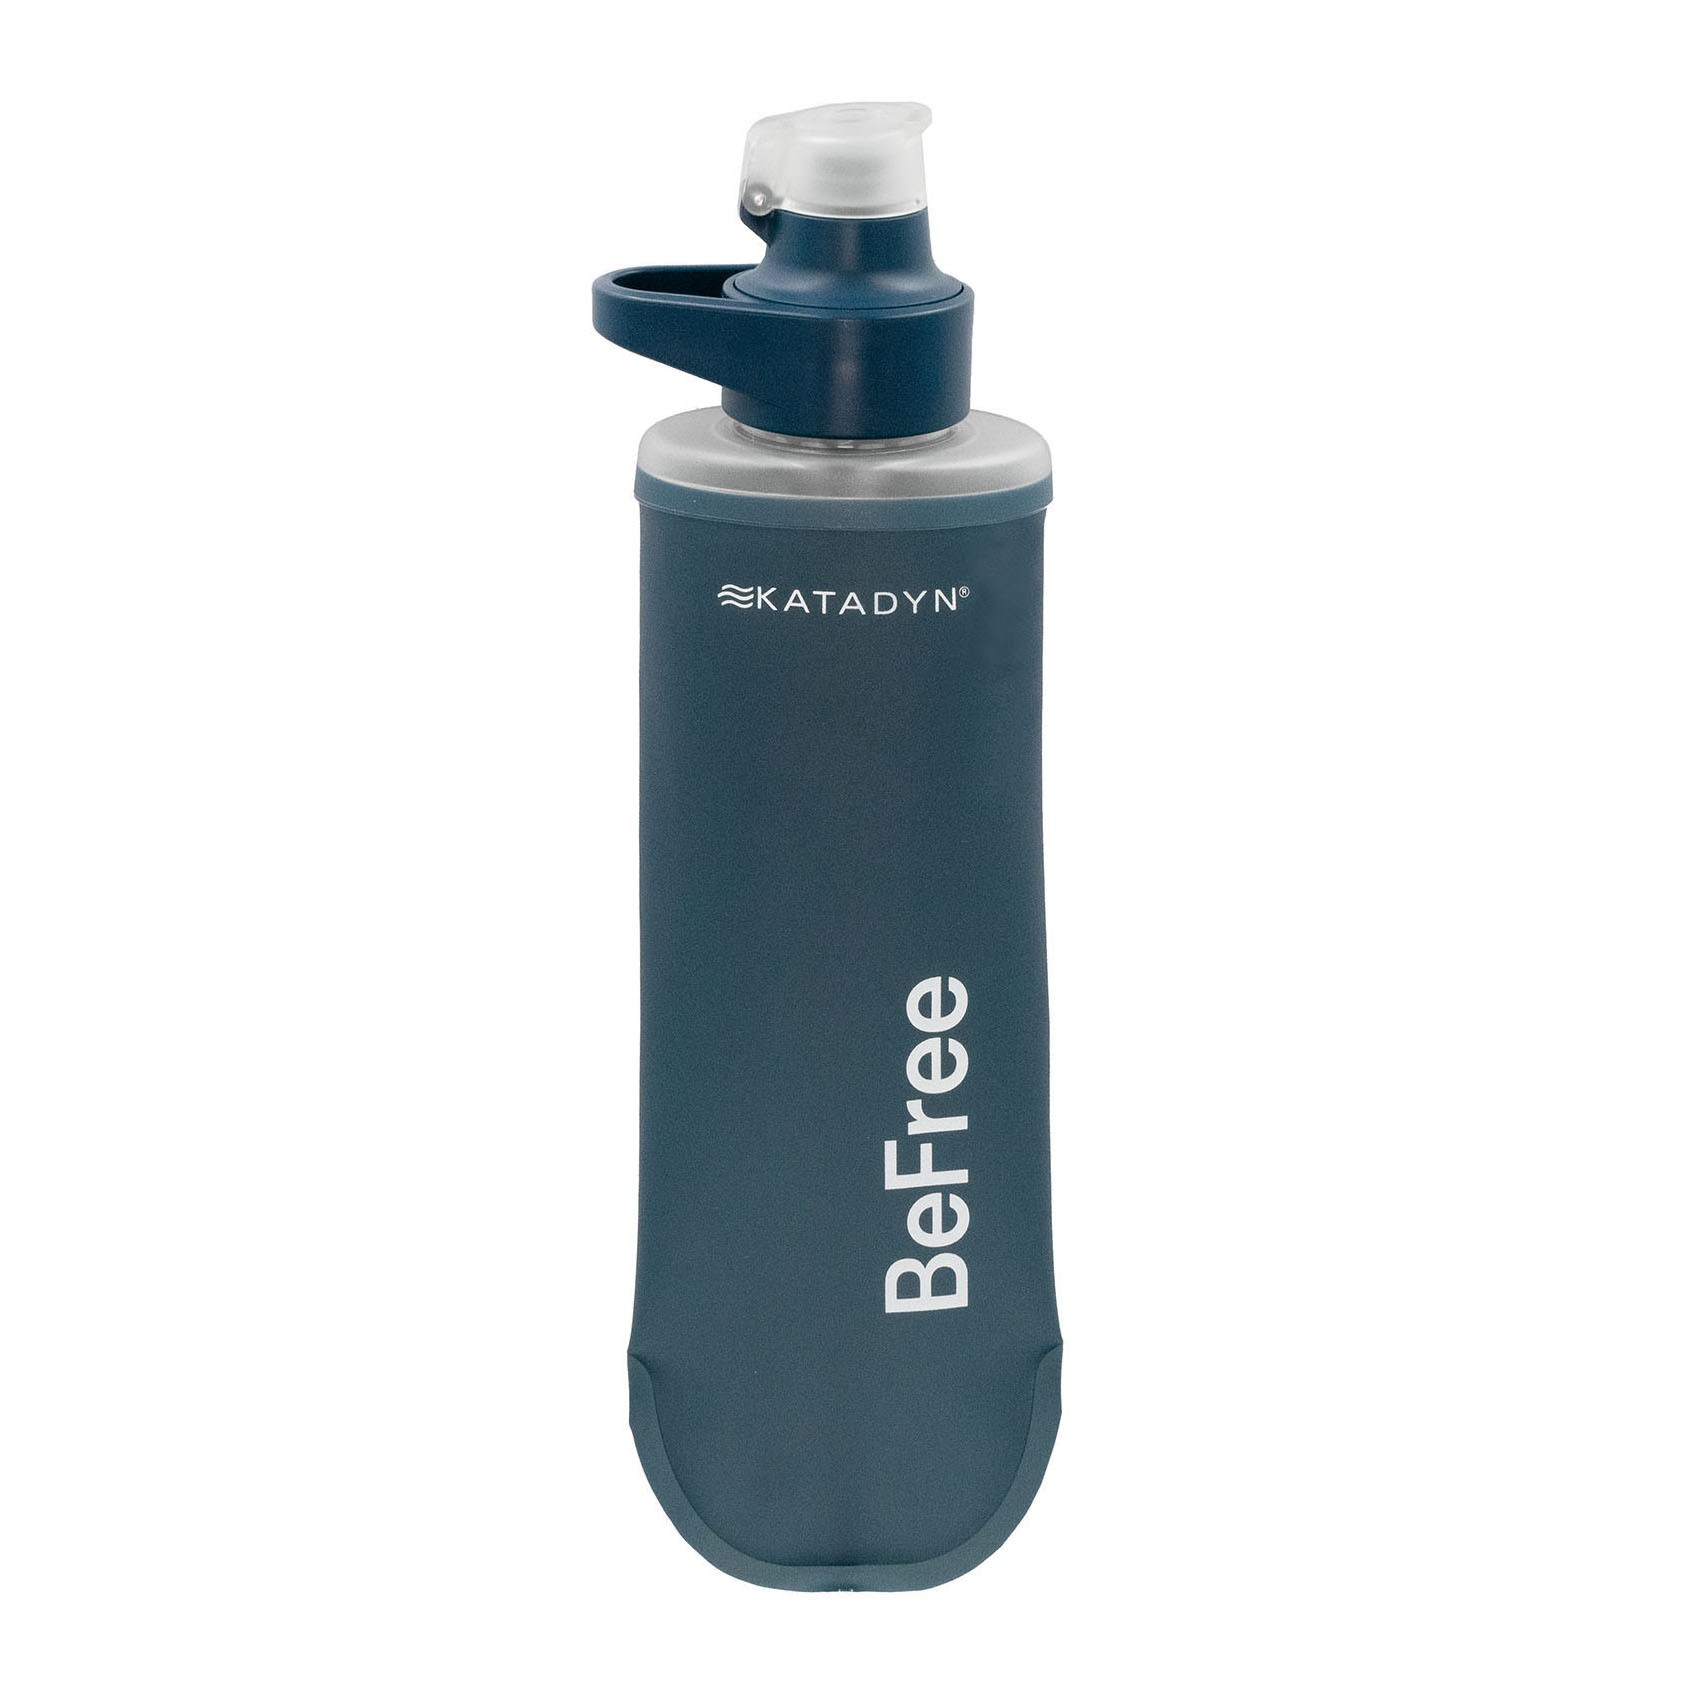
One of the most important items you can have with you in the mountains is water. Camelbaks are easy and convenient and can often be incorporated into your pack. A Katadyn BeFree filter packs easy and can get you water in a pinch. The YETI Yonder bottles are fairly lightweight. The YETI Rambler bottles are not lightweight, but they can keep your coffee warm.
Trekking Poles
As photographers, and especially as wilderness photographers, we carry heavy loads on uneven terrain, and we frequently need to hike to get to our subject. Trekking poles are great for keeping balance and hopefully decreasing fatigue. The Black Diamond Trail Cork Trekking Poles are excellent. The Black Diamond Alpine Carbon Cork Trekking Poles are a bit lighter but also nearly twice the price.
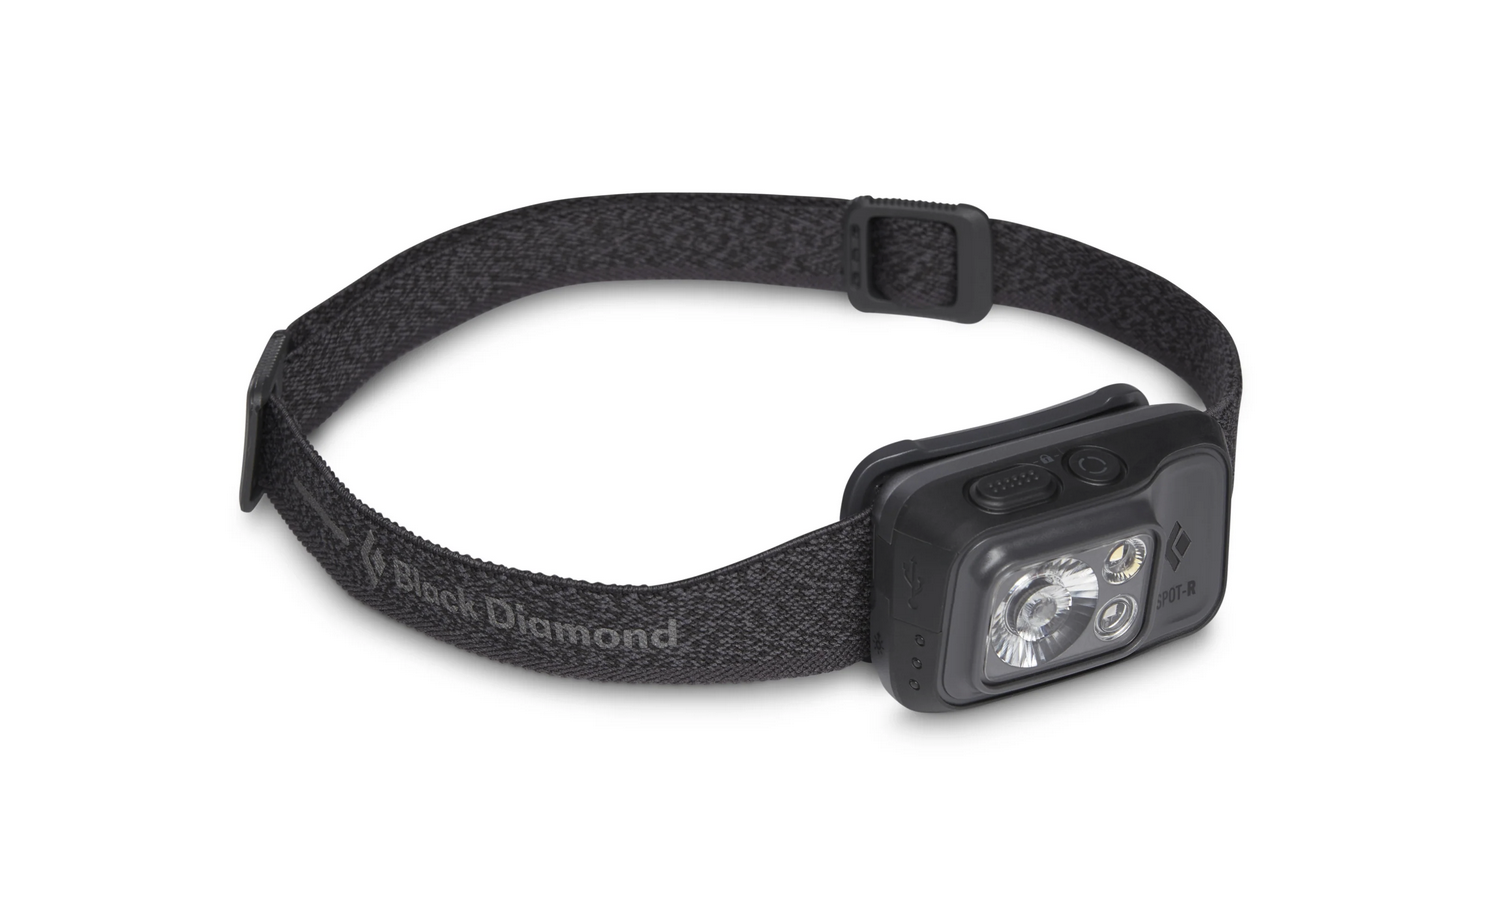
Headlamp
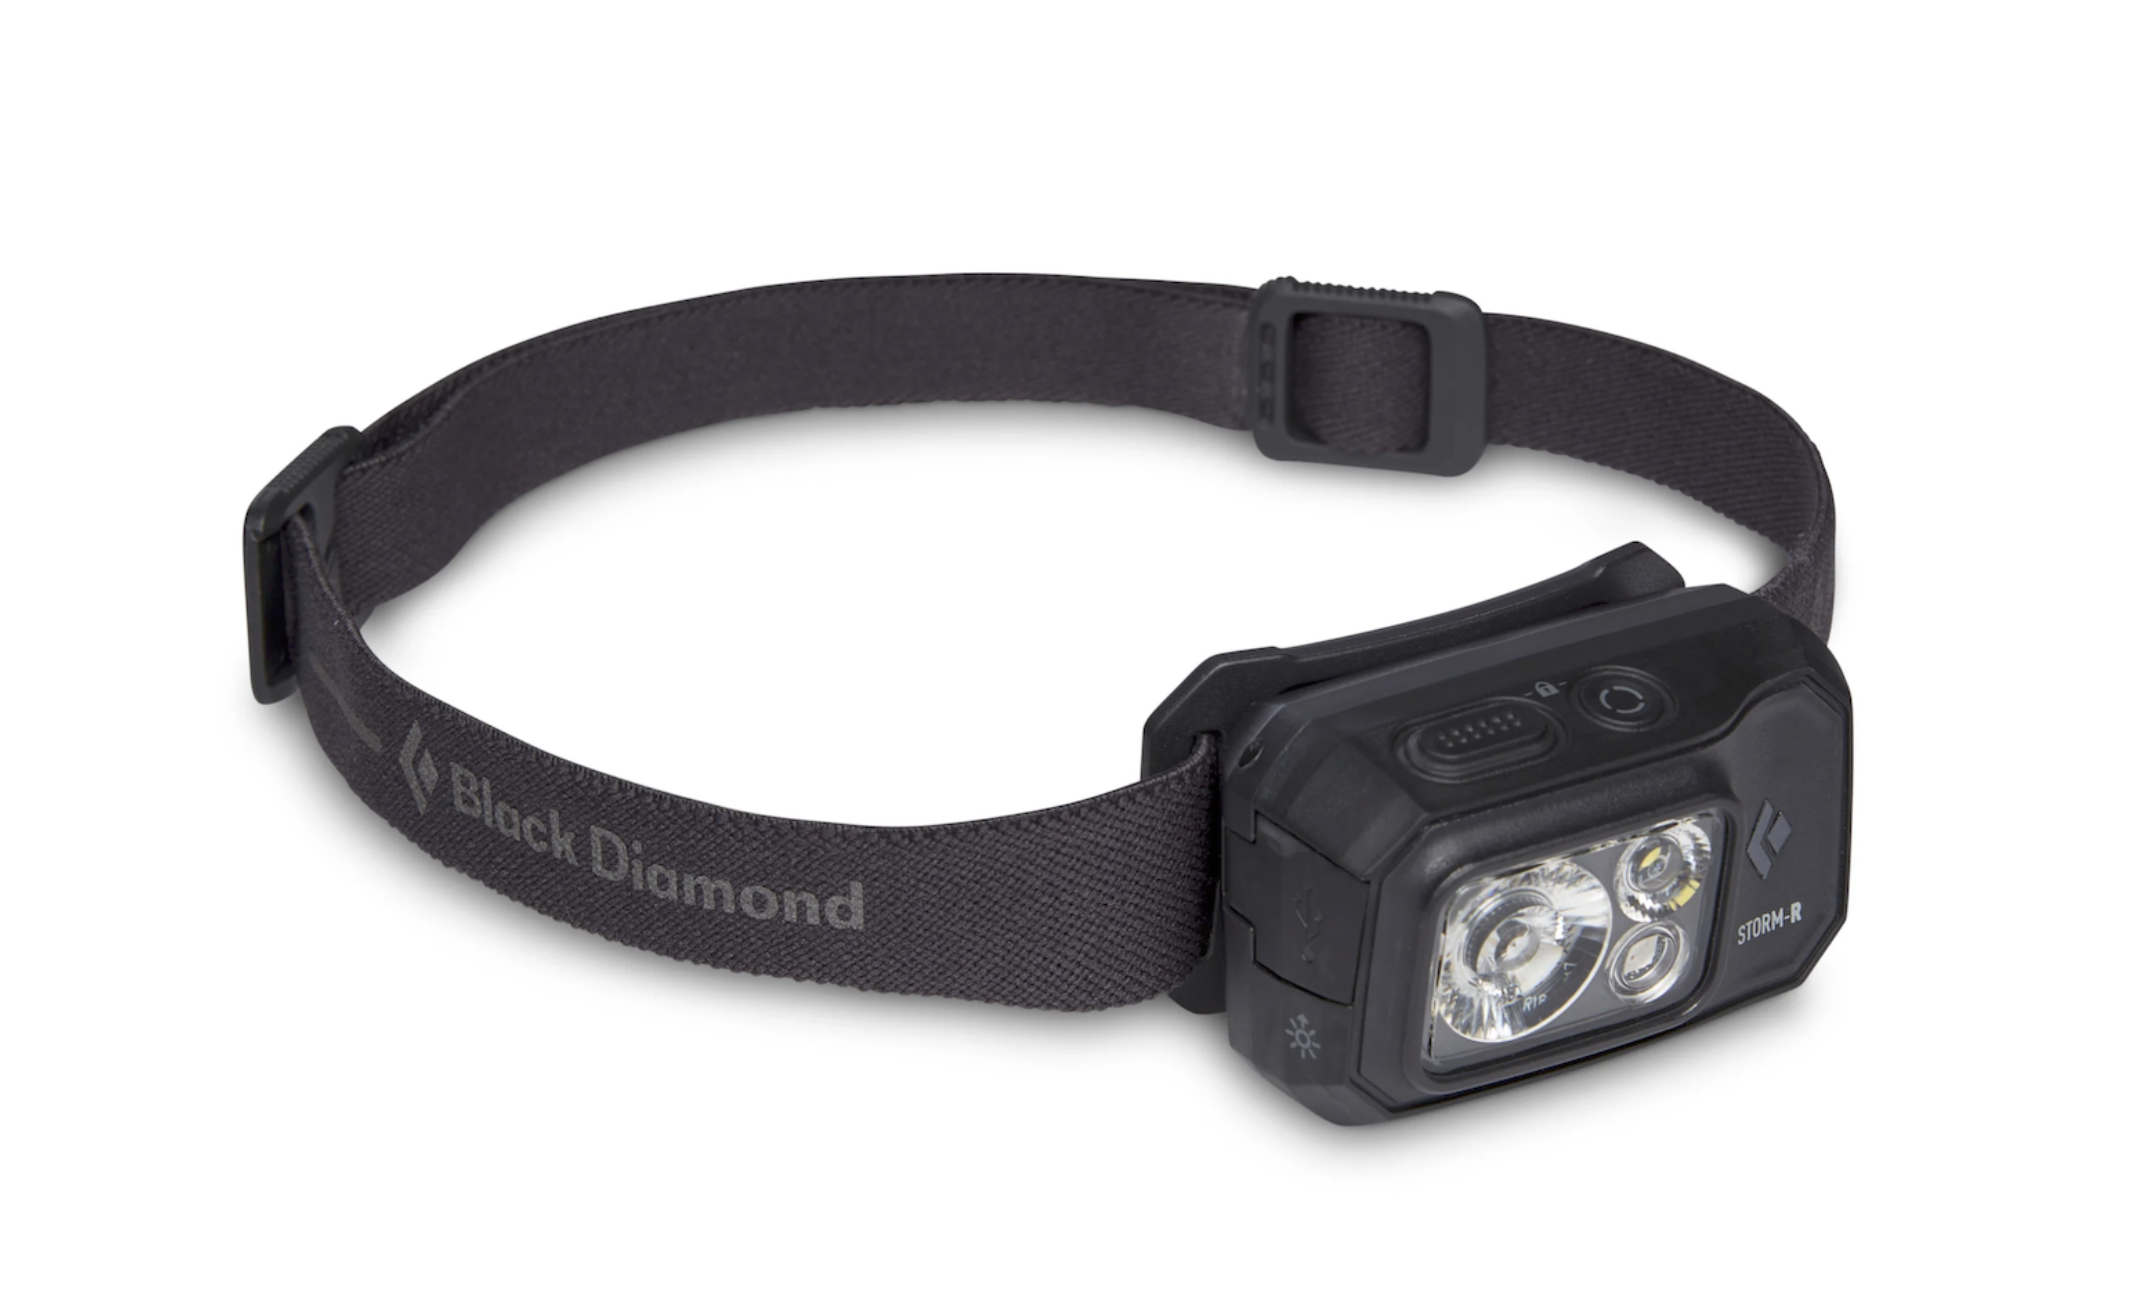
I won’t go many places without a headlamp, even if it’s just in the glove box of the truck. For photographers, they care useful for everything from sorting through gear at low light to being a light source when hiking. My favorite headlamp is the Fenix HM50R. This headlamp offers good brightness and distance and a rechargeable battery. There are other features, but the rechargeable battery is what makes this the preferred lamp, especially for travel or multiple days in the outdoors. The Black Diamond Storm 500-R Rechargeable Headlamp is also a good option.
Multi-tool
The Leatherman Skeletool has come through when things go wrong. Good for gear fixes.
 Other
Other
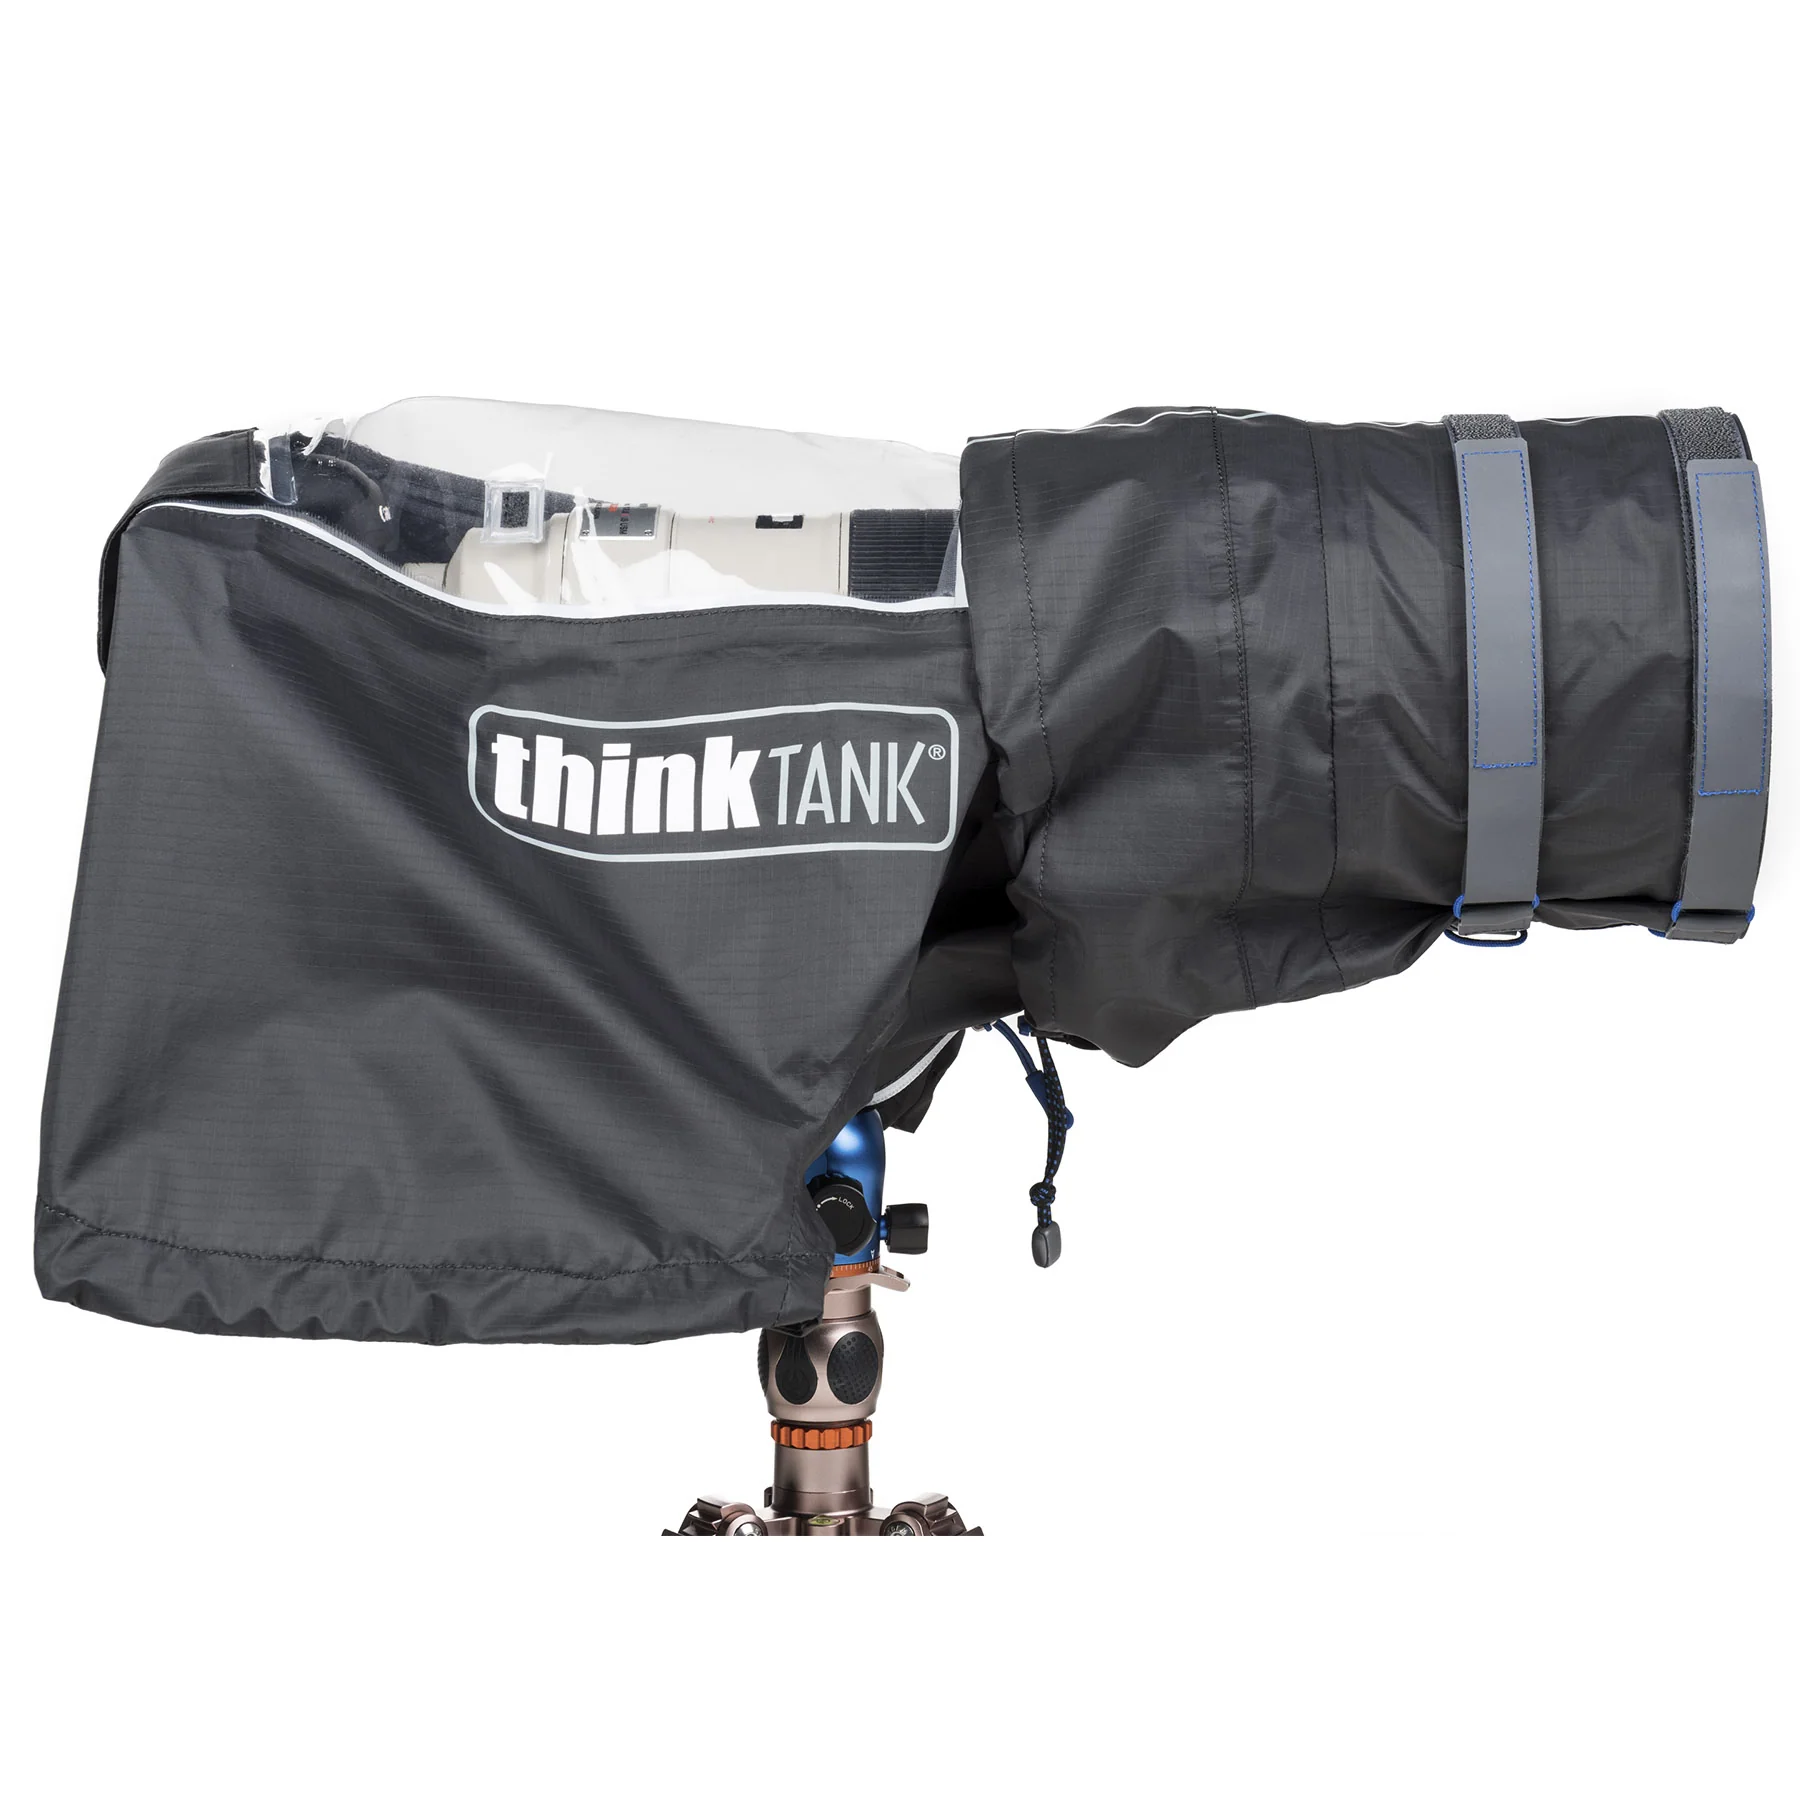
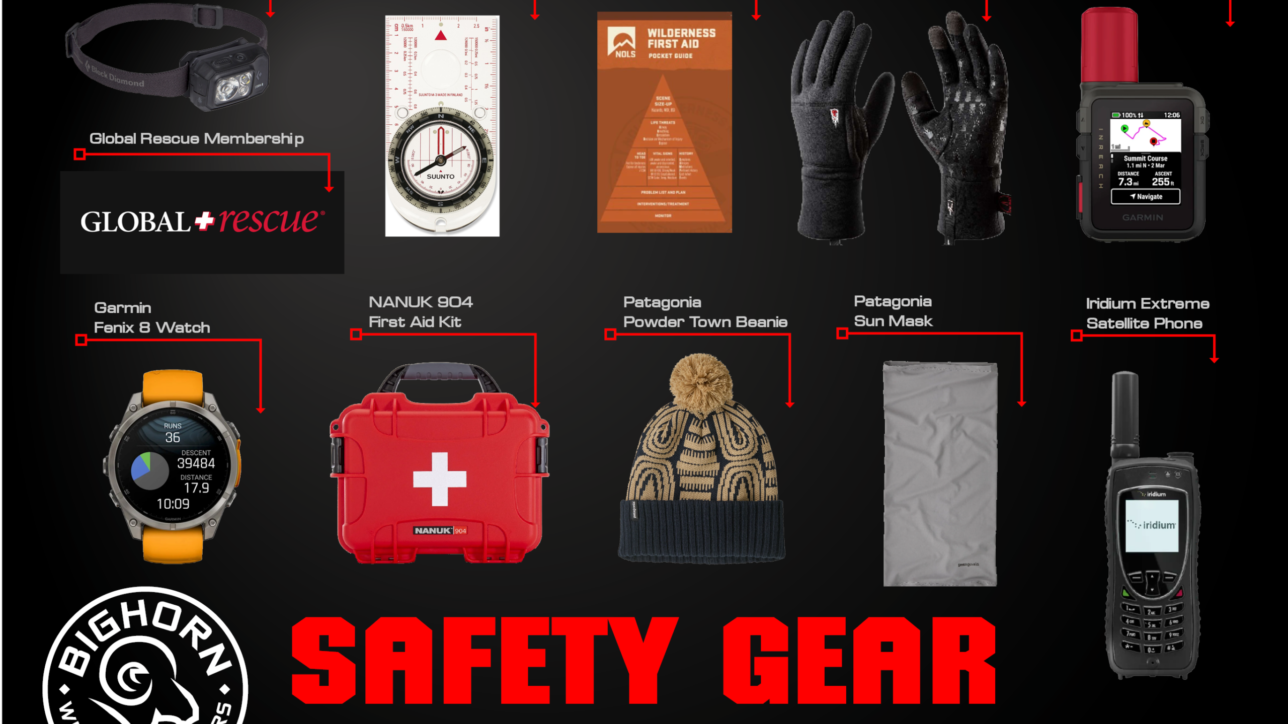
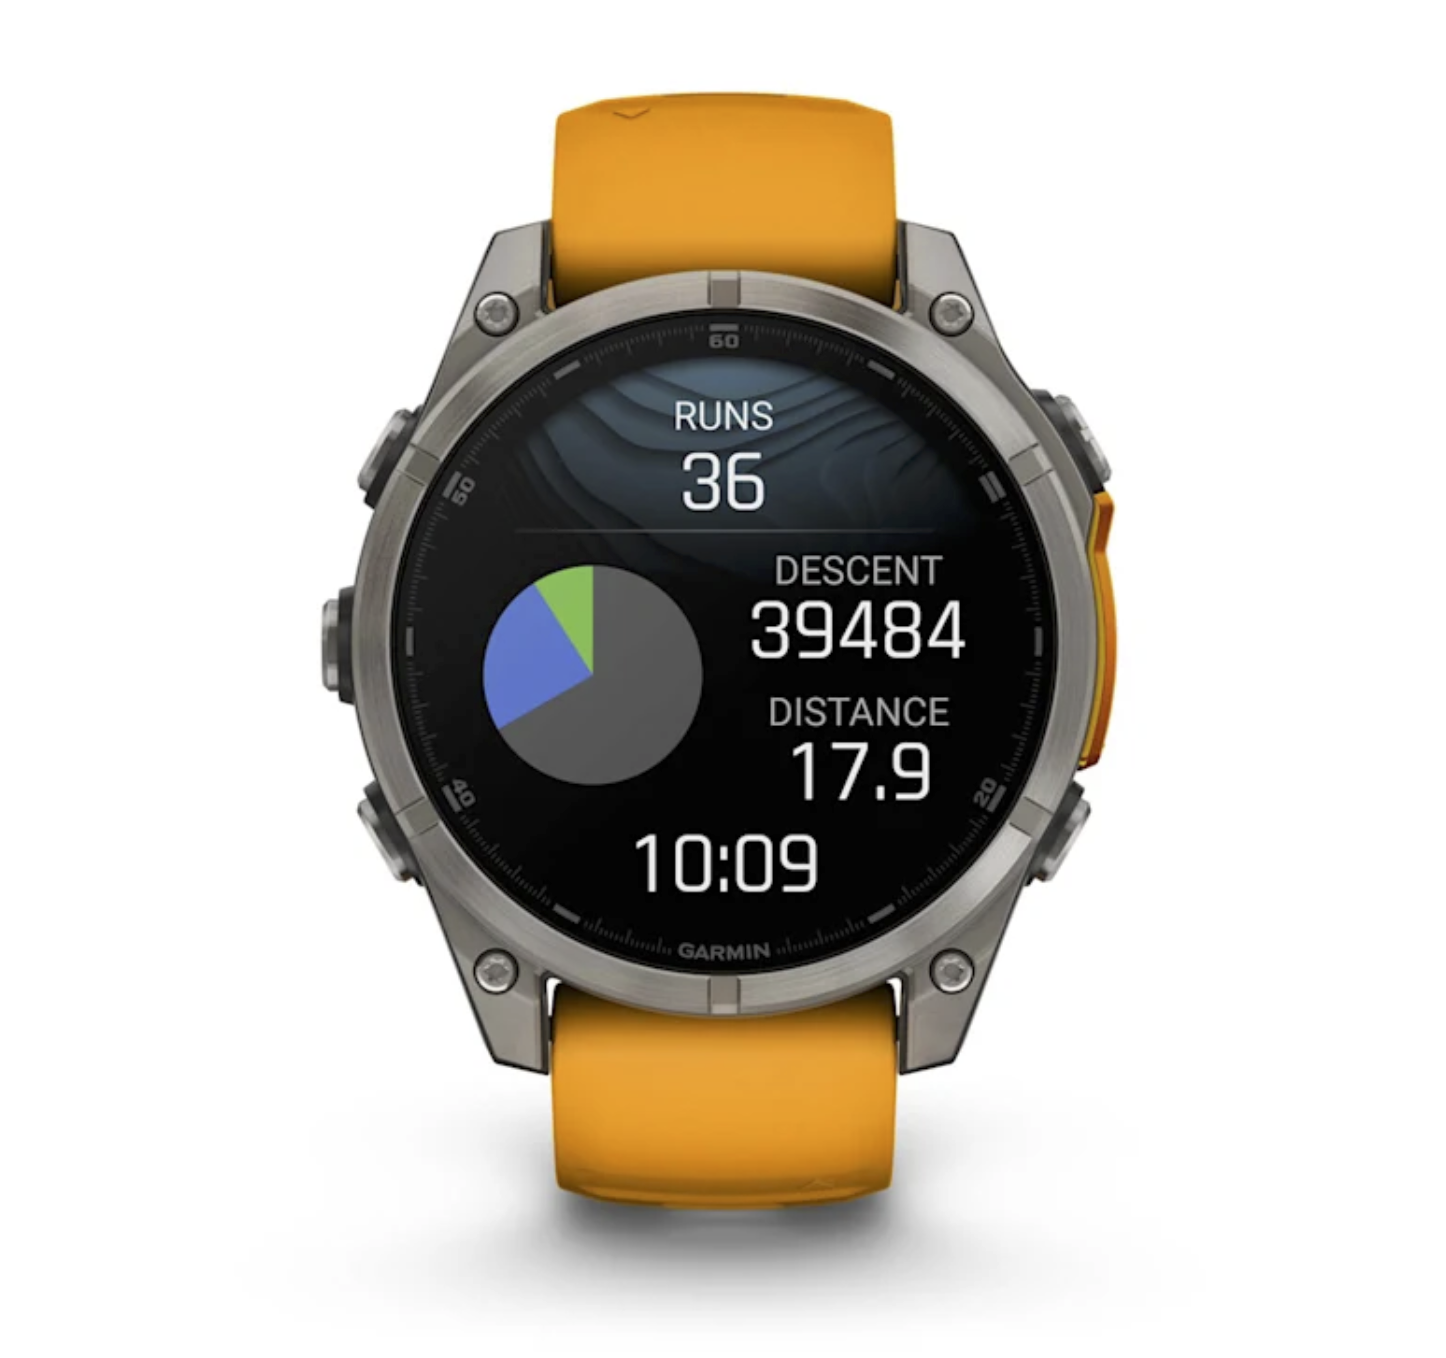
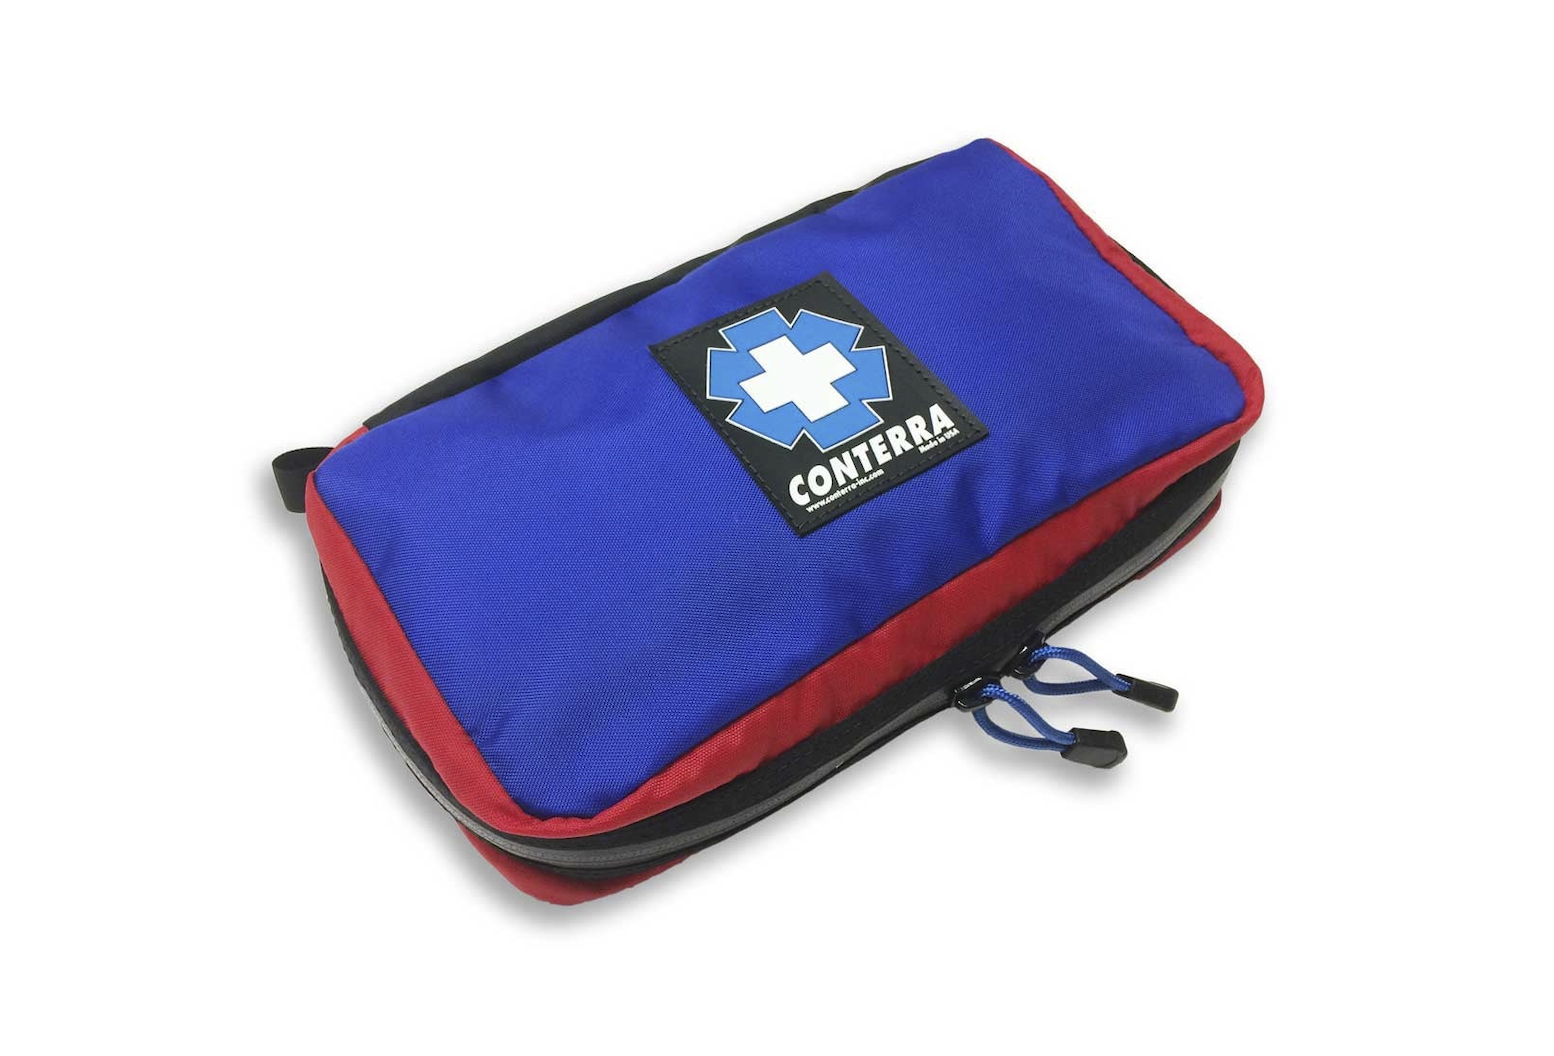
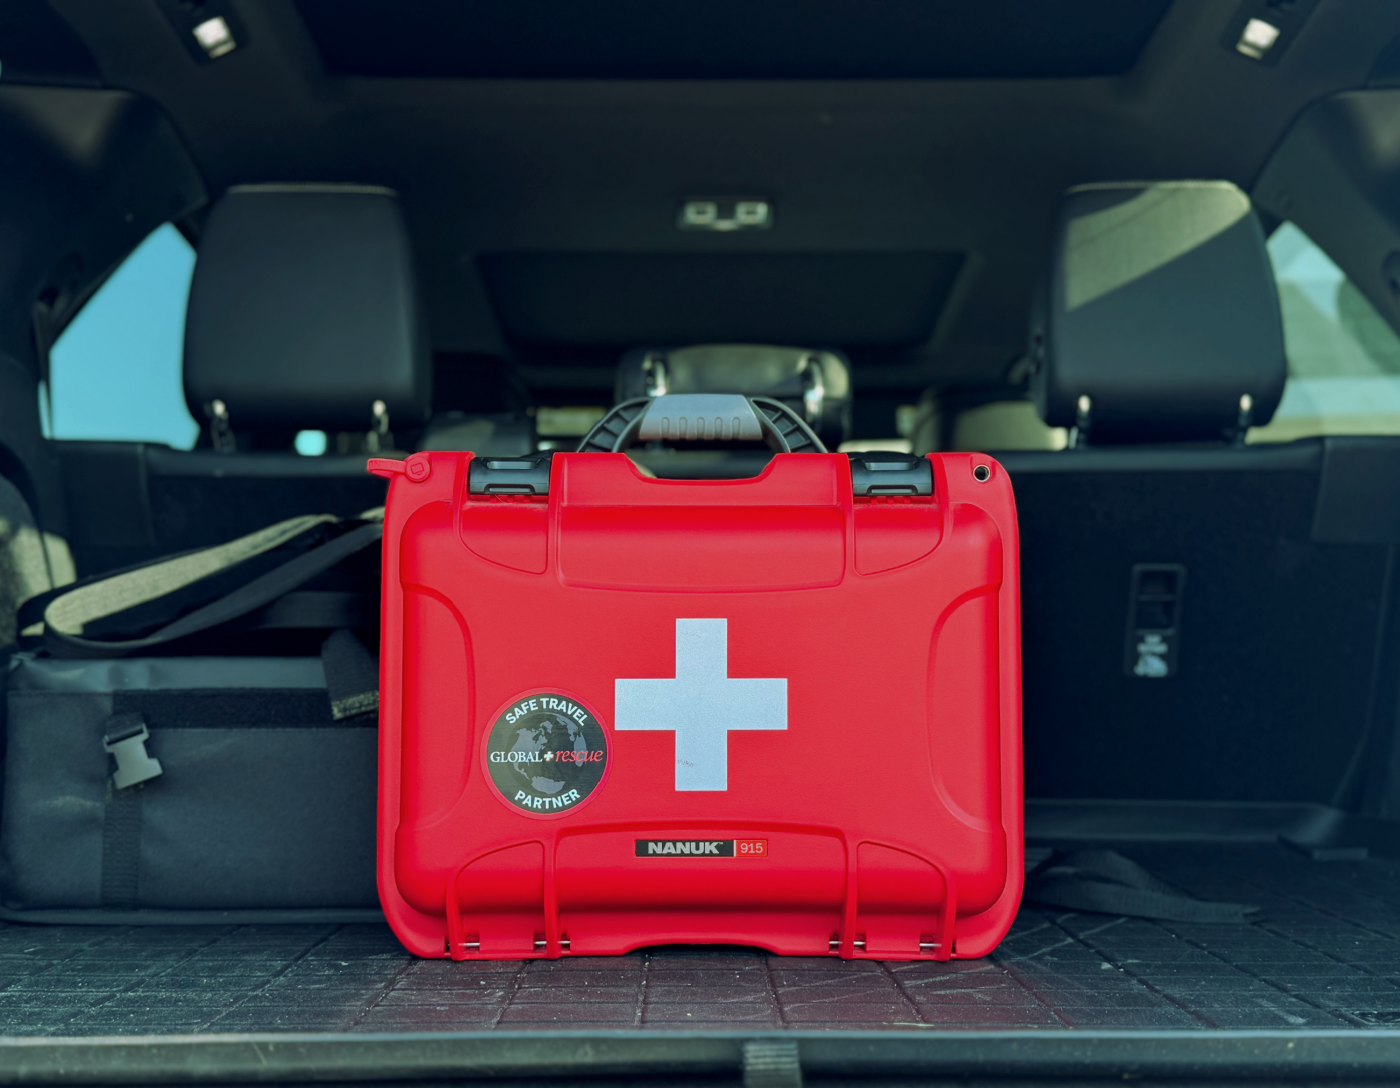
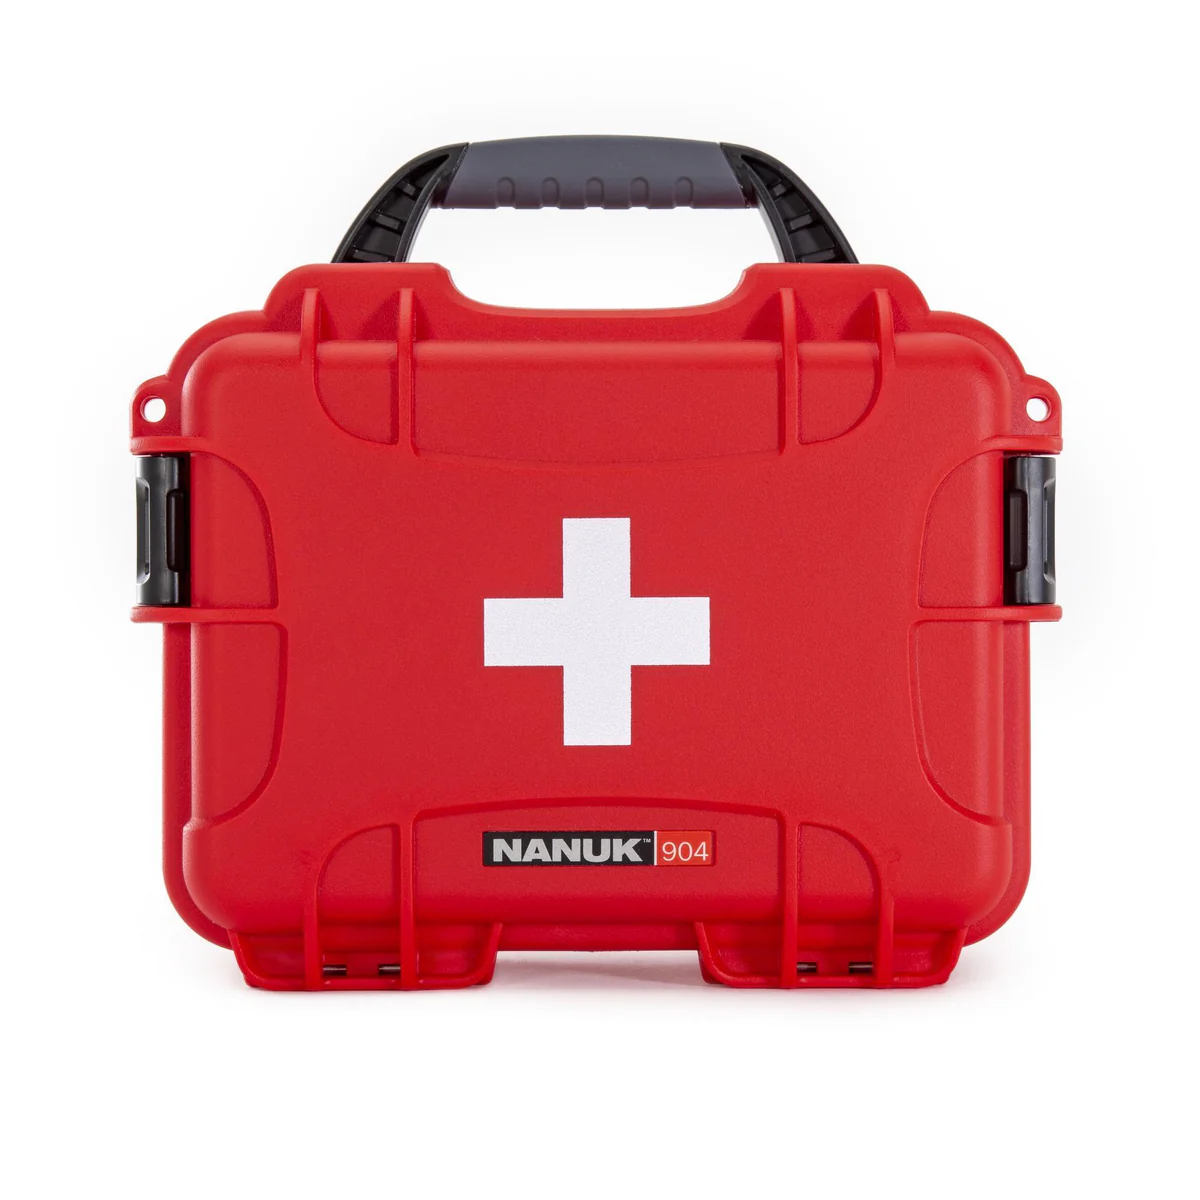
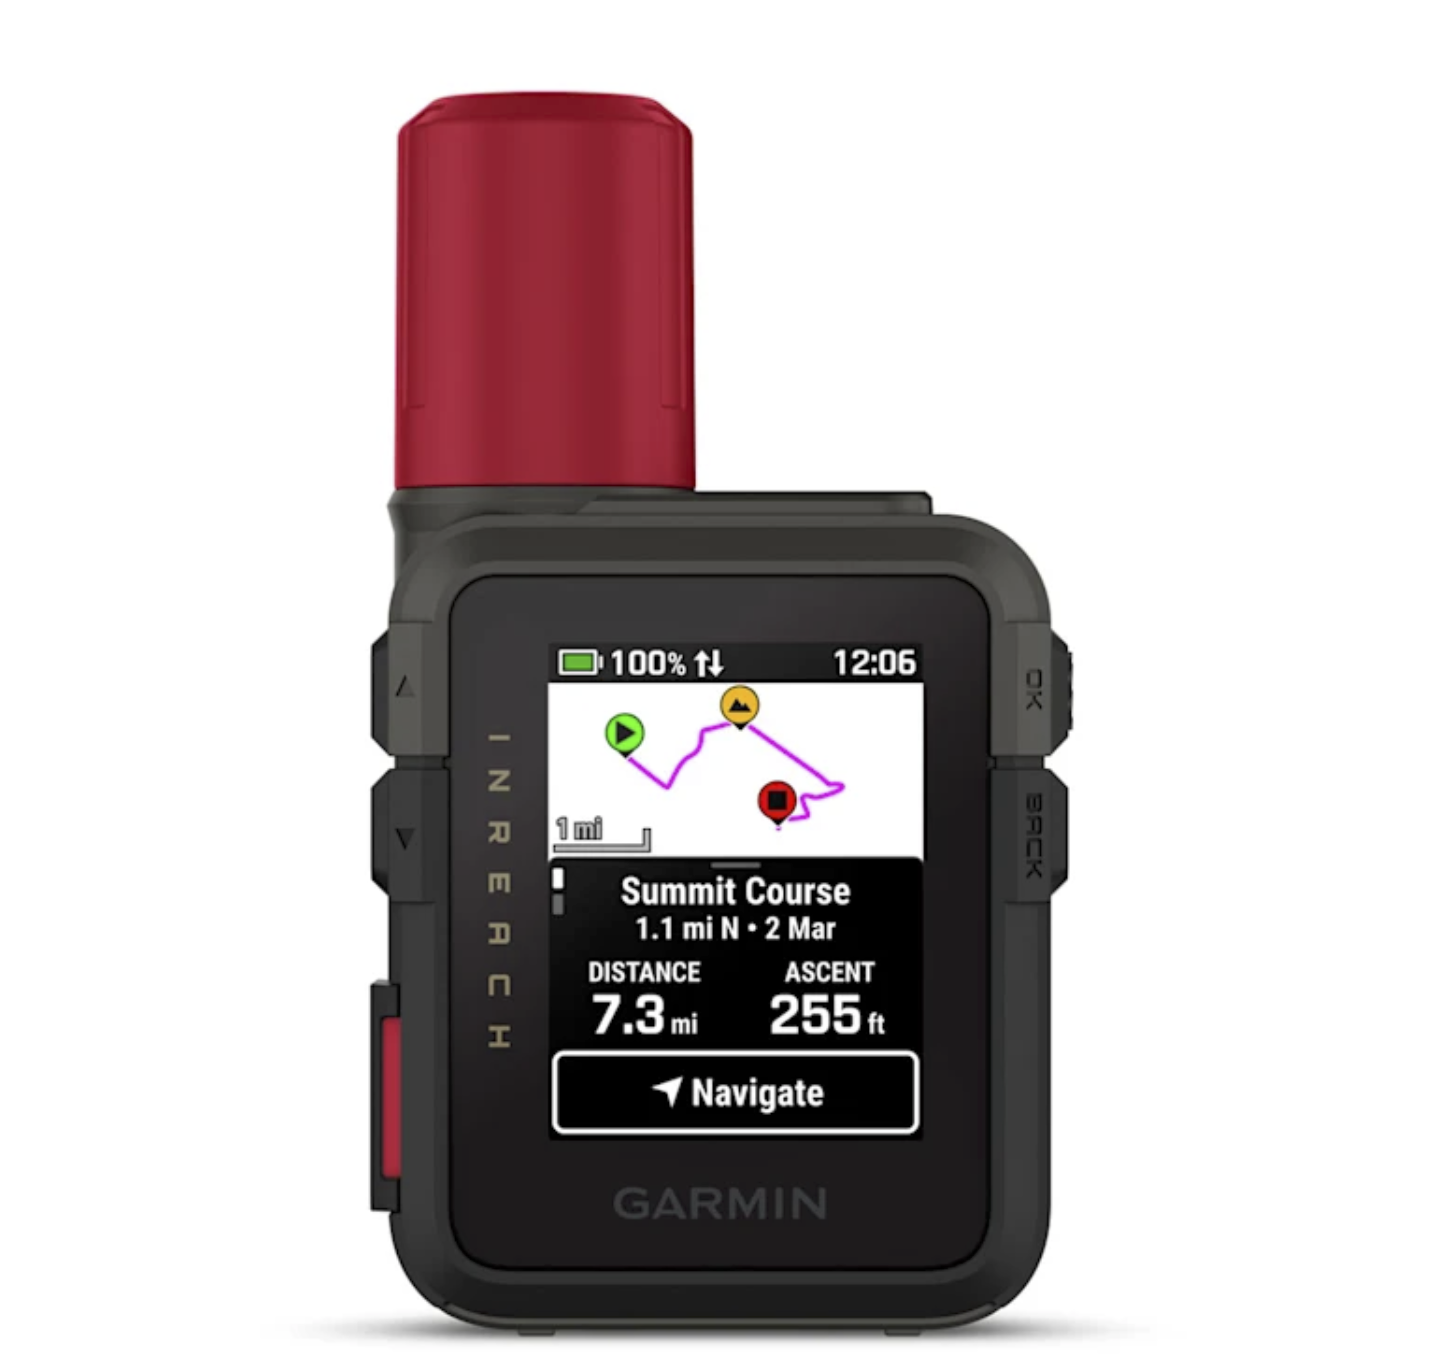
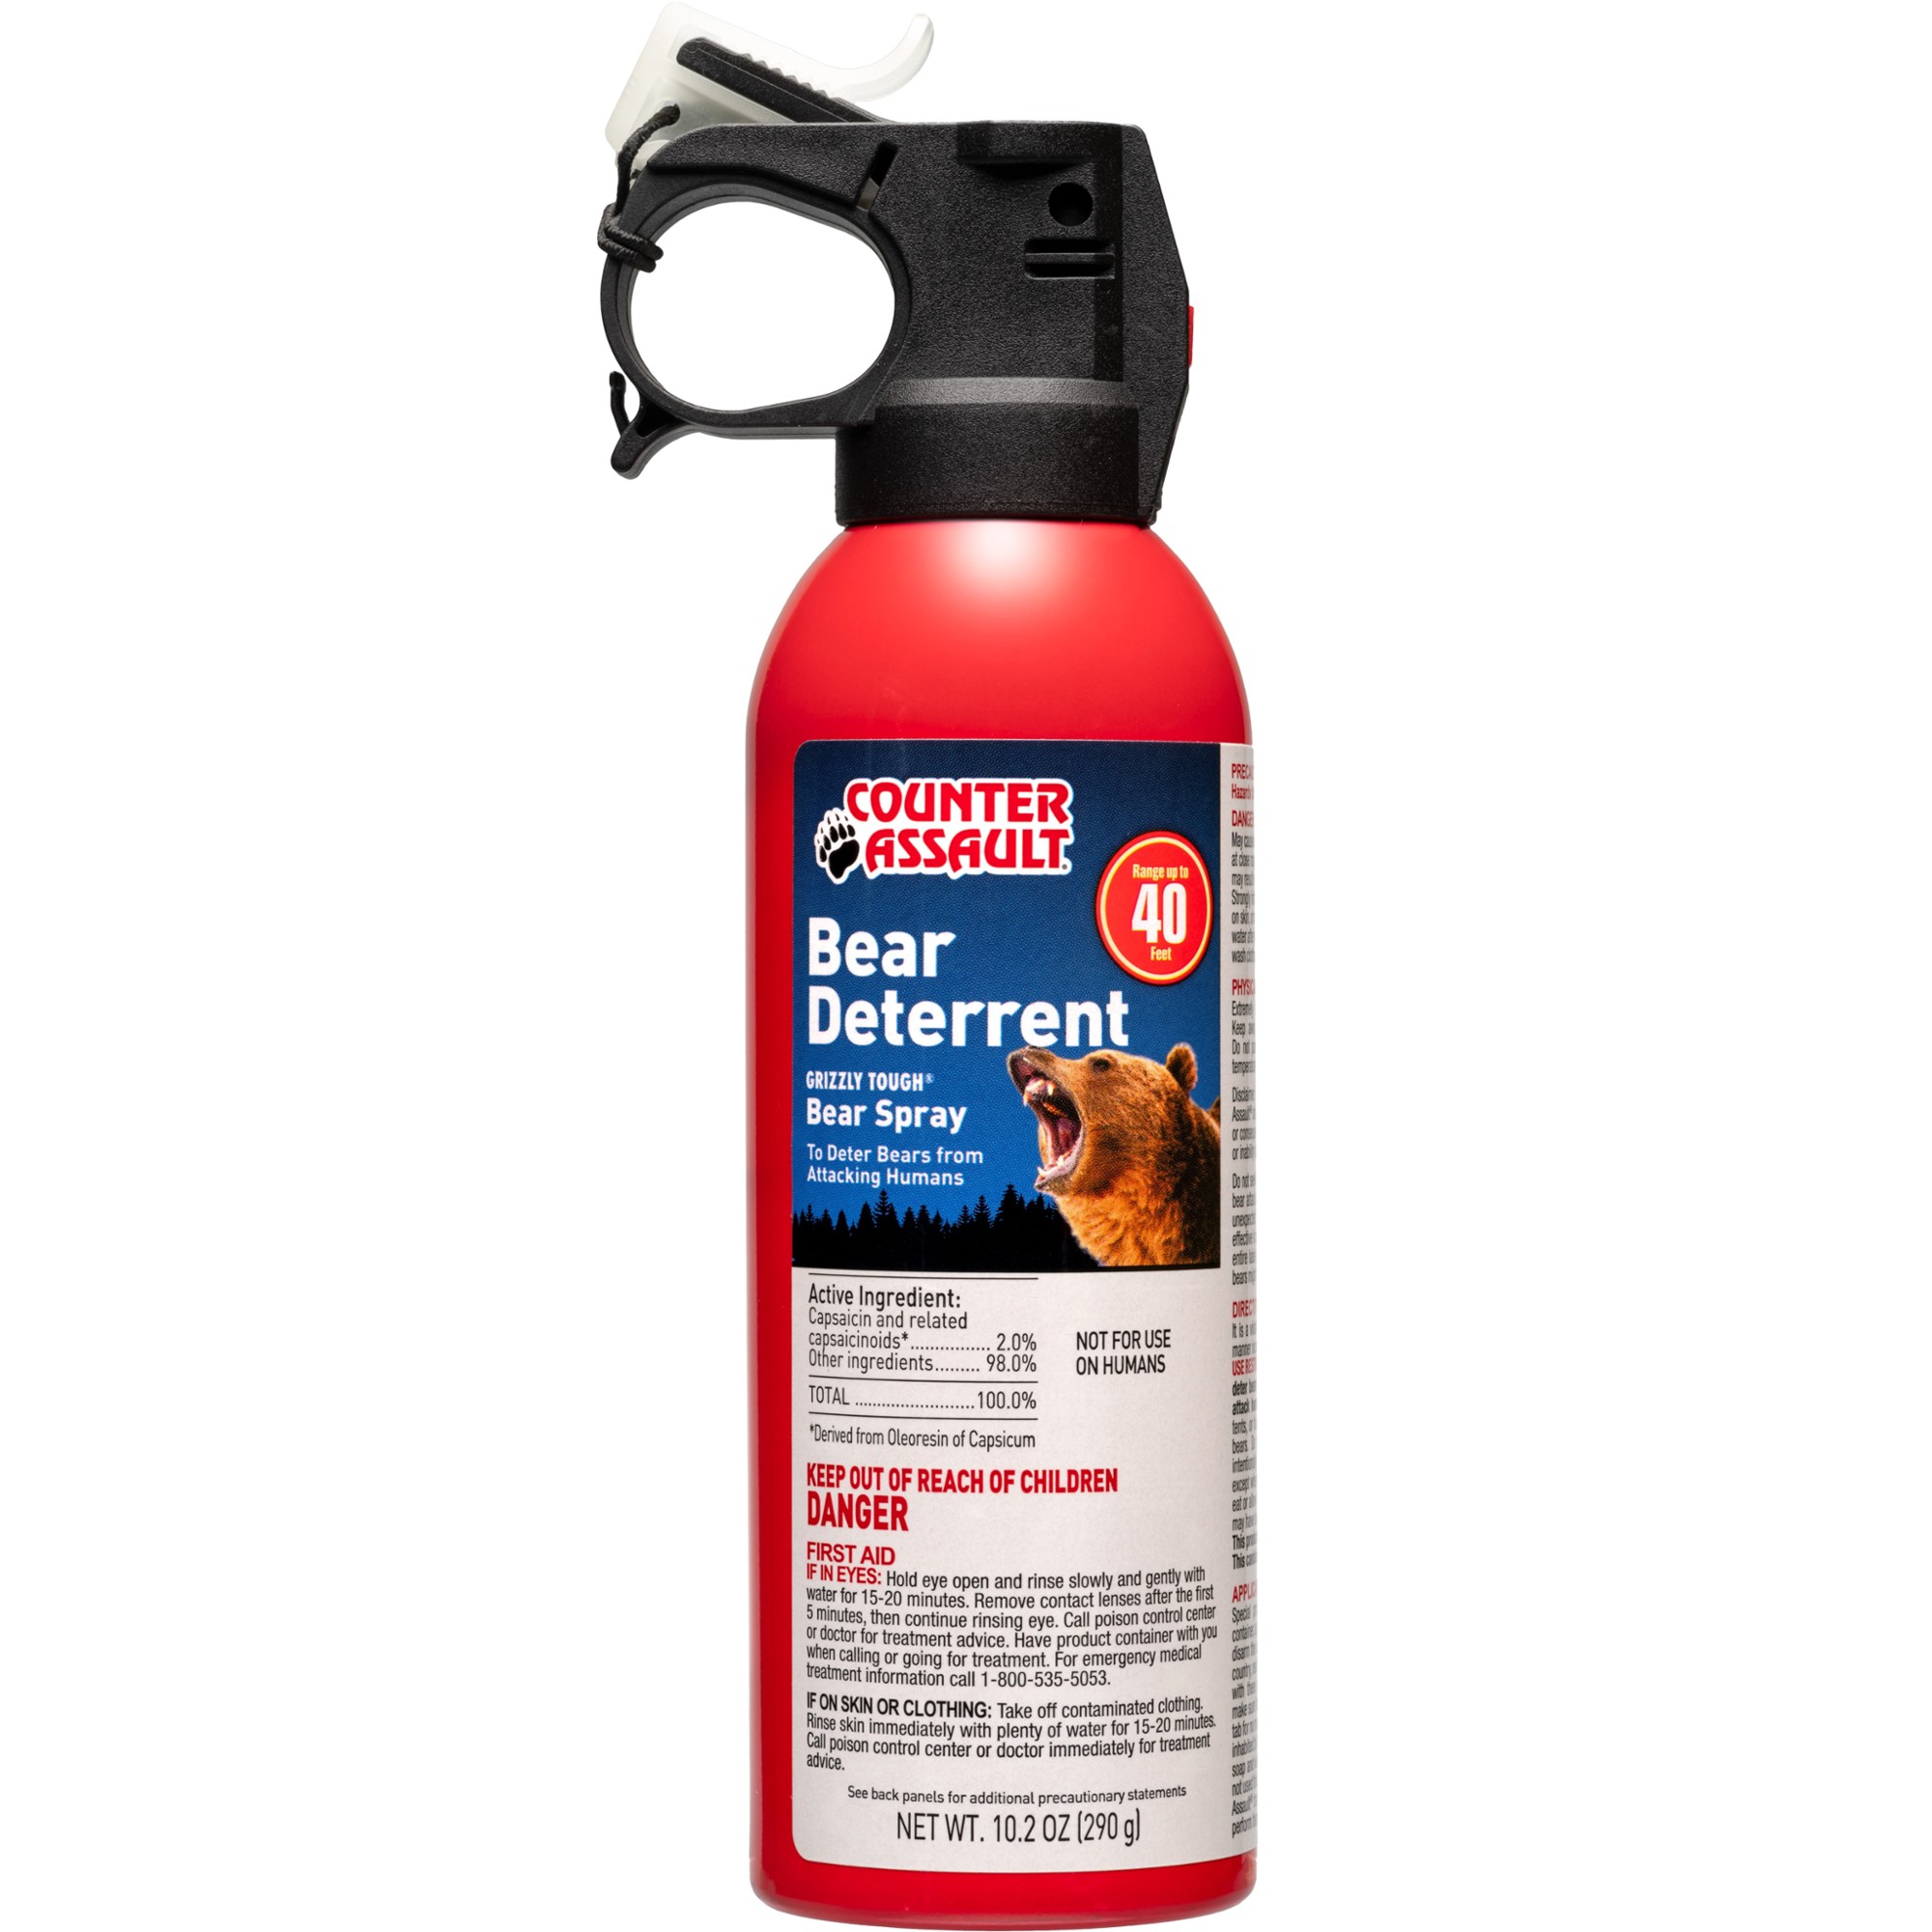
For Yellowstone, you’ll need bear spray. You can’t fly with it, but many stores around the Park carry it. You can also order it and have it waiting for you at your destination. When photographing wildlife, and especially with big files from these high megapixel cameras, it is easy to blow through batteries and SD cards. Pack extra batteries and cards, and be certain your cards are fast enough to take on high burst rate shooting sessions. You can never have enough lens wipes, and a lens cover can be key in a downpour or snowstorm. Lastly, always consider safety and safety communications. A Garmin inReach Mini 2 is a very lightweight and compact satellite communications tool with an easy-to-access SOS function. Better safe in the wilderness.
— Tim Harden
–
–
Disclosure: Some of the companies above are in a professional relationship with Bighorn Wilderness Tours. There are also some affiliate links in this post. Though potentially benefiting from this relationship and these links, we do not post what we do not believe to be true. To read more, click here.
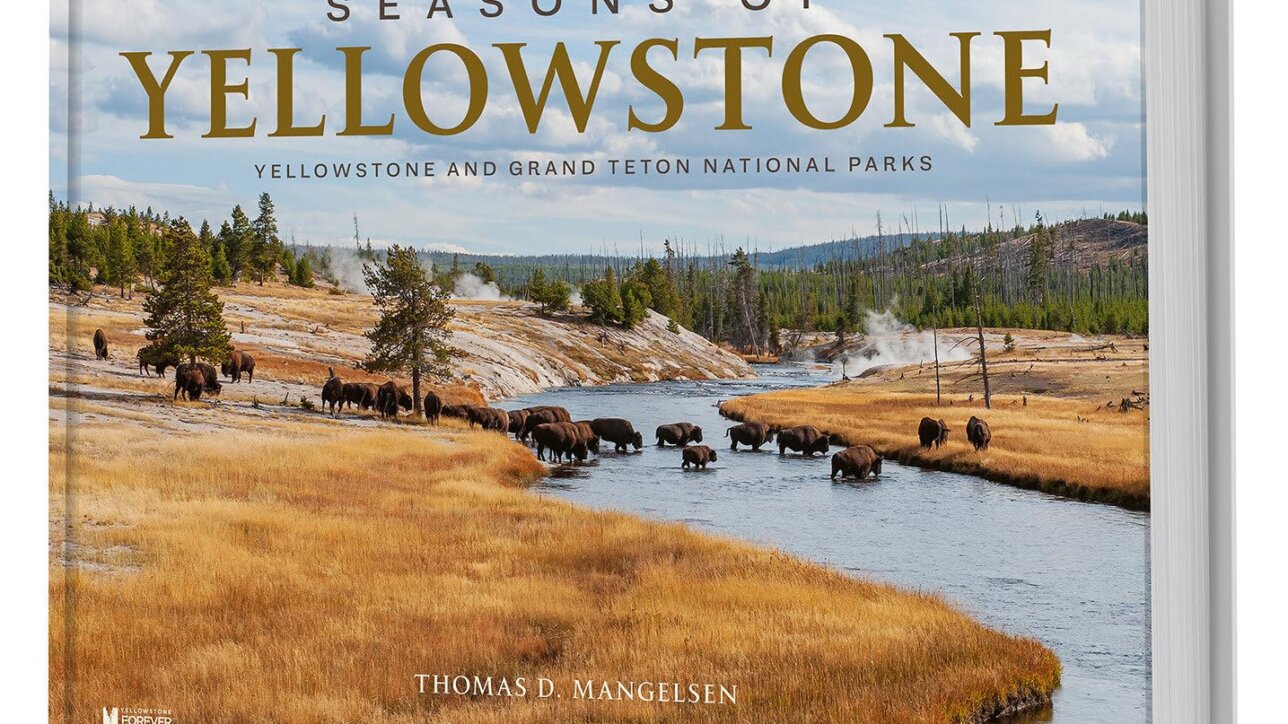

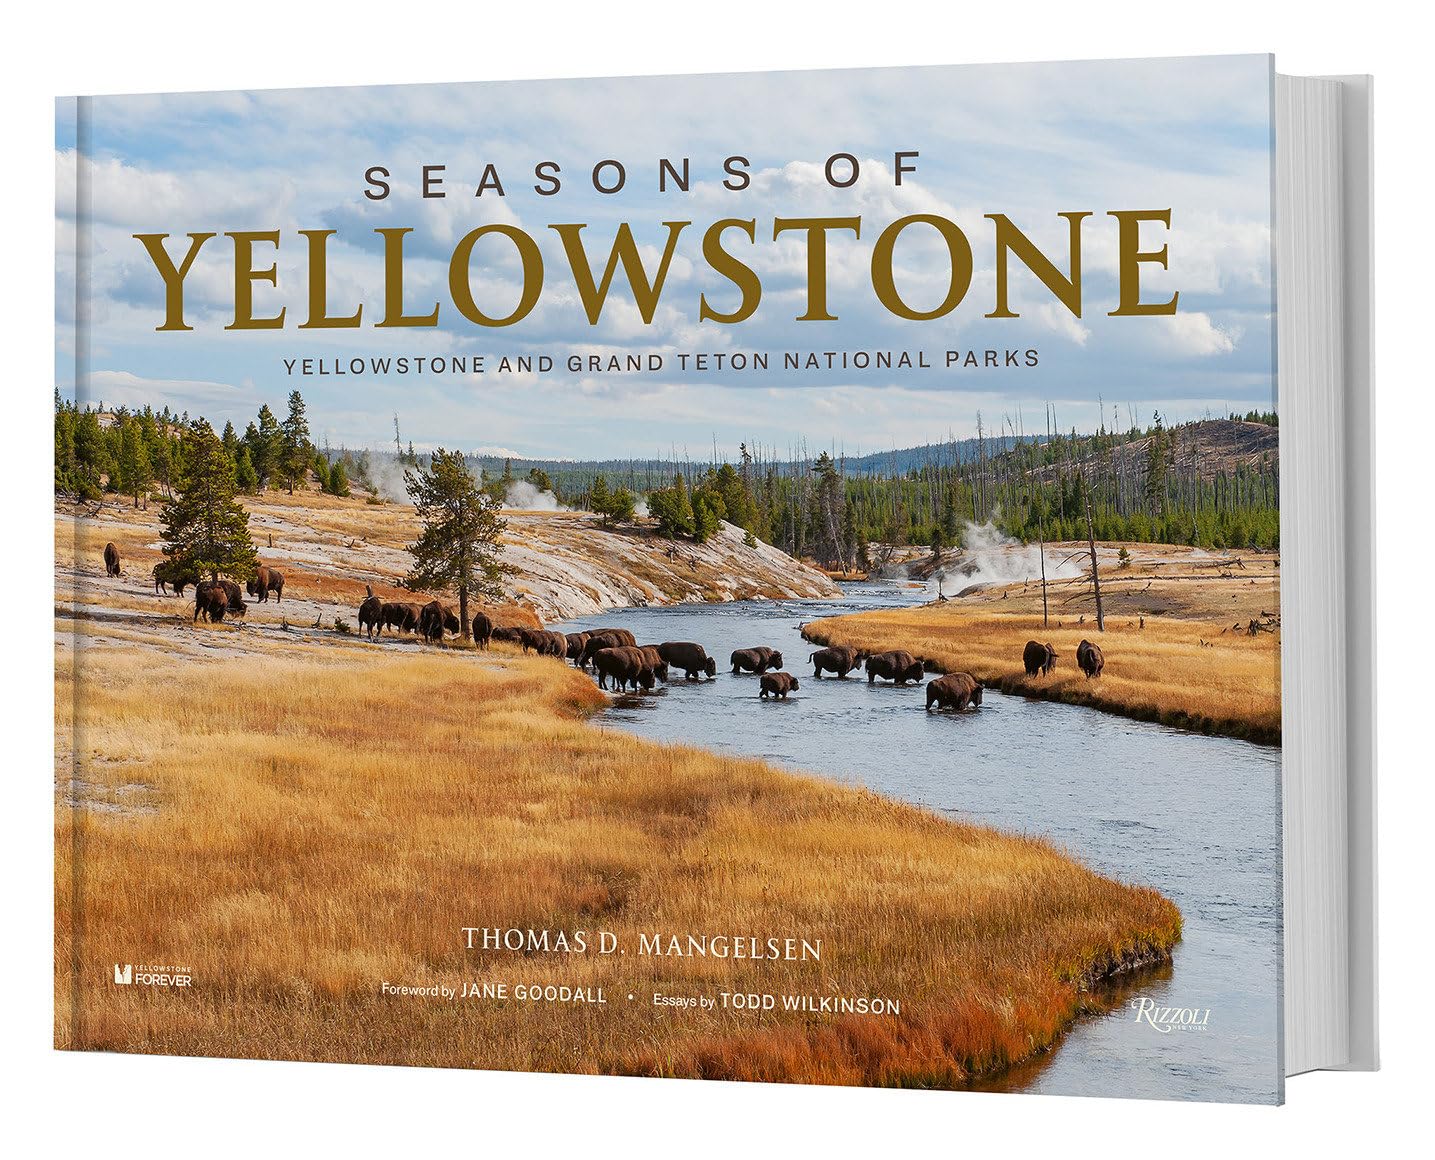 It’s possible that Tom Mangelsen is the most well-known wildlife photographer in the Greater Yellowstone Ecosystem. Based in Jackson Hole, he’s especially recognized for photographing well-known bears. And although he has traveled around the world, his extensive work in Yellowstone and Grand Teton National Parks have been impactful in telling the story of the wildlife and ecosystem. “Seasons of Yellowstone” offer a comprehensive look at many of his photos from years in this region of the Rockies.


 Socks
Socks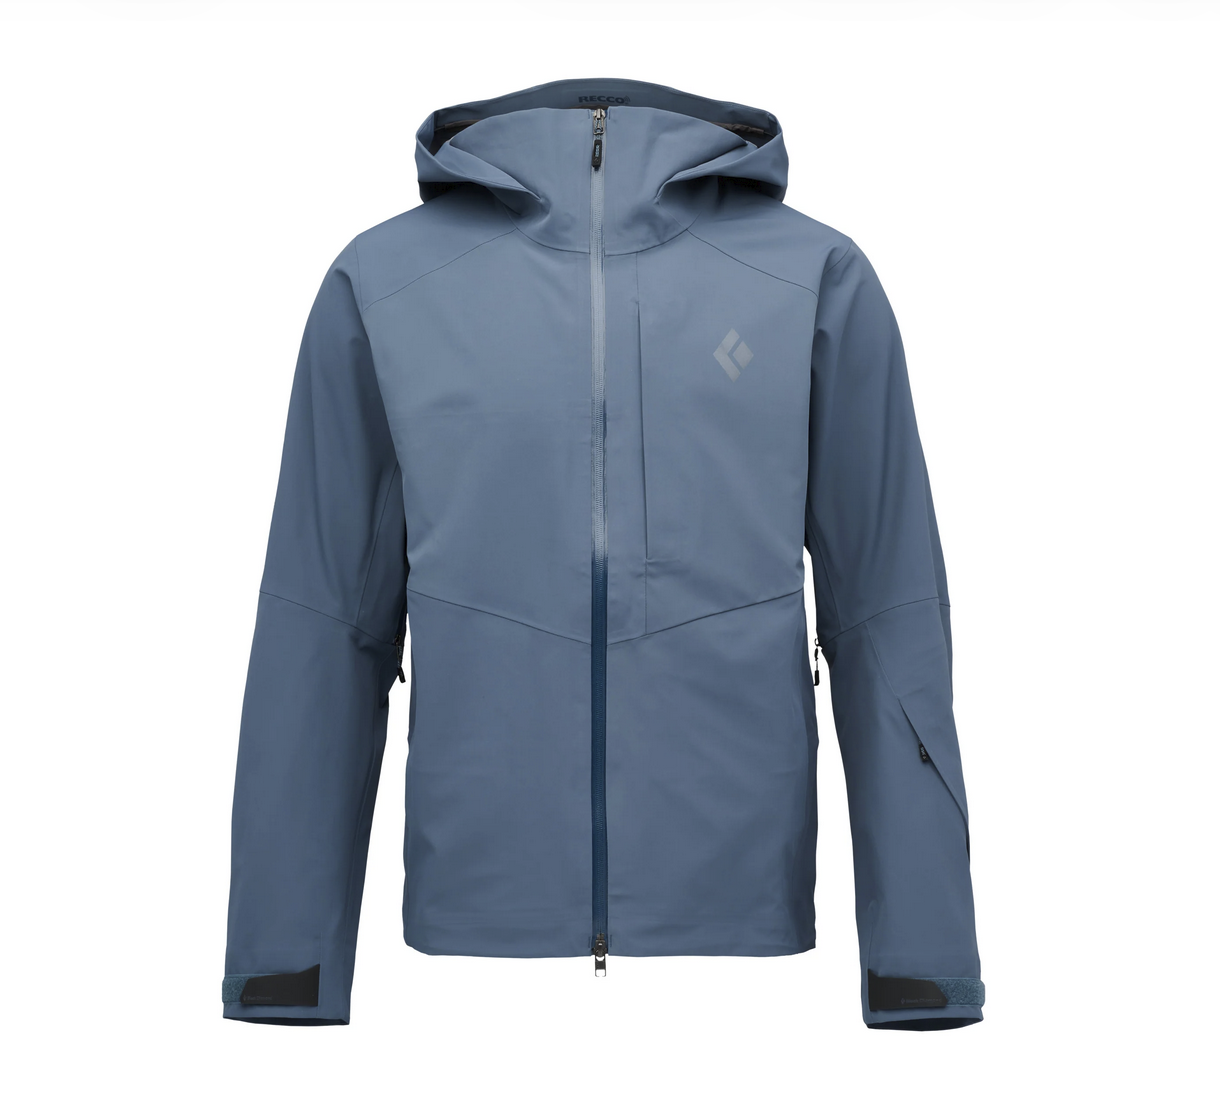 Jackets
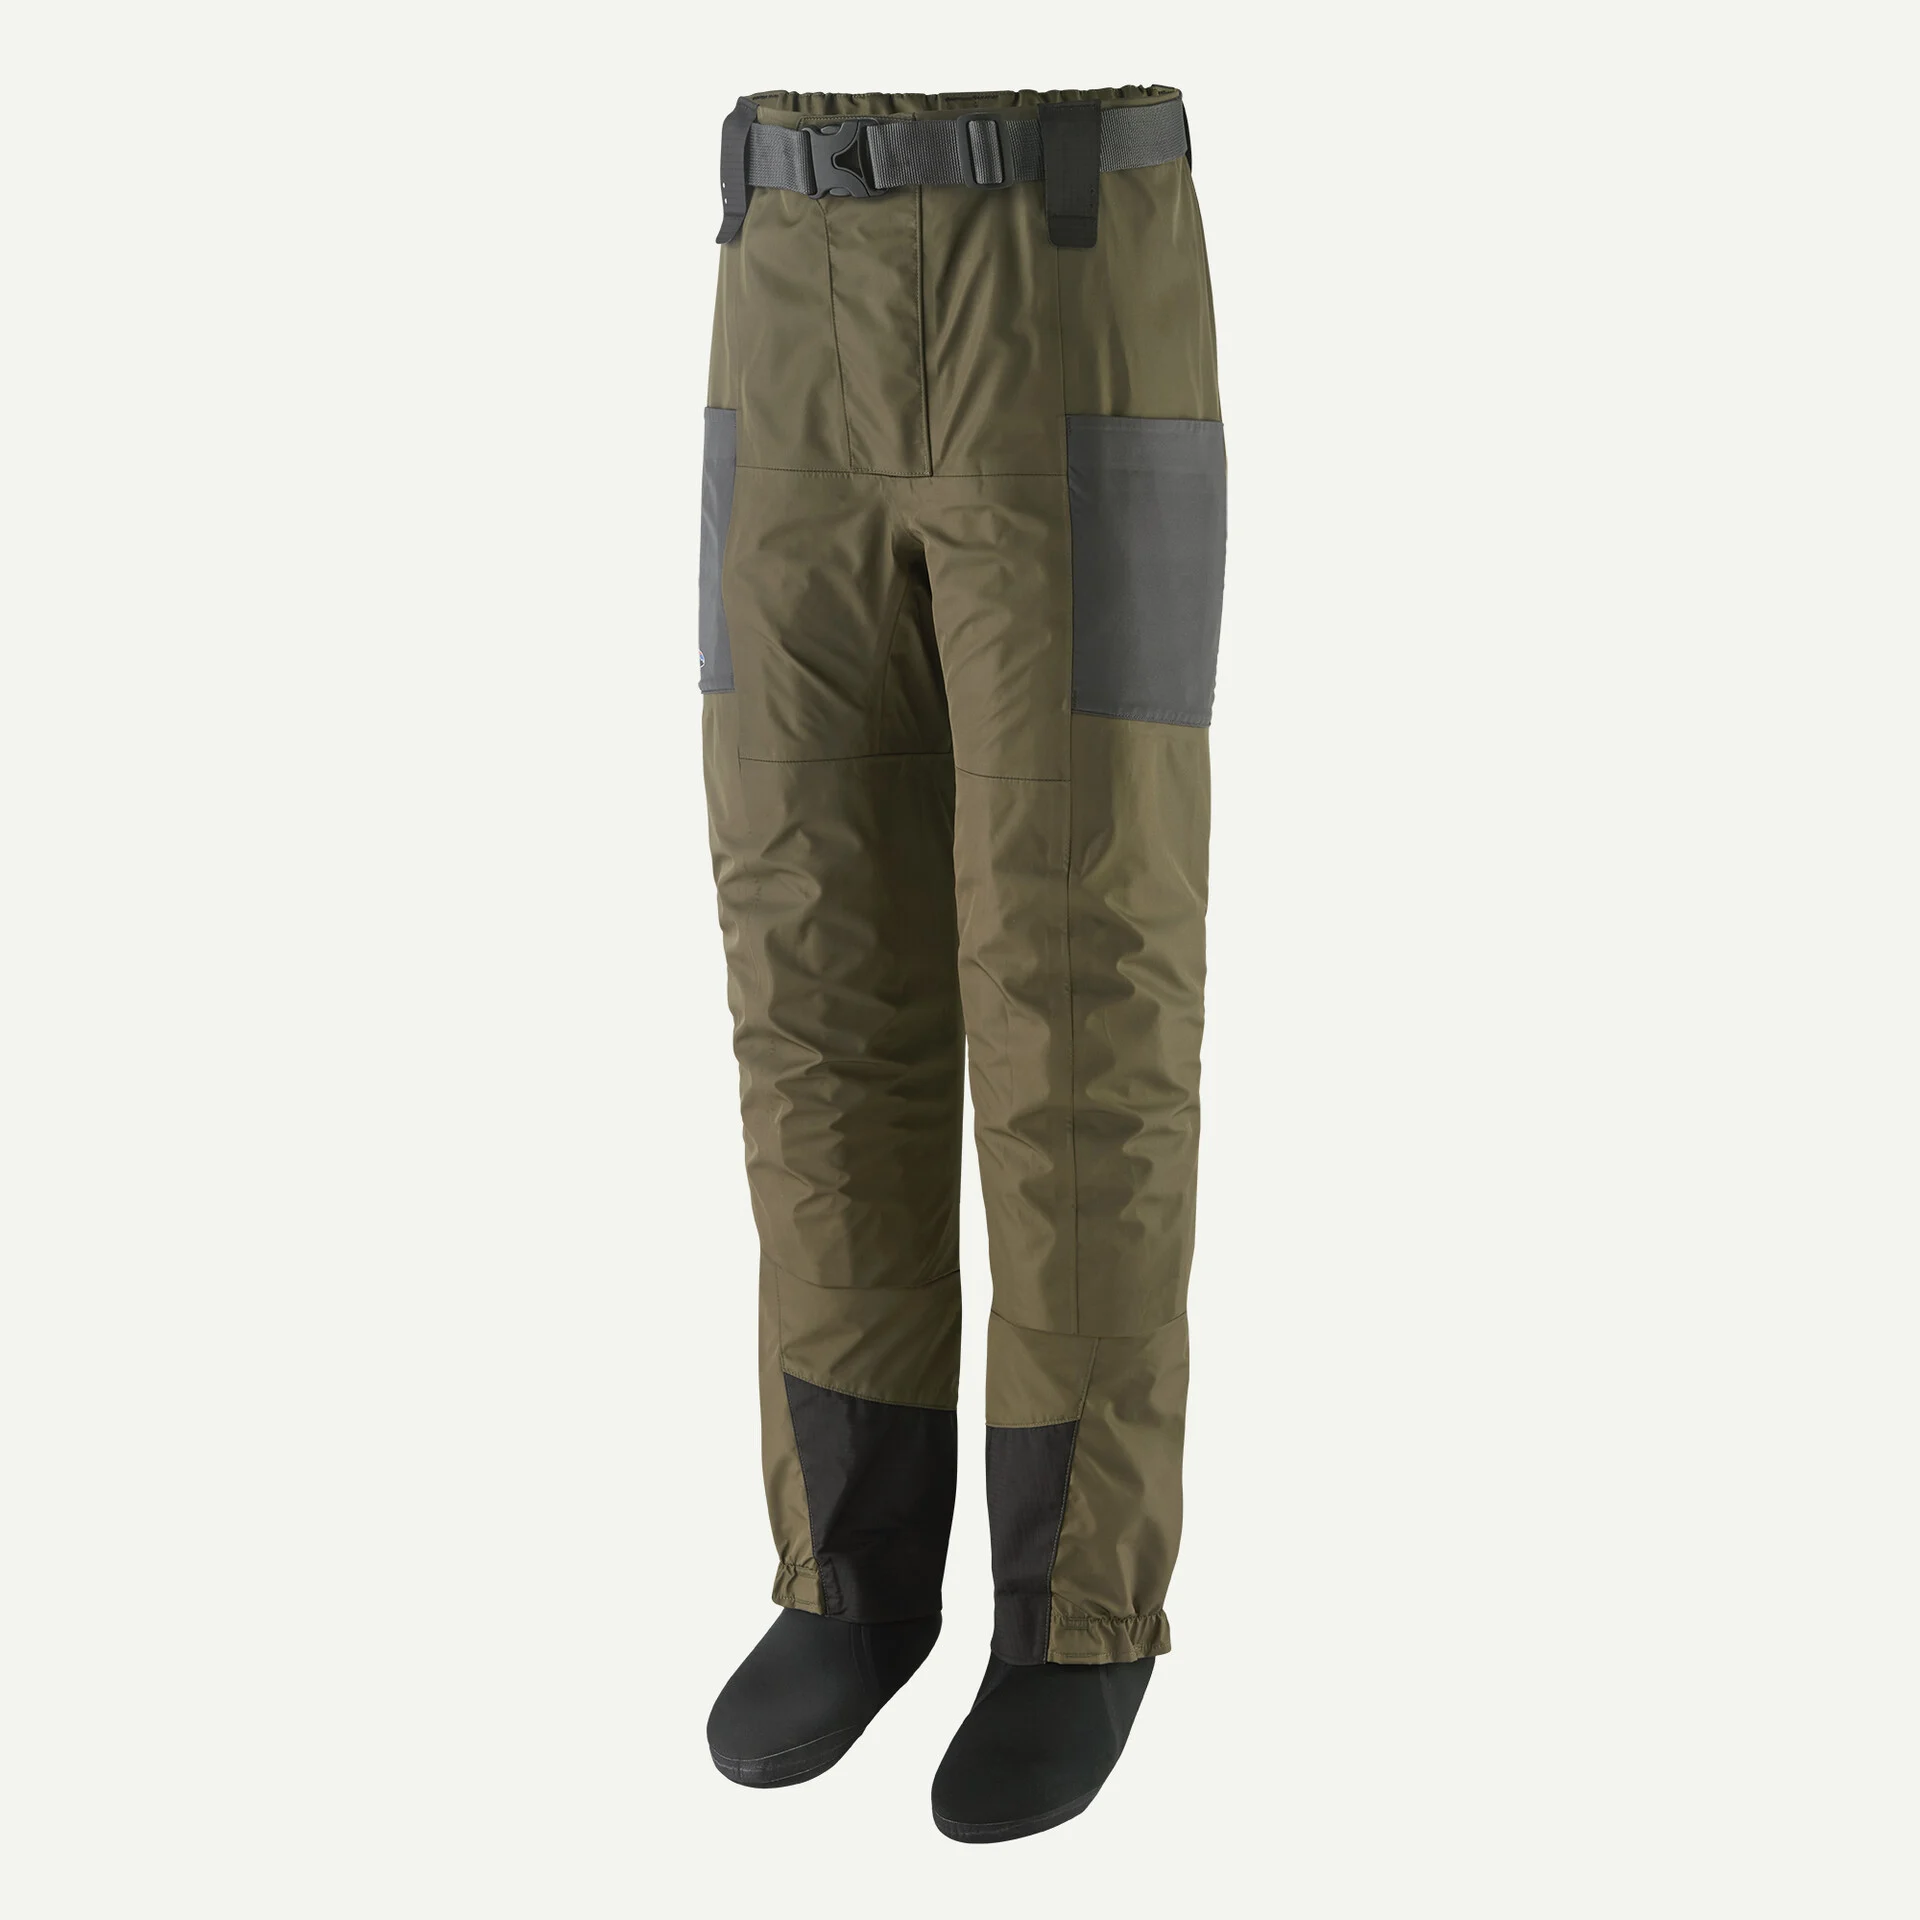 It can be pretty cold in early spring, and there is often snow on the ground. In that case, I would recommend ski pants. Current favorites are the
 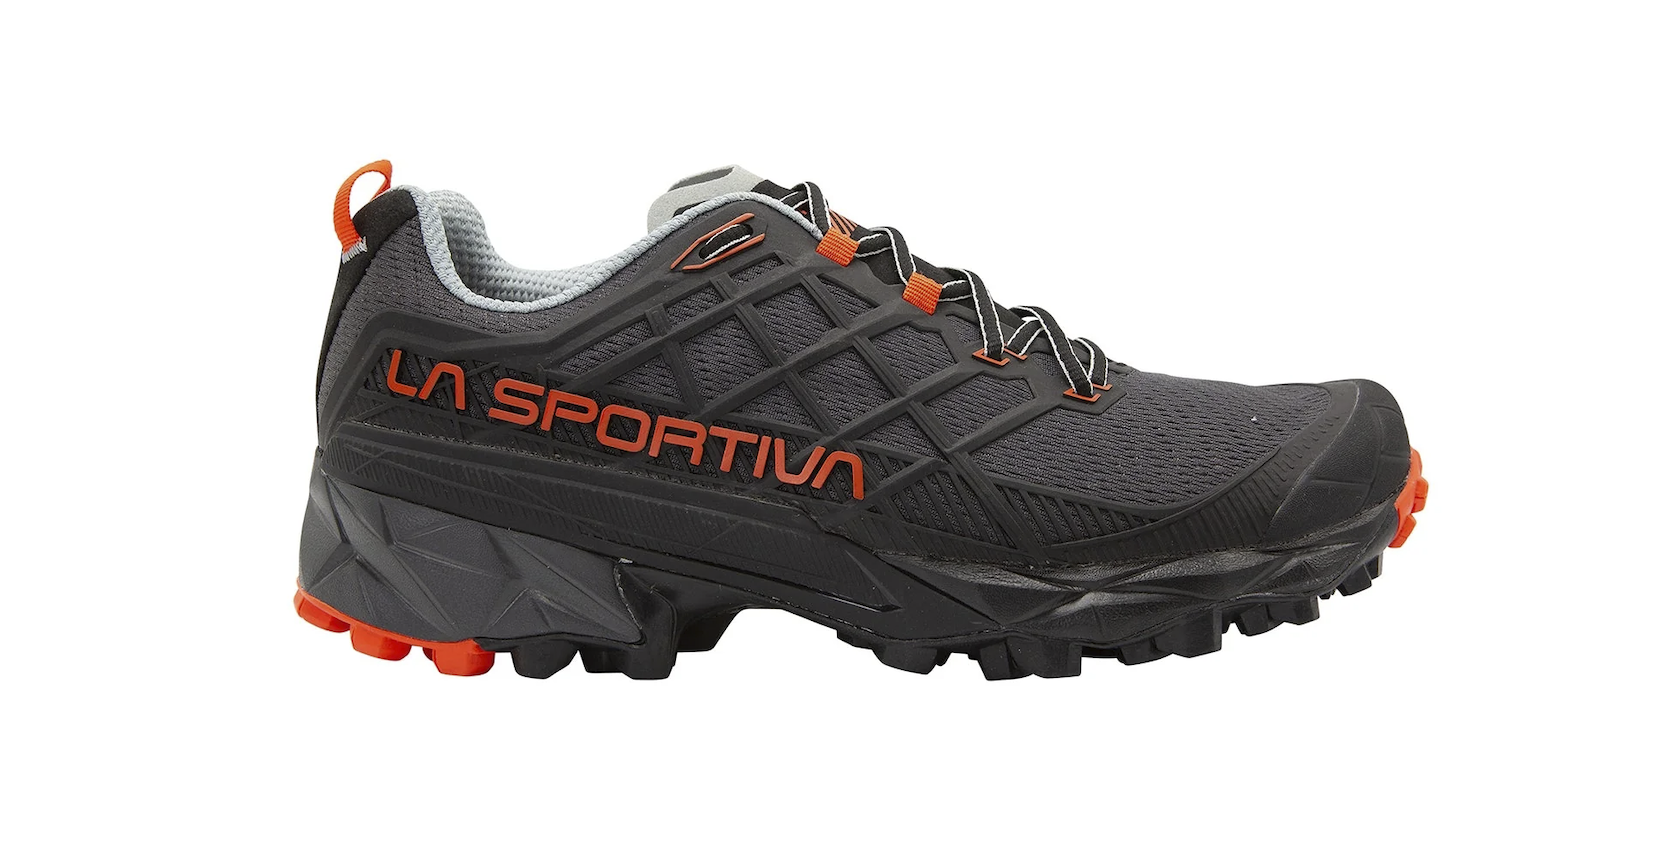 Boots and Shoes
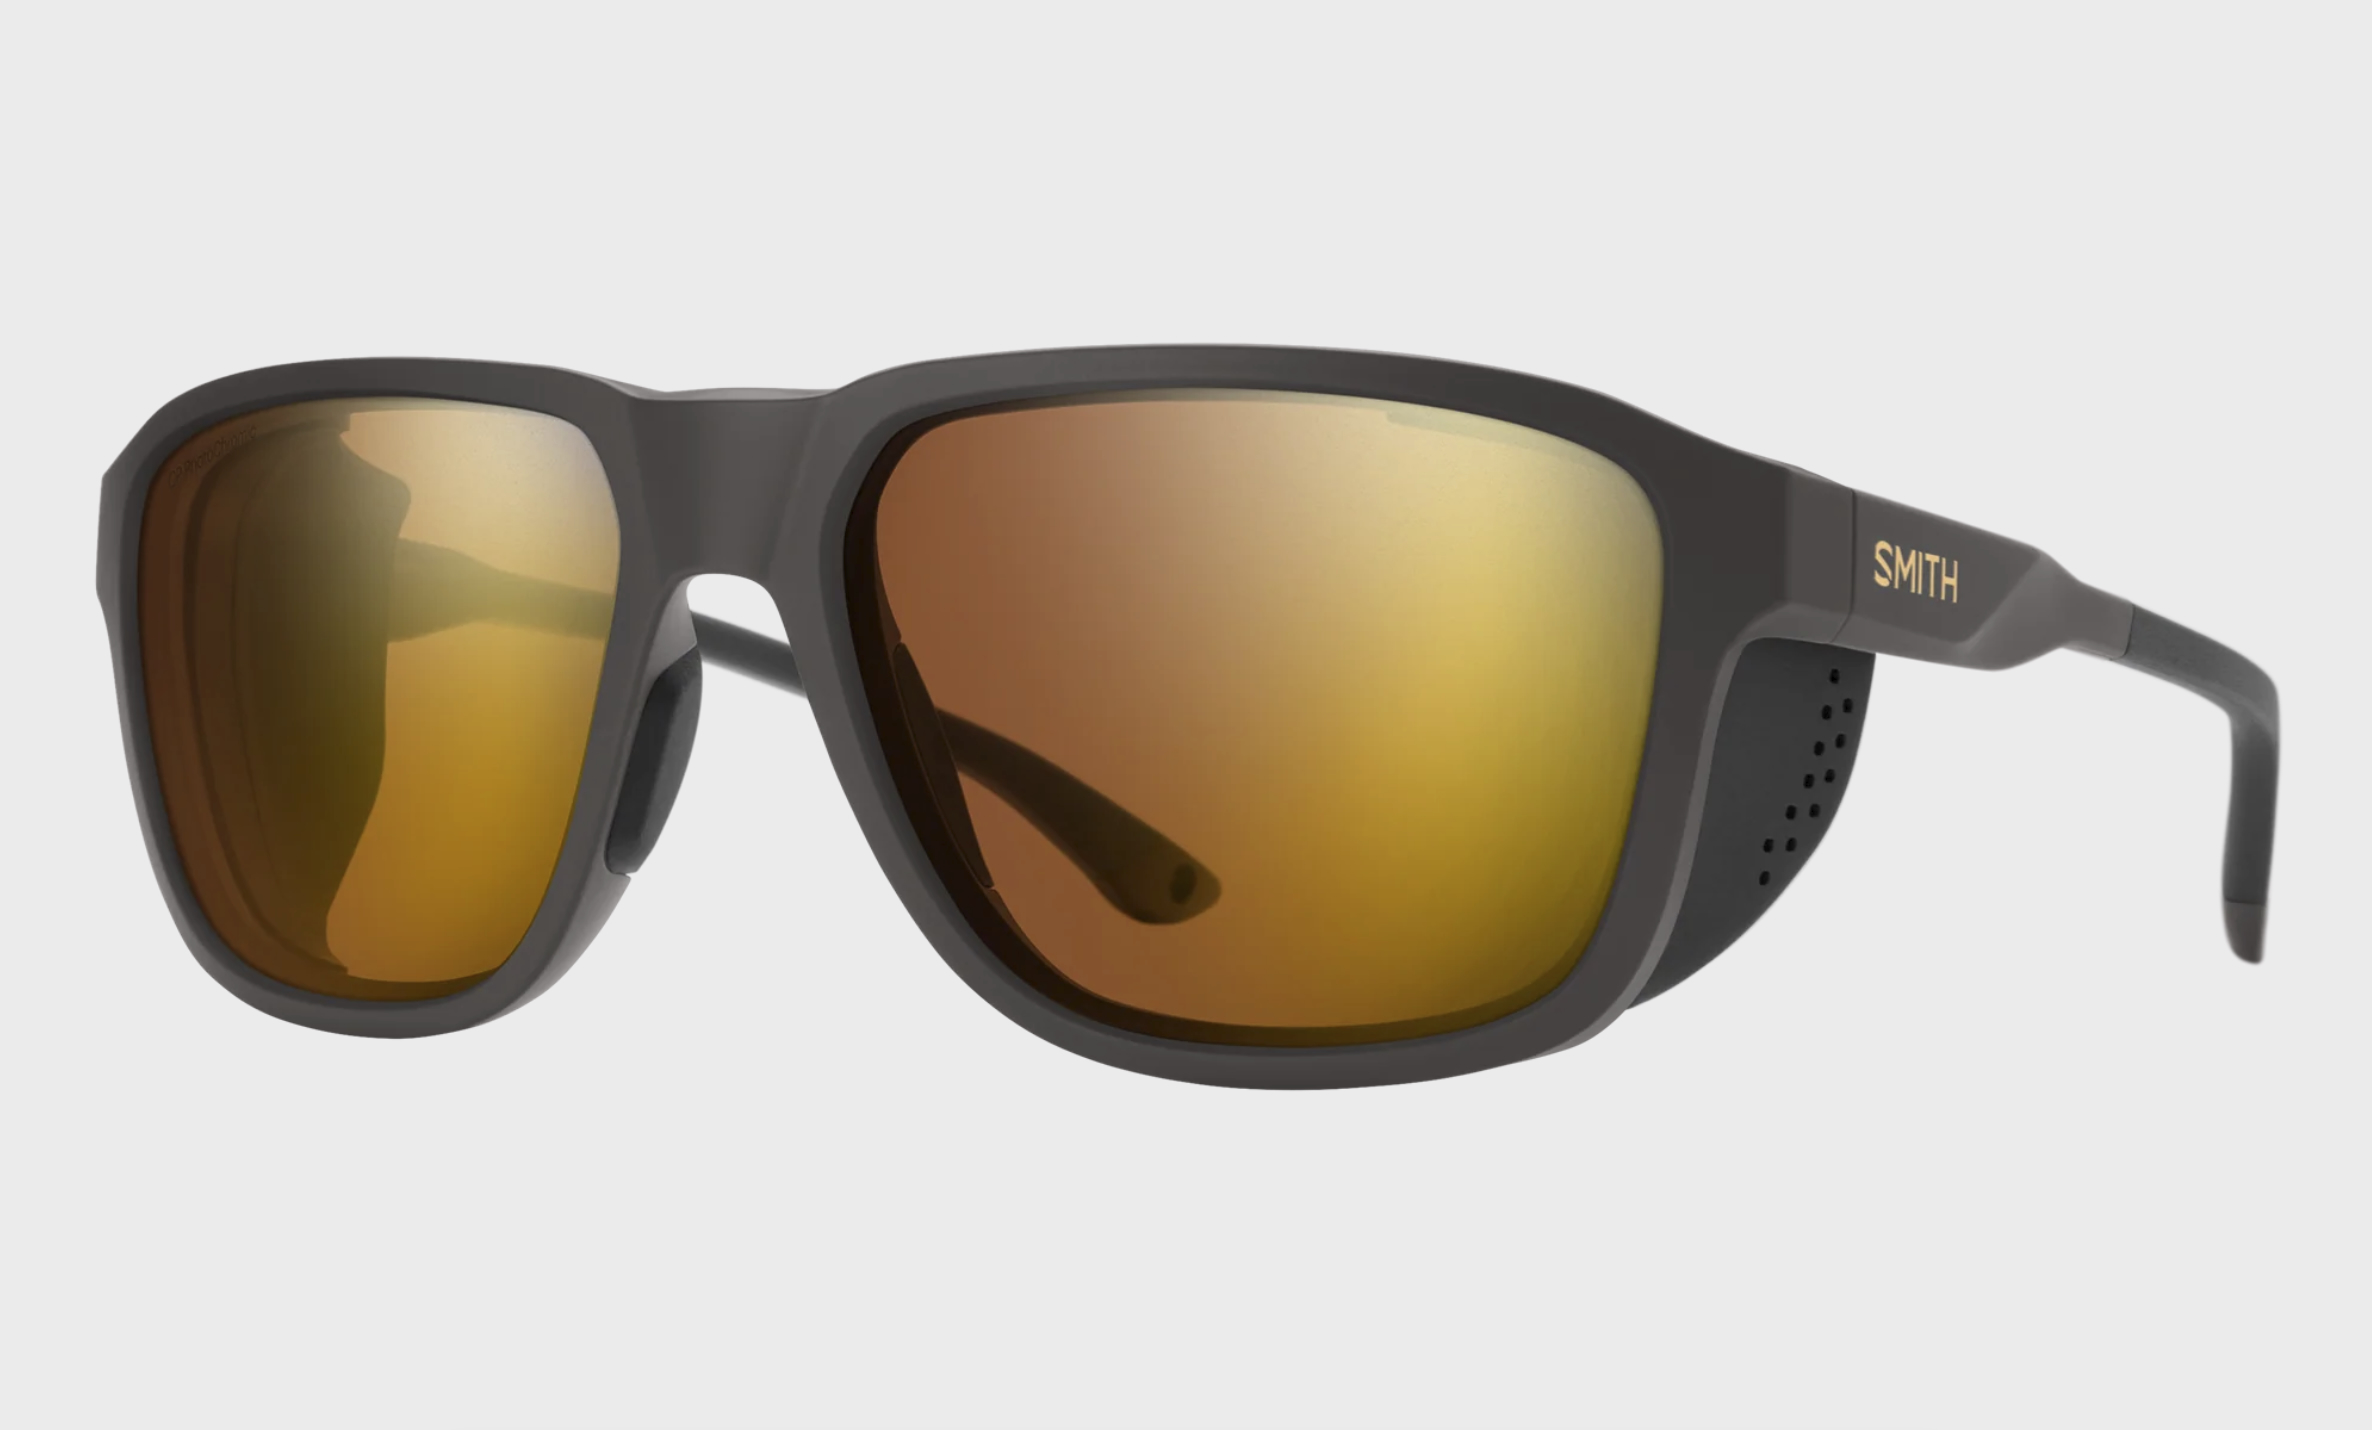 Sunglasses
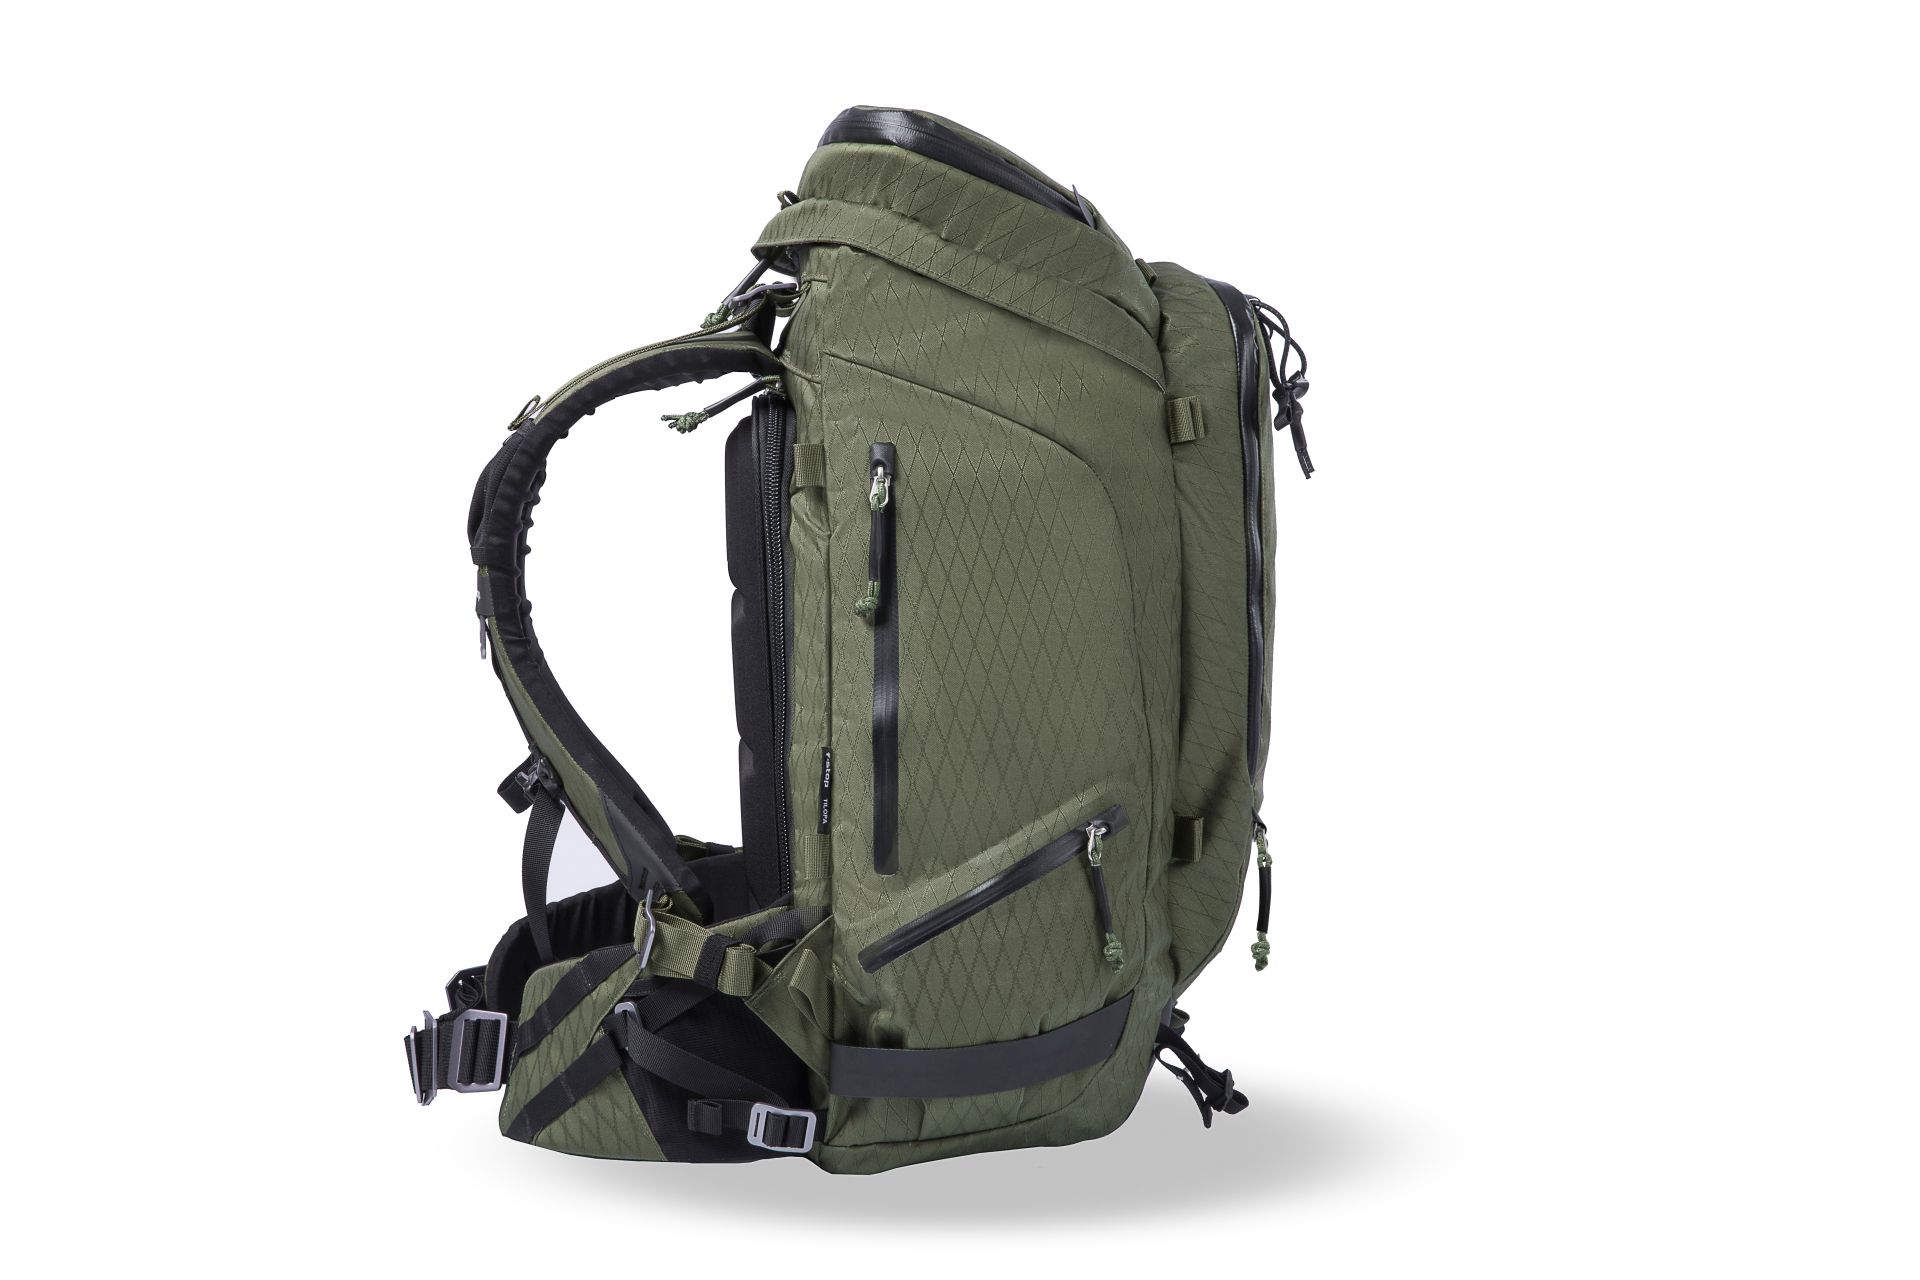
 Other
Other