
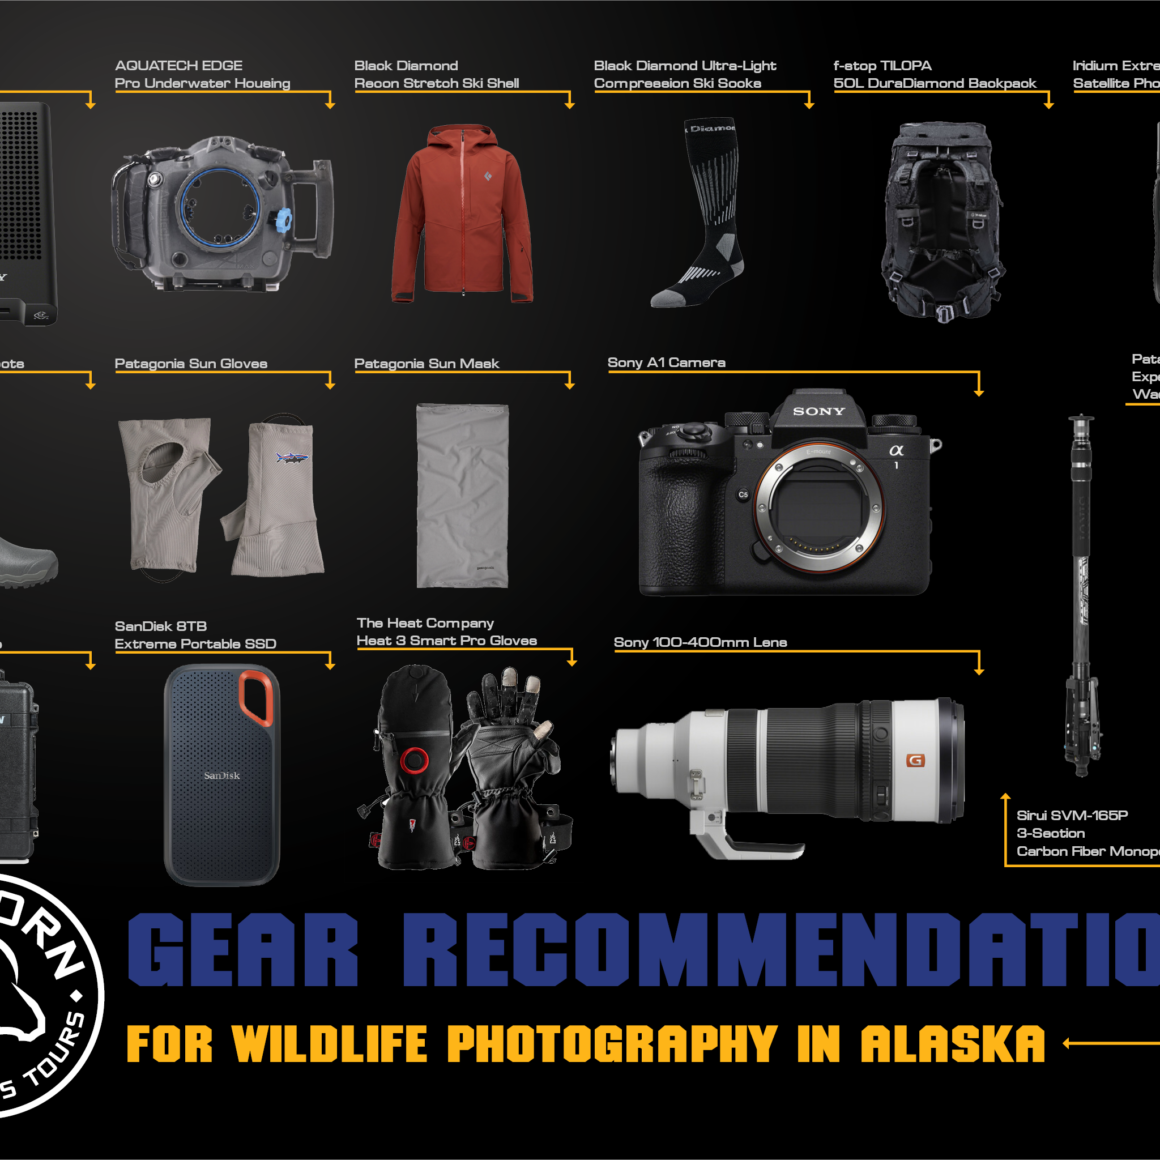
Known as “The Last Frontier,” Alaska is one of the ultimate destinations for wildlife and adventure photography. Expansive wilderness, giant mountains, and an abundance of wildlife that includes bears, moose, caribou, and more, are among the reasons why many photographers have Alaska on their bucket list.
Many areas of Alaska aren’t easy to get to, the weather can be tough to plan for, and being well-prepared is essential for photographers wanting to make the most of every opportunity on a trip to Alaska. To help with that planning, we’ve broken down some gear recommendations for wildlife photography in Alaska.
Photography Gear
All photographers have their own approach to what and how they generally shoot. There are many cameras and lenses out there, and there is much to consider. For Alaska, it is important to be very deliberate about what gear goes and what stays. Remember, float plane pilots are weighing both cargo and passengers. At times you might be on a small boat or hiking with a pack. The following recommendations align with commonly preferred approaches to wildlife photography in Alaska and what I generally consider packing to most areas of the state, but specifically in the Bristol Bay or Katmai National Park regions.
Camera Bodies
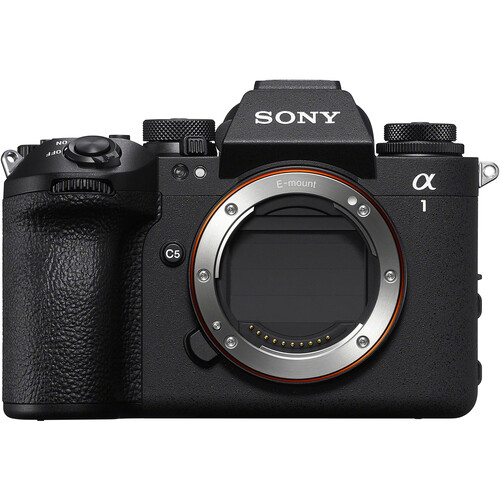
For wildlife photography, I shoot with a Sony A1. Sony now makes an improved A1 II with some new features, but I like the A1 (and would like the A1 II) because it’s a full-frame, mirrorless, high megapixel, fast sports body that checks every box for me for wildlife photography. The fast readout speeds are a key reason why I opt for the A1 over other, newer high megapixel cameras, even those with fast frame rates. A key reason I want a higher MP body is for the ability to crop while maintaining good resolution. It’s common for animals to be so far away that the composition I might want can only be achieved with significant cropping. Additionally, many animals such as bears and moose can pose some threat. And photographers always need to be cautious about being too close to animals so as to not cause them to change their behavior. I rarely opt to throw on teleconverter, and the ability to crop is a way to cut down on that additional gear and the increased aperture that comes with TCs. Additionally, I like photographing individual aspects of animals such the face or a claw of a bear. A good telephoto lens and a high MP camera can go a long way. Because it’s good to have a second body on hand, I also bring a Sony A7R V and/or a Sony A7 IV. (There is also now an A7R VI and and A7 V.) For me, the A7R V is slower than the A1 but offers more megapixels. The A7 IV offers the fewest number of megapixels but is excellent at low light. Sony now has an upgraded A7R VI that offers higher megapixels and more speed.
For Nikon users, comparable bodies would be the Nikon Z8 (which is a 45.7MP camera that can reach up to 20 frames per second raw). The Nikon Z6 III offers 24.5 MP and up to 20fps raw).
And while there are many more outstanding cameras to consider, we’ll keep this list to the big three (Sony, Nikon, Canon) and end with Canon. The Canon R5 and R5 II are phenomenal fast, high MP mirrorless bodies that best compare to the Sony A1 and Nikon Z8. The Canon R1 is Canon’s flagship camera and is a great option (with fewer MPs but higher frame rate and other features), and the like with Sony and Nikon, there are a variety of other options that would also make for great cameras for photographing wildlife. There is a Canon R3 for sports photography, but I would rather pay less for a higher megapixel R5.
Lenses
Sony
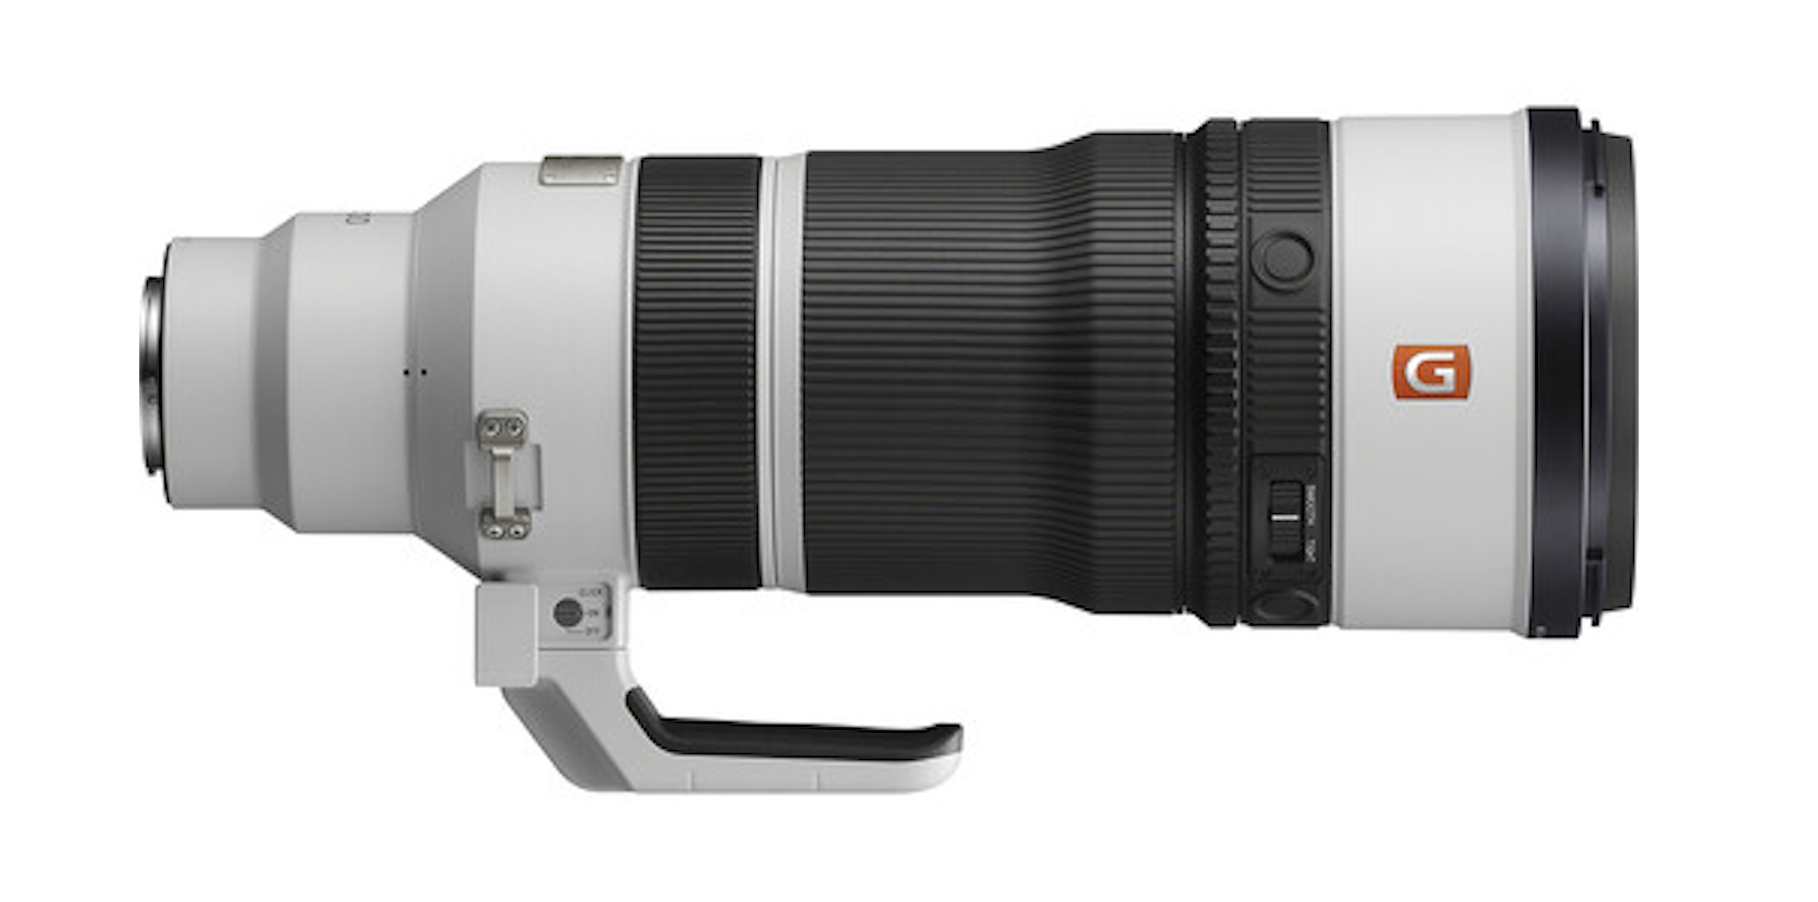
A lens with good reach goes a long way with photographing wildlife, especially for animals like bears that require more distance from the subject for safety and ethical reasons. For me, prior to getting a Sony 600mm f/4, the Sony FE 200-600mm f/5.6-6.3 G lens was the lens for me for wildlife. That range of 200-600 can cover a wide variety of situations, and in many instances, this lens is less restrictive than a 600. Sometimes with the 600, animals are closer or move closer, and I am stuck at 600. The 600 can even be too much for photographing many landscapes and mountain peaks. On a recent trip to Alaska, the 600 never came out of the case in the field. I had it with me most of the time, as I didn’t want to regret not having it, but a focal range of 100 to 400mm was generally ideal. If I were photographing eagles, the 600 would definitely have been used quite a bit.
Another favorite lens for many is a 400mm f/2.8; however for my needs and for travel, my go-to is a 300mm f/2.8. This is a great lens that costs far less than a 400mm and can be well-paired with a 1.4x or 2x teleconverter. And with a 70-200mm f/2.8 and a 600mm f/4, I don’t mind the gap in focal lengths. Note: Be sure to have a good lens foot for these larger lenses so that you are stable on the tripod or monopod.
In addition to these long lenses, I like to be prepared for scenarios in which the animals are farther away or even not present at all. Often times, the animals just aren’t where you plan for them to be, the weather can disrupt the plan, and other factors might shift you into a new plan for the day or even the week. Days of good shooting can be lost if only in pursuit of closer shots of animals. A 16-35mm f/2.8 lens can cover a variety of needs, especially with landscape photography, and a 24-70mm f2.8 can be great to have along as well. And if those bigger lenses above are too big, a 70-200mm f/2.8 (especially with a teleconverter) is another excellent option. In Alaska, if the salmon are running, this could even be a great opportunity to do some underwater photography. More on that coming.
Nikon
For Nikon users, the NIKKOR Z 180-600mm f/5.6-6.3 lens can cover a wide range of focal lengths and be great as a (nearly) all-purpose lens for wildlife photography at a moderate price. The NIKKOR Z 600mm f/4 TC VR S lens is an impressive lens that includes a built-in 1.4x teleconverter that enables photographers to easily switch to a 800mm f5.6 — a very useful feature. Similarly, the NIKKOR Z 400mm f/2.8 TC VR S lens offers a lower aperture than the 600mm but also includes a built-in 1.4x teleconverter to easily switch this lens to a 560mm f/4. Again, it is important to have a lens foot for these lenses. These lenses can weigh a lot and be challenging to manage due to their size. The lens foot goes a long way.
A NIKKOR Z 24-70mm f/2.8 and a NIKKOR Z 70-200 f/2.8 (especially with a teleconverter) can be excellent lenses for landscape and wildlife photography in Alaska, especially if shooting at a river, Brooks Falls, or other areas where closer shots might be happening and a fast lens helps get those fast shutter speeds, especially when the light isn’t ideal.
Canon
The Canon RF 200-800mm f/6.3-9 lens covers a broad range of focal lengths and is moderately priced though it doesn’t have some of those lower apertures that can be great for speed and blurring backgrounds. Canon also offers an RF 100-500mm f/4.5-7.1 that has lower f-stops. For those looking to go (very) long, Canon has an RF 800mm f/5.6 lens, and for a little less reach, Canon has an RF 400mm f/2.8 and an RF 600mm f/4 lens that are ideal for wildlife photography — especially for bears, wolves, maybe even wolverines, and other animals that demand keeping some distance.
As for smaller lenses, Canon’s RF 15-35mm f/2.8, the 24-70mm f/2.8, and their 70-200mm f/2.8 lenses are great to have.
Clothing, Apparel, Boots, Baselayers
Planning for weather in Alaska can be a challenging endeavor. Because most wildlife photography in Alaska takes place on the summer, these recommendations will focus on summer in the Katmai National Park and Bristol Bay regions of Alaska. These recommendations will also generally work for Denali National Park and Preserve.
See some favorite apparel items for summer in Alaska below.
Gloves
In general, gloves for me get in the way of being able to use my hands as quickly as I can when operating a camera. However, summer in Alaska can be surprisingly cold and wet. On a recent July trip, the weather was wet and windy most days, and the cold, long boat rides up and down river were very cold. Temperatures were mostly in the high 30s and 40s with warmer weather being in the 50s and low 60s. Gloves from The Heat Company have been a game changer for me, and I couldn’t be more pleased, especially as they are designed for functionality for photographers. My go-to gloves are below.
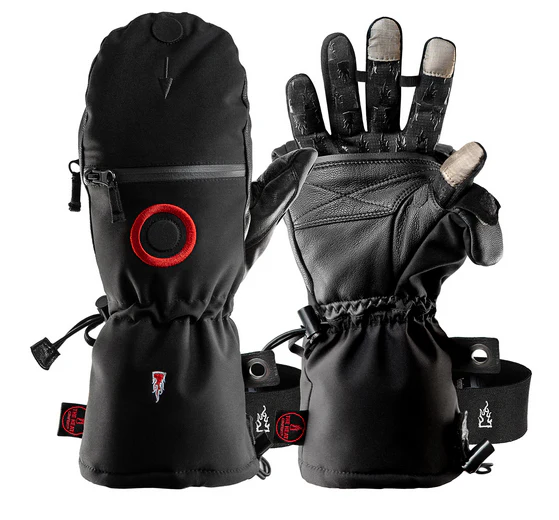
The Heat Company Merino Liner Pro gloves are great for when the temperatures get a bit chilly but not too frigid. When cold temperatures restrict finger and hand functionality or impact stamina, these gloves are the first to go on. For that first layer, the Merino Liner Pro gloves are a warm liner glove with an outstanding fit with great grip and the ability to use with camera touchscreens. These gloves have a pocket for handwarmers, and they are also very breathable, which is essential for situations in which hands sweat, and you need to keep from having cold, wet hands and gloves. An important note for Alaska: These liners do not dry quickly in this wet, humid climate. They might even take more than 24 hours to dry. Having the shell when it’s raining will keep the liners dry. It might not hurt to also bring a back up pair of liners so you always have a dry pair. When it’s cold and wet, The Heat Company’s Shells can go on over the liners. These shells are a windproof and water repellent mitten that has a great grip and magnets for holing the pull-back coverings for the thumbs and fingers. I’ve worn these in extreme conditions and have found them invaluable.
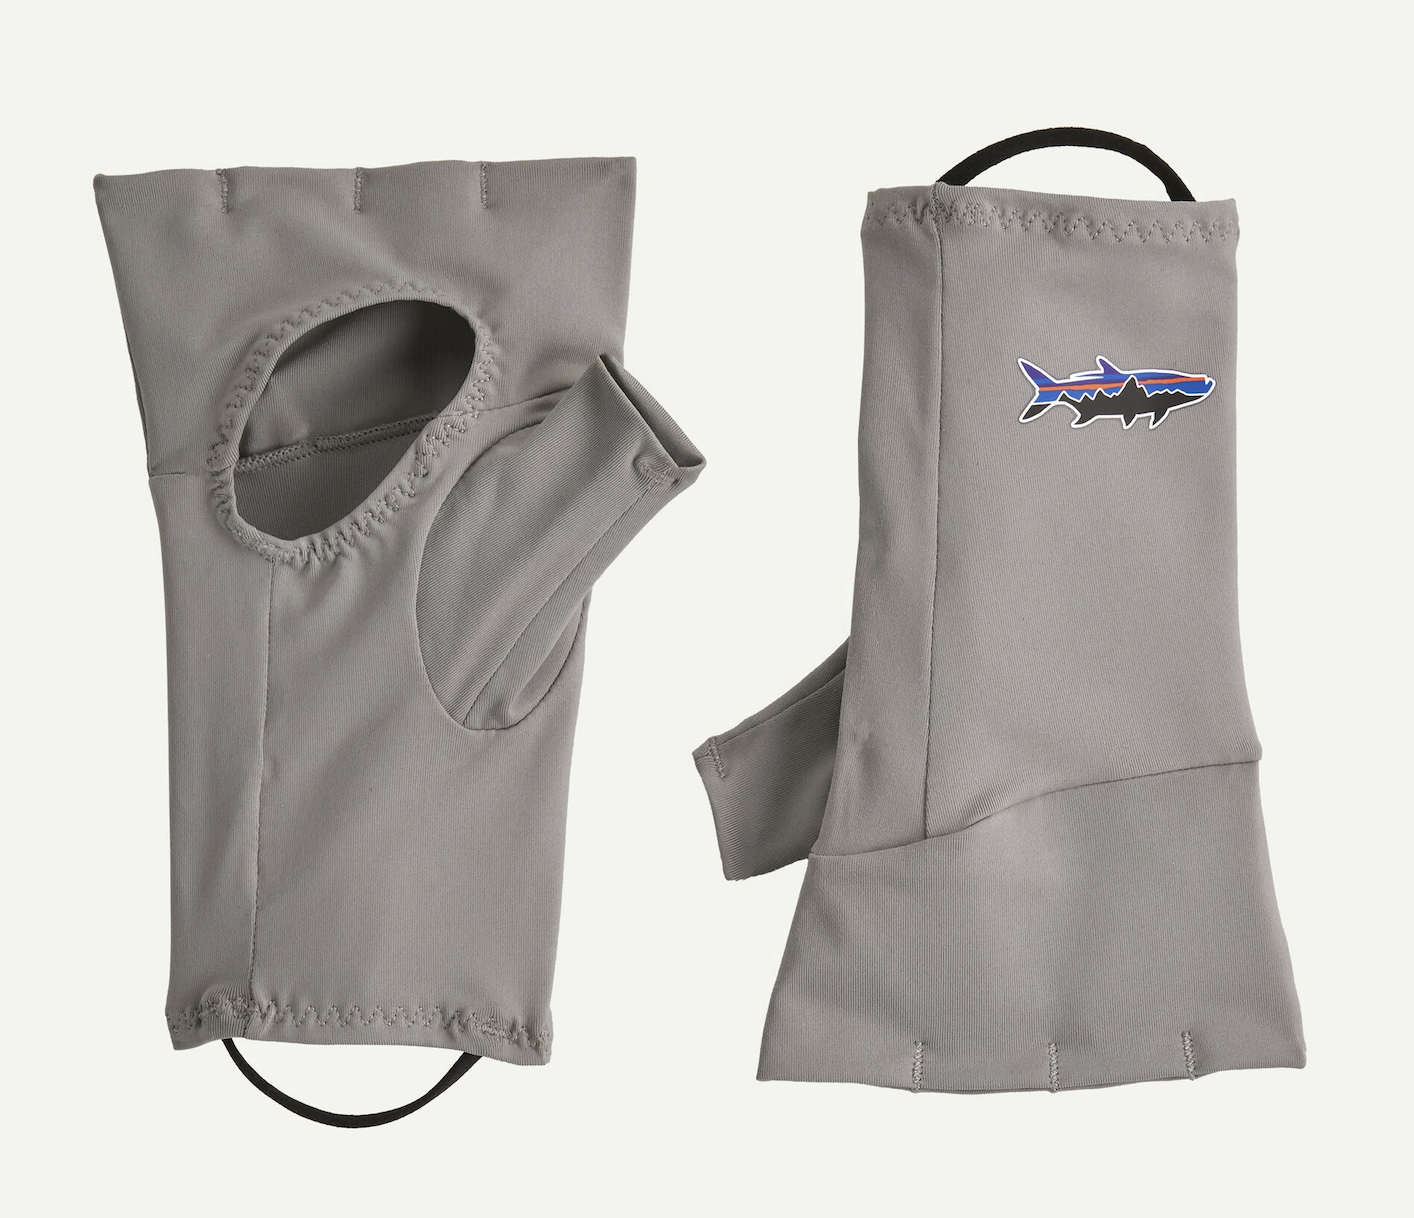
Gloves are also important in Alaska for mosquitos. When it’s warm (or hot) out, I always have the Patagonia Sun Gloves on hand. They pack incredibly easily and can keep the tops of your hands from excessive sun and the constant annoyance of mosquitos.
Baselayers
In Alaska in the summer, you can be cold and wet in the morning then feel like you are baking in the sun in the afternoon. Thus, thoughtful layering is absolutely vital in Alaska. For baselayers, you will likely notice a preference for Patagonia and Black Diamond on this end, but several other companies offer items that are comparable to each of what is named below.
For cooler weather, the Patagonia R1 Fleece Pullover Hoody and Patagonia Capilene Thermal Hoody are warmer technical tops that are breathable and designed for function. I will wear these over the Capilene Cool Daily Hoody as I like having two or more hood weight options between two tops at one time. Over the course of a day, I will often switch which hood I am wearing based on what the weather (or even the mosquitos) are bringing. When cold weather is going to be a big factor for a day or trip, the Patagonia R2 TechFace Pullover is an excellent piece.
When the weather is a bit warmer, the Patagonia Capilene Cool Daily Hoody is a favorite. This long-sleeved hoody is so lightweight, I generally wear this instead of a t-shirt. It is not only extremely light, it dries quickly, is very breathable, and I like having my arms, head, and neck covered at times, especially when there is intense sun. Unless it is very cold in Alaska, I will usually have this piece as my first baselayer.
For baselayer bottoms, I like the Patagonia Capilene Midweight Bottoms for cool days and the Patagonia Capilene Thermal Weight Bottoms for cold days.
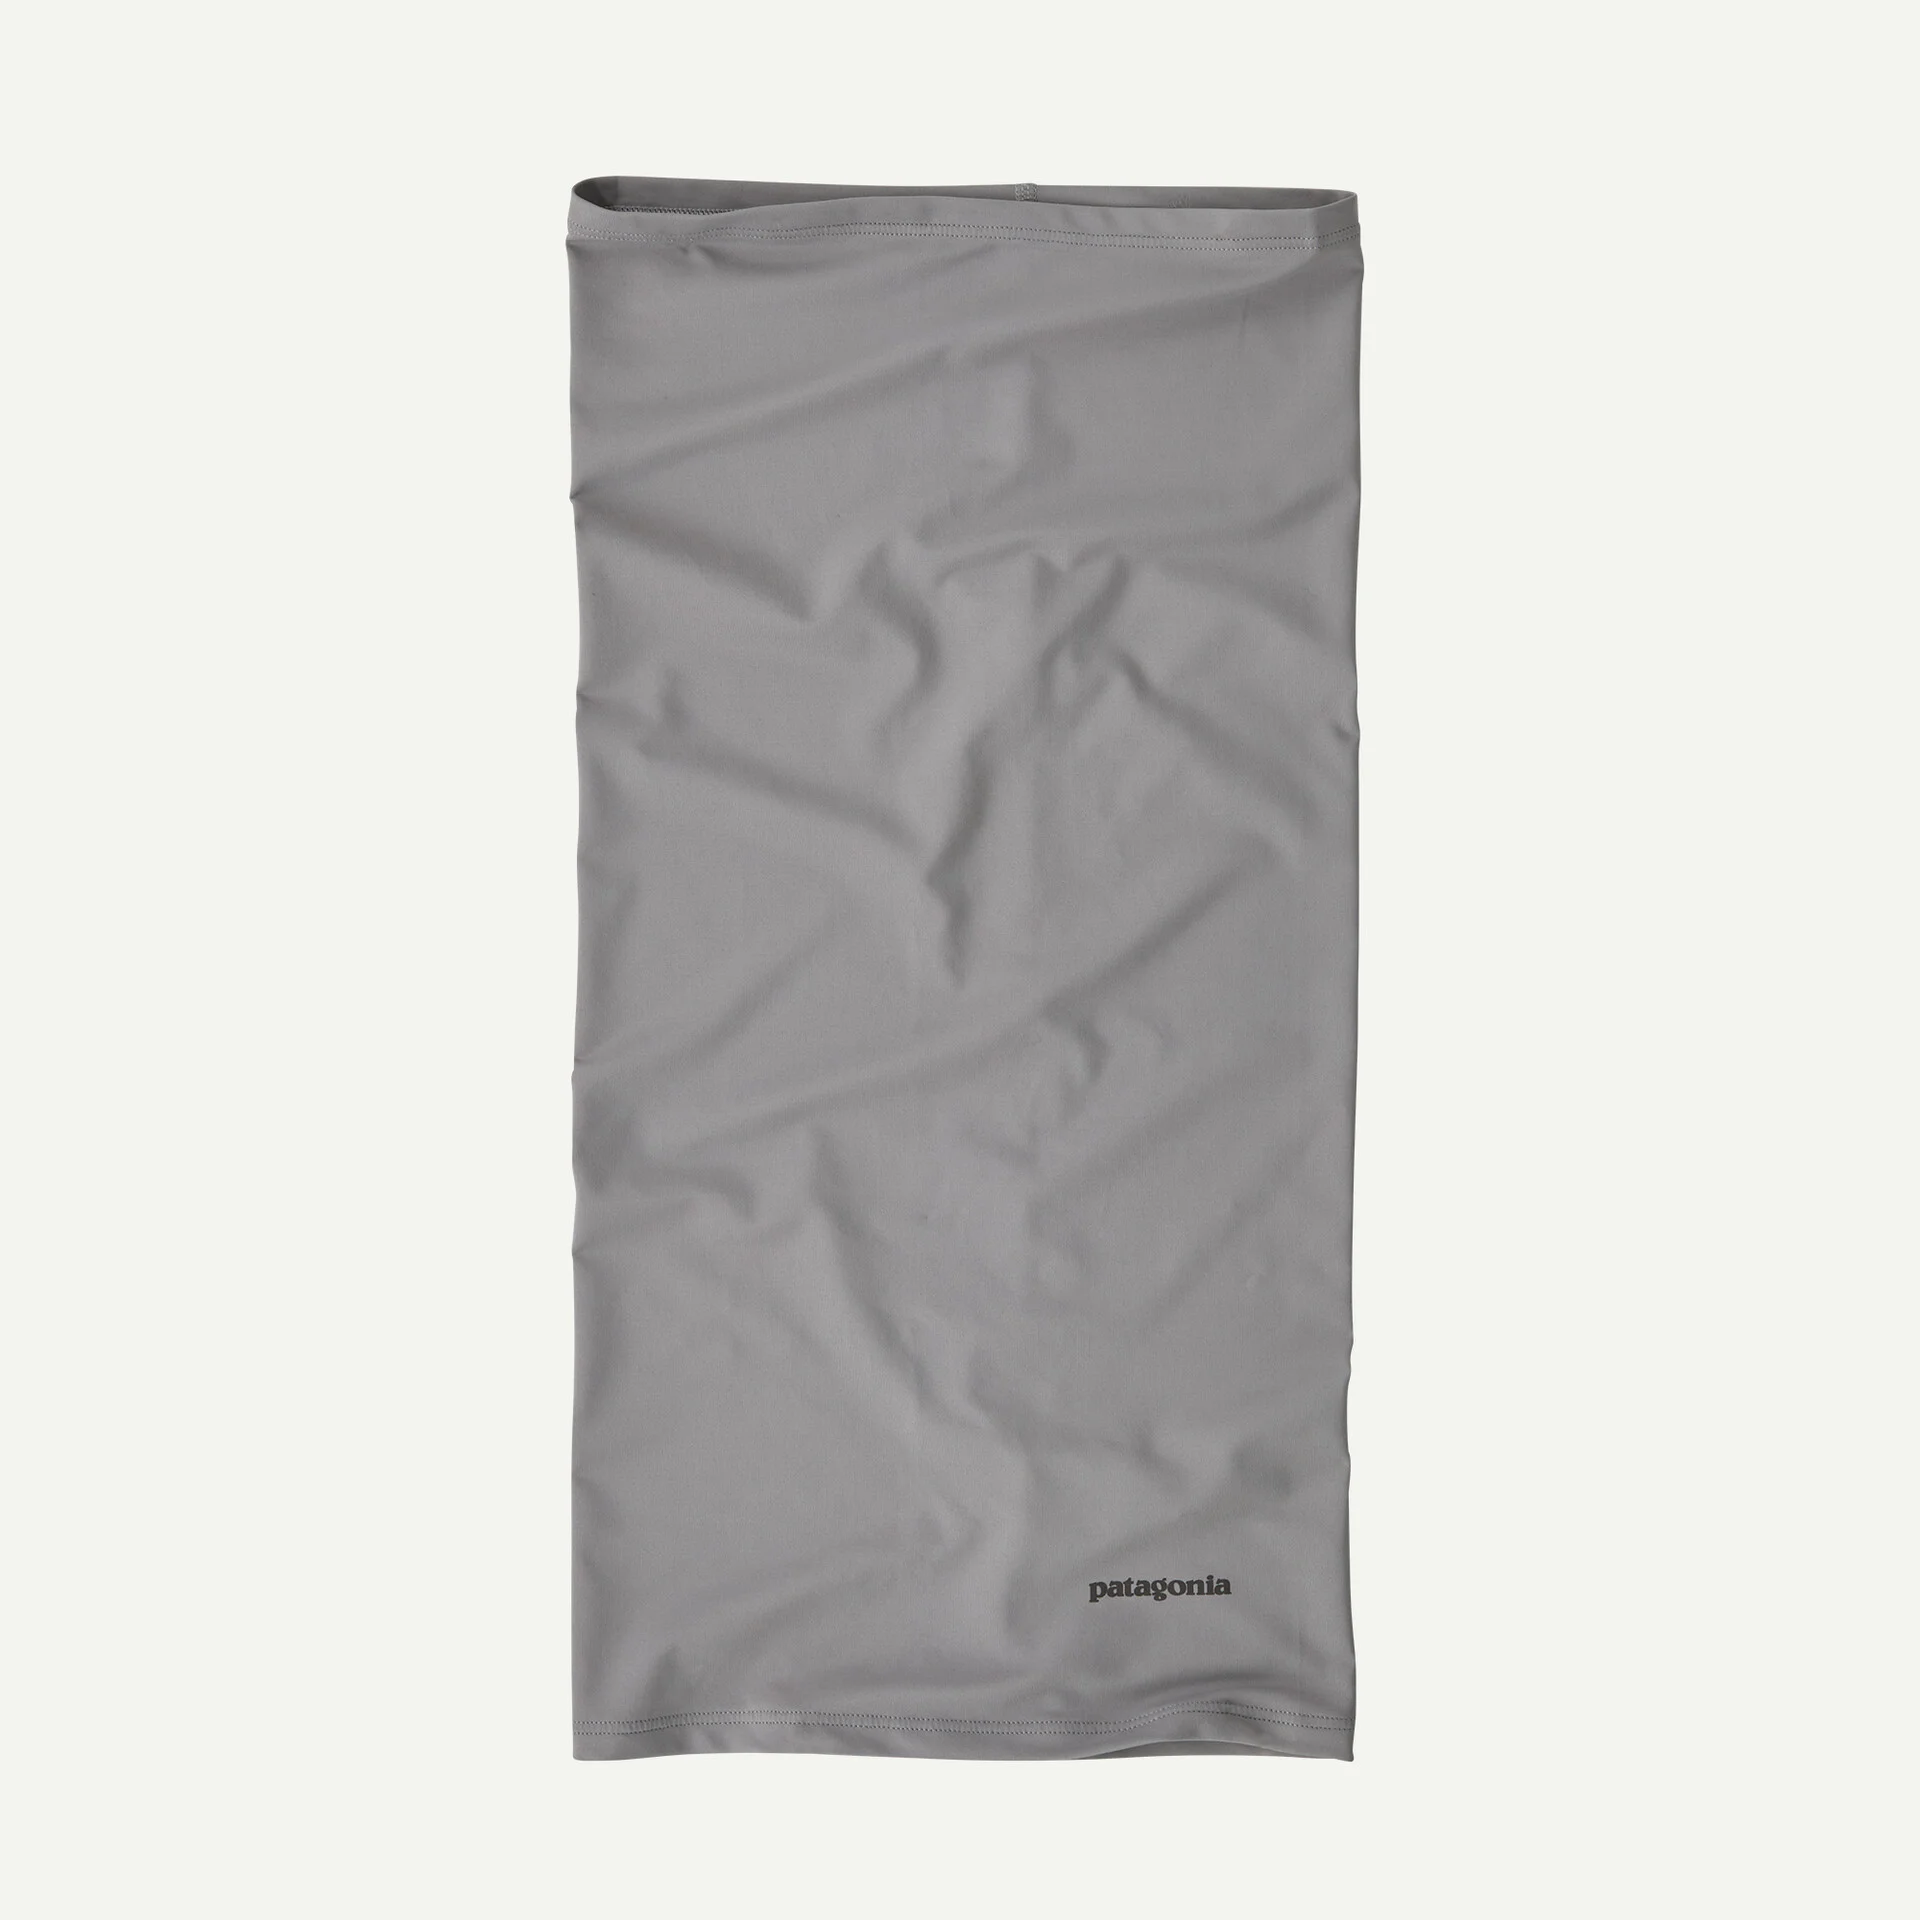
For keeping covered and even keeping warm, neck gaiters such as the Patagonia R1 Daily Neck Gaiter or the Patagonia Micro D Gaiter are great options. For warmer conditions, consider the Patagonia Sun Mask or a Buff. Because of how cold and warm it can be on a trip, I will bring both a lighter and a heavier neck gaiter. Much of how I experience the cold comes down to what I wear on my neck and head. 66°North also has some good options.
 Socks
Socks
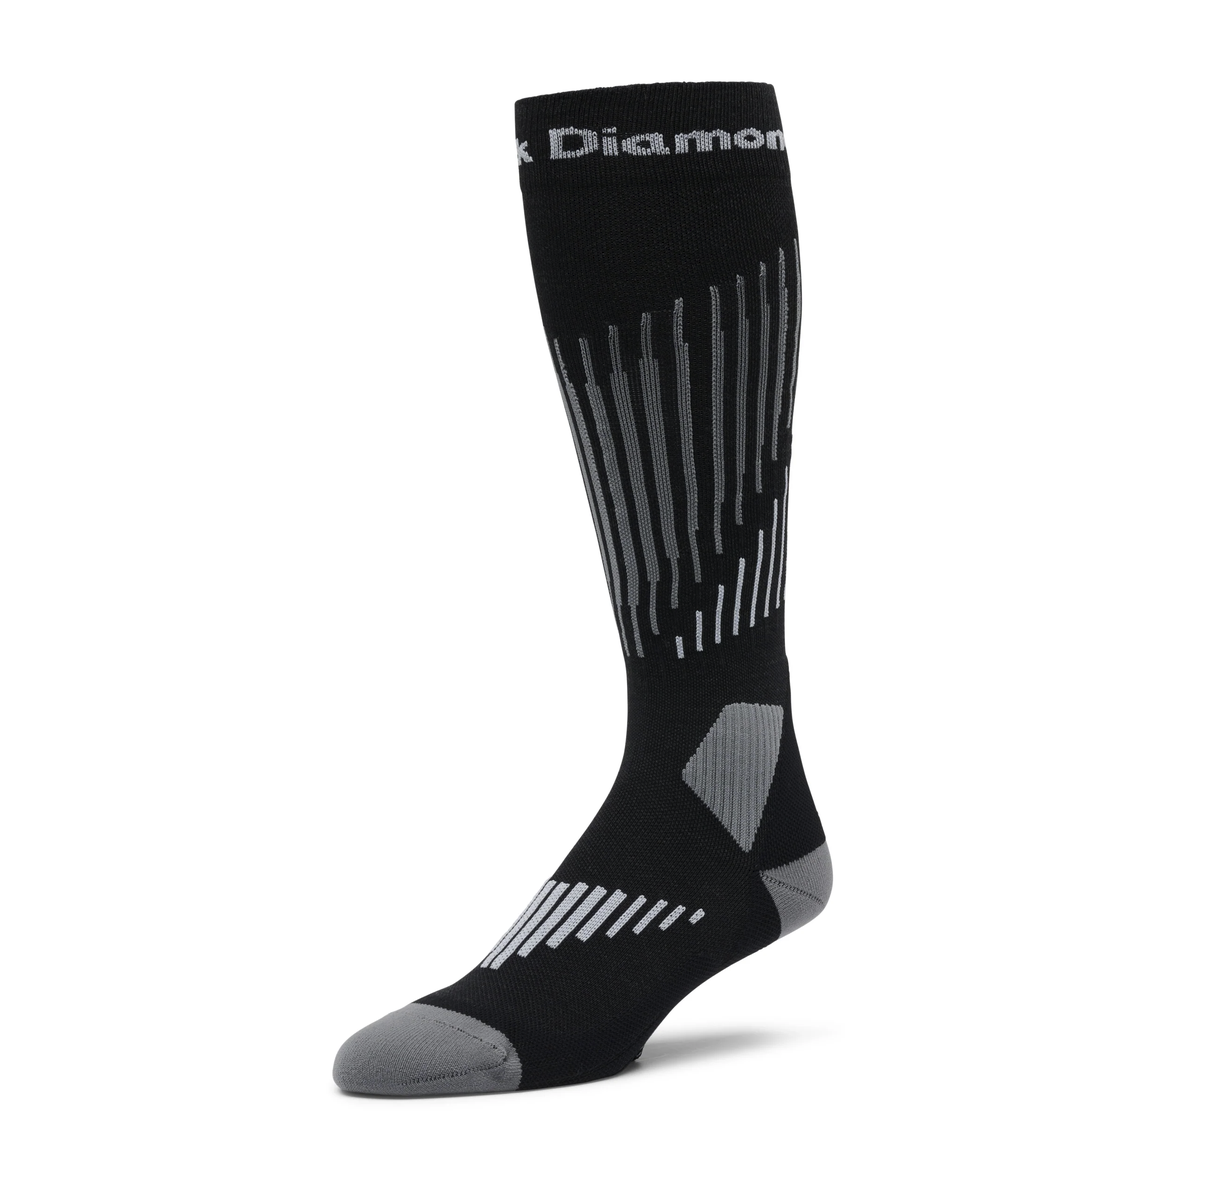
My preference for socks in cool weather is midweight ski and snowboard socks. There are some good lightweight ski socks as well. Though I have heavier and thicker socks, I rarely wear them in the field, as I have yet to find the extra thickness useful unless I am inactive, and I want to avoid sweating as much as possible. I like all of the compression ski socks from Black Diamond. The differences largely come down to weight and warmth. The Smartwool Merino Wool Ski Socks are also a great option. Ski socks generally aren’t too hot on cool days, and as the temperatures change throughout the day as they generally do in Alaska, I will lower and raise the socks to maintain just the right amount of warmth. When it’s colder, I rely more on warmer baselayer pants and boots to deal with the cold rather than thicker socks, though I will wear ski socks as long as it isn’t too hot to do so. In Alaska, I’m often wearing waders when looking for bears on rivers. Ski socks help keep the feet warm in cool water.
Headwear
The weather concern that keeps appearing here is cold and wet conditions. For Alaska, I recommend two good beanies and a cap. Beanies are recommended for mornings and colder days as regulating head temperatures can have a big impact on how warm and cold you are throughout a day. You can also wear a beanie over a cap. It’s good to have two beanies in case one needs to dry longer after a wet day, and you need to get back out in the field.
 Jackets
The Patagonia Nano Puff Hoody is a very popular jacket among outdoors enthusiasts, and it might be my most frequently worn jacket. The Nano Puff is windproof, water-resistant, and very lightweight and packable. It almost has no impact on my load when traveling or in the field, so it often comes with me. This jacket also works well under a heavier waterproof jacket when it’s colder and raining a bit. Note: These jackets will take on some water, but they aren’t waterproof. It’s always good to have a waterproof jacket.
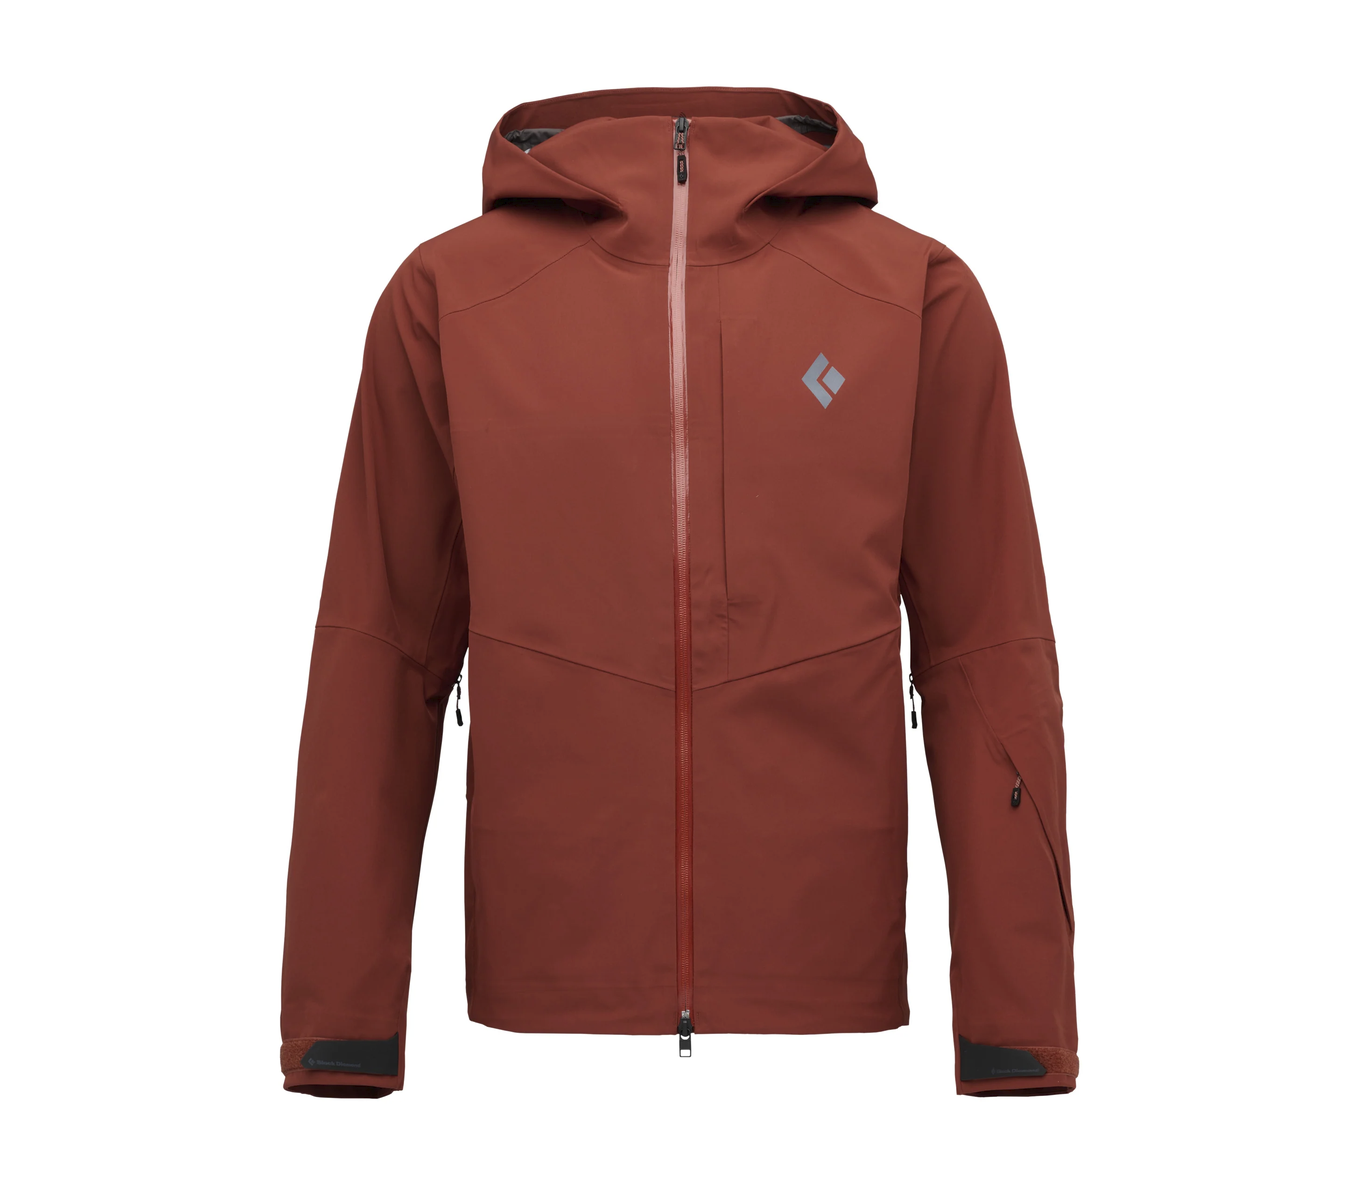
One downside to the Patagonia Nano Puff is the lack of stretch. If you need some stretch in the material to support mobility, Black Diamond Access jackets are outstanding. One question I like to ask myself is whether a non-stretching material will feel restrictive if hiking, getting low for shots, or doing other physical activities that require some mobility.
If cold temperatures are expected, the Patagonia Down Sweater Hoody, which is fairly lightweight, packable, windproof, and water resistant is great to have on hand. For a little more durability, the Patagonia Hi-Loft Nano Puff Hoody is excellent. It is insulated and heavier and not as packable, but this is a durable and warm jacket that is highly recommended for Alaska. If it’s not too frigid but I want to stay dry, a good waterproof ski shell over good baselayers might work just fine.
Pants
I have yet to find the perfect all-around pants. Presently I generally go with the Patagonia Alpine Guide Pants, which are windproof, water resistant, and comfortable. I do wish they had a back pocket. Unfortunately, in a hard rain, these pants seem to get wet and stay wet. When it’s warm or even hot, the Patagonia Terrebonne Joggers are outstanding, though they might be a little tight for those with thicker thighs. The Black Diamond Sequence and Notion pants are outstanding options.
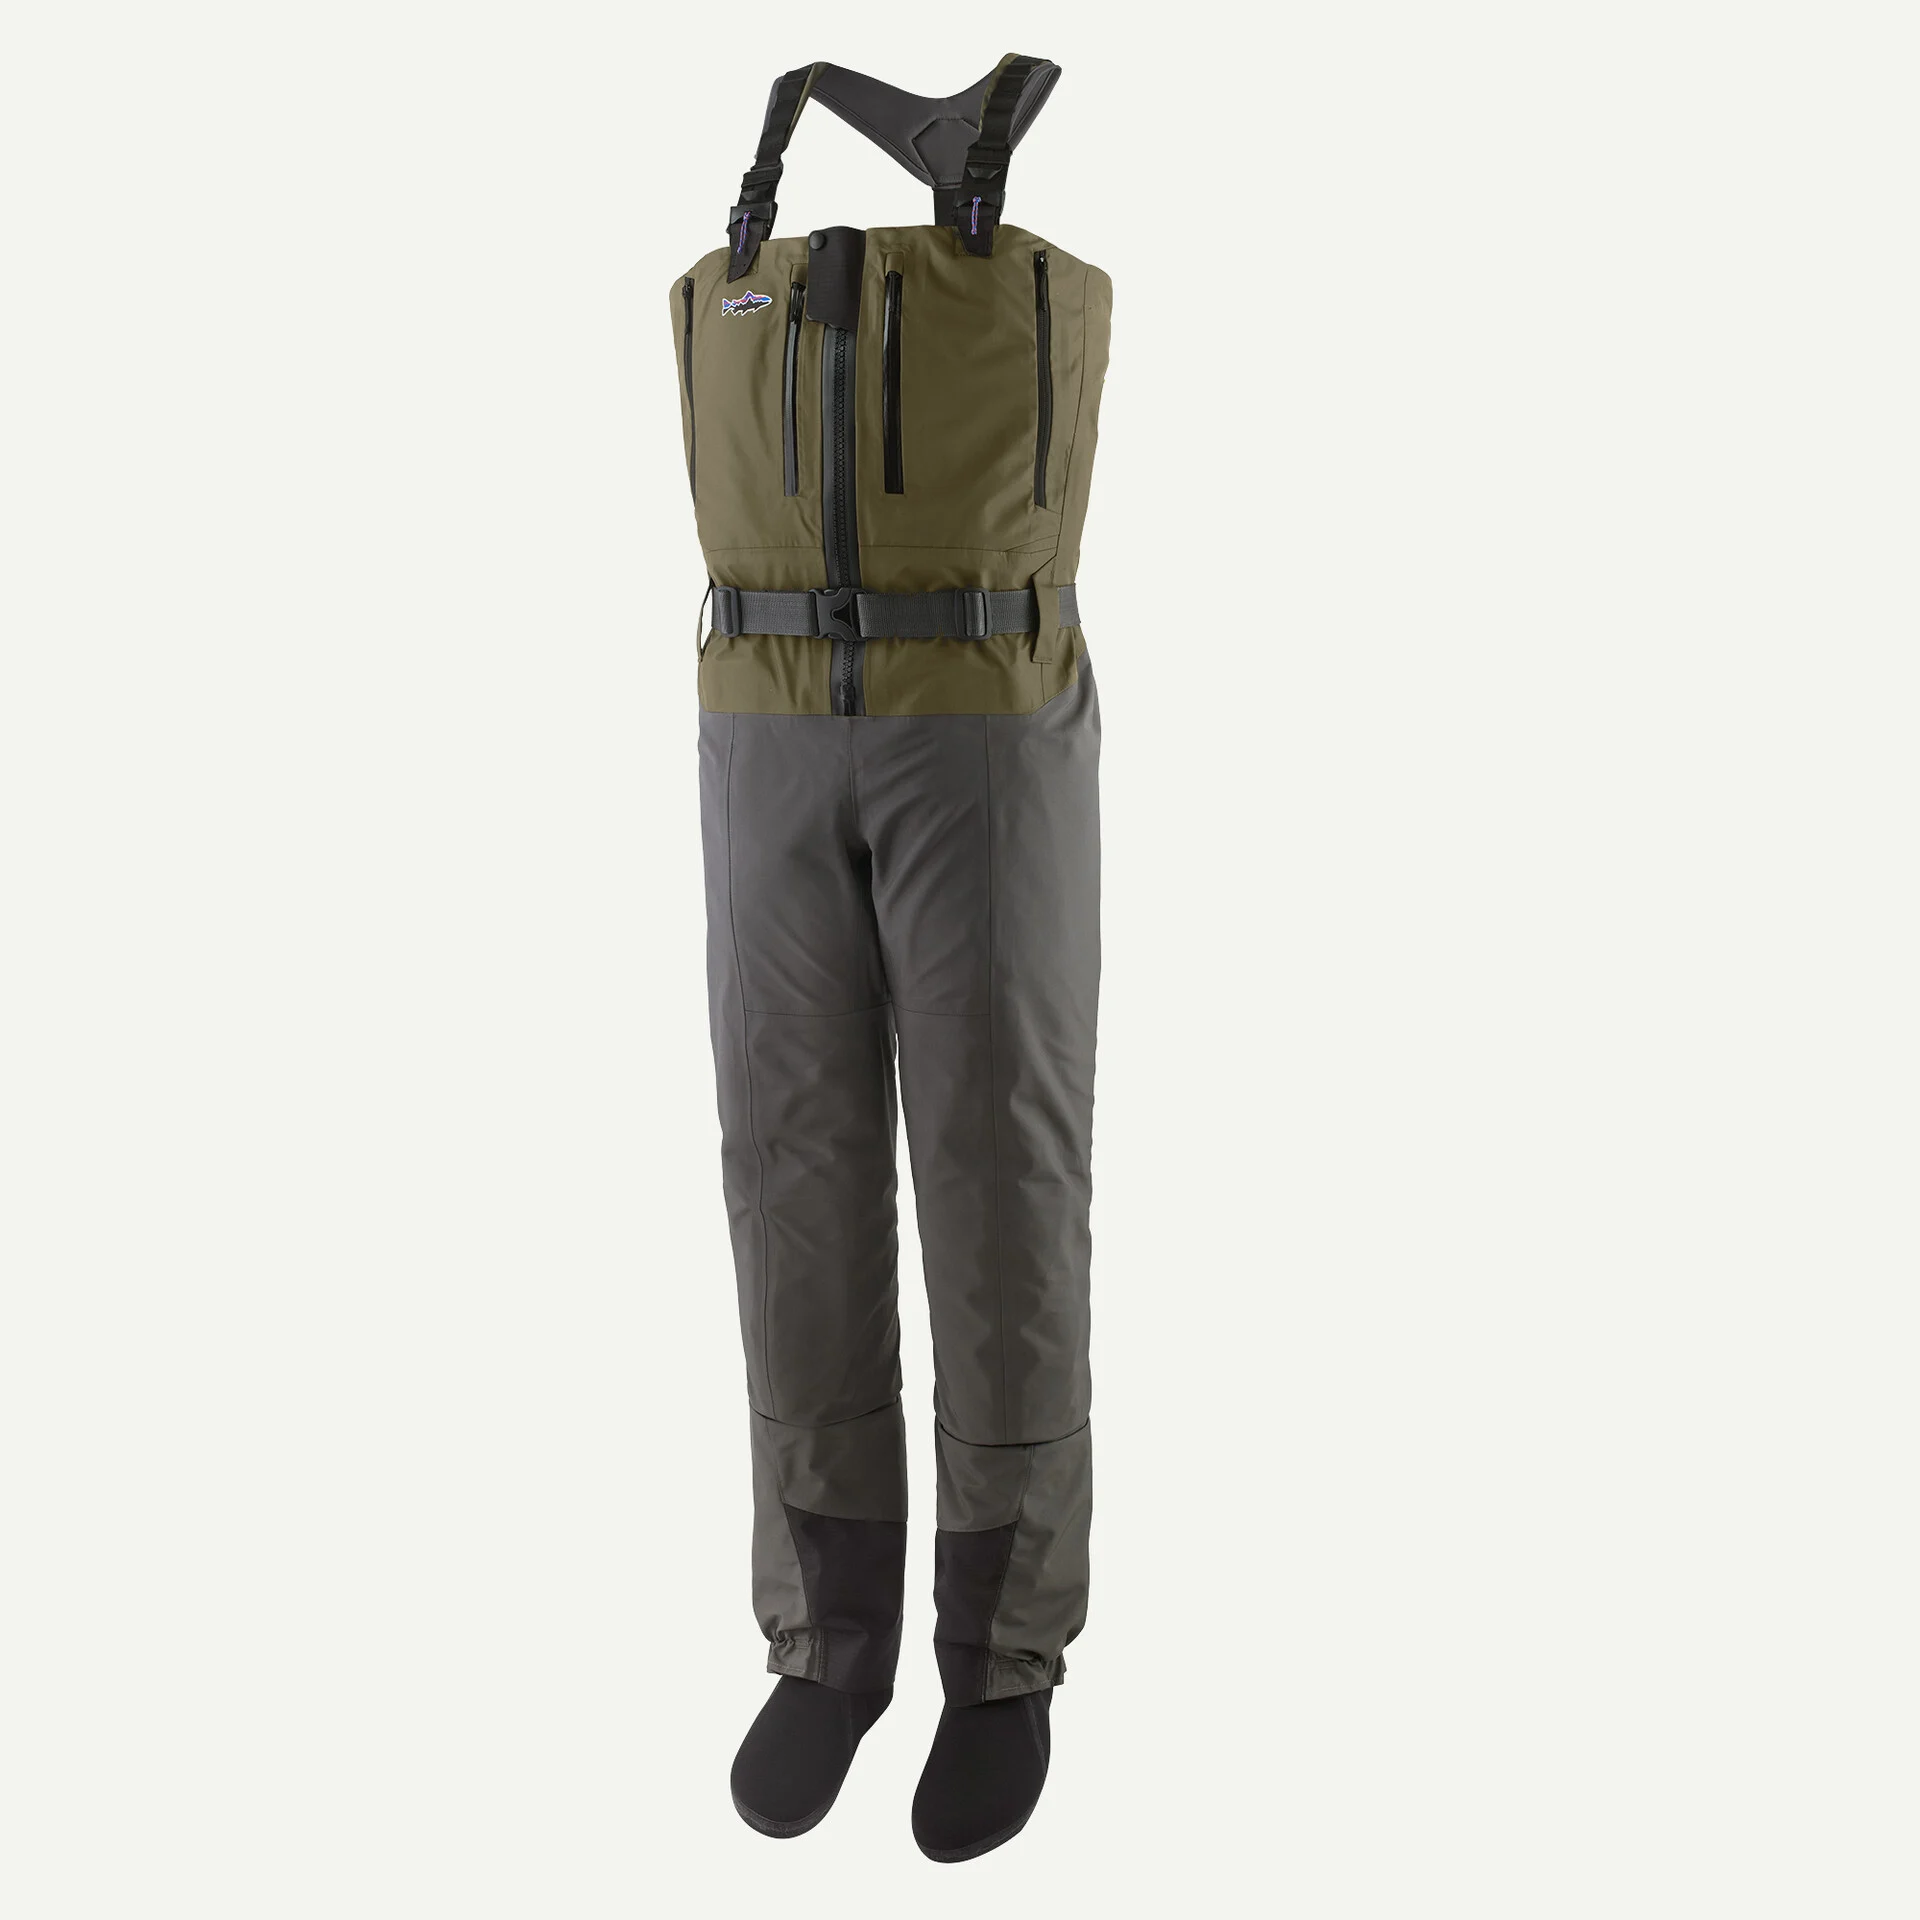
Lastly, when I go to Alaska, I’m taking waders. The ability to walk and cross rivers is essential for me, so I wear Patagonia waders that are designed for fishing. The Patagonia Swiftcurrent Traverse Wading Pants are a favorite for when I am home in the Rockies, and these are a great option in Alaska, but because of experiences with cold downpours, even in the summer, I like having chest waters that offer more protection from both water and cold. The Patagonia Swiftcurrent Expedition Zip-Front Waders are my favorite. They are durable, tough, have a convenient front zipper and more. Patagonia’s other waders are great too, though the Swiftcurrent Ultralight Waders wouldn’t be the best for Alaska for some folks. Simms and Orvis are other options. Remember: Baselayers and ski socks underneath are very important. And they should be paired with a wading boot to go over the neoprene booties. I find the Patagonia Forra Wading Boots to be very comfortable, especially when I am on the move and might be hiking or walking a bit. Heavy wading boots can be cumbersome, so try to find wading boots with an athletic fit and a good sole. Nothing beats having your own waders, but if you are staying at a lodge or other operation, they might also have waders and boots available for rental or use.
 Boots and Shoes
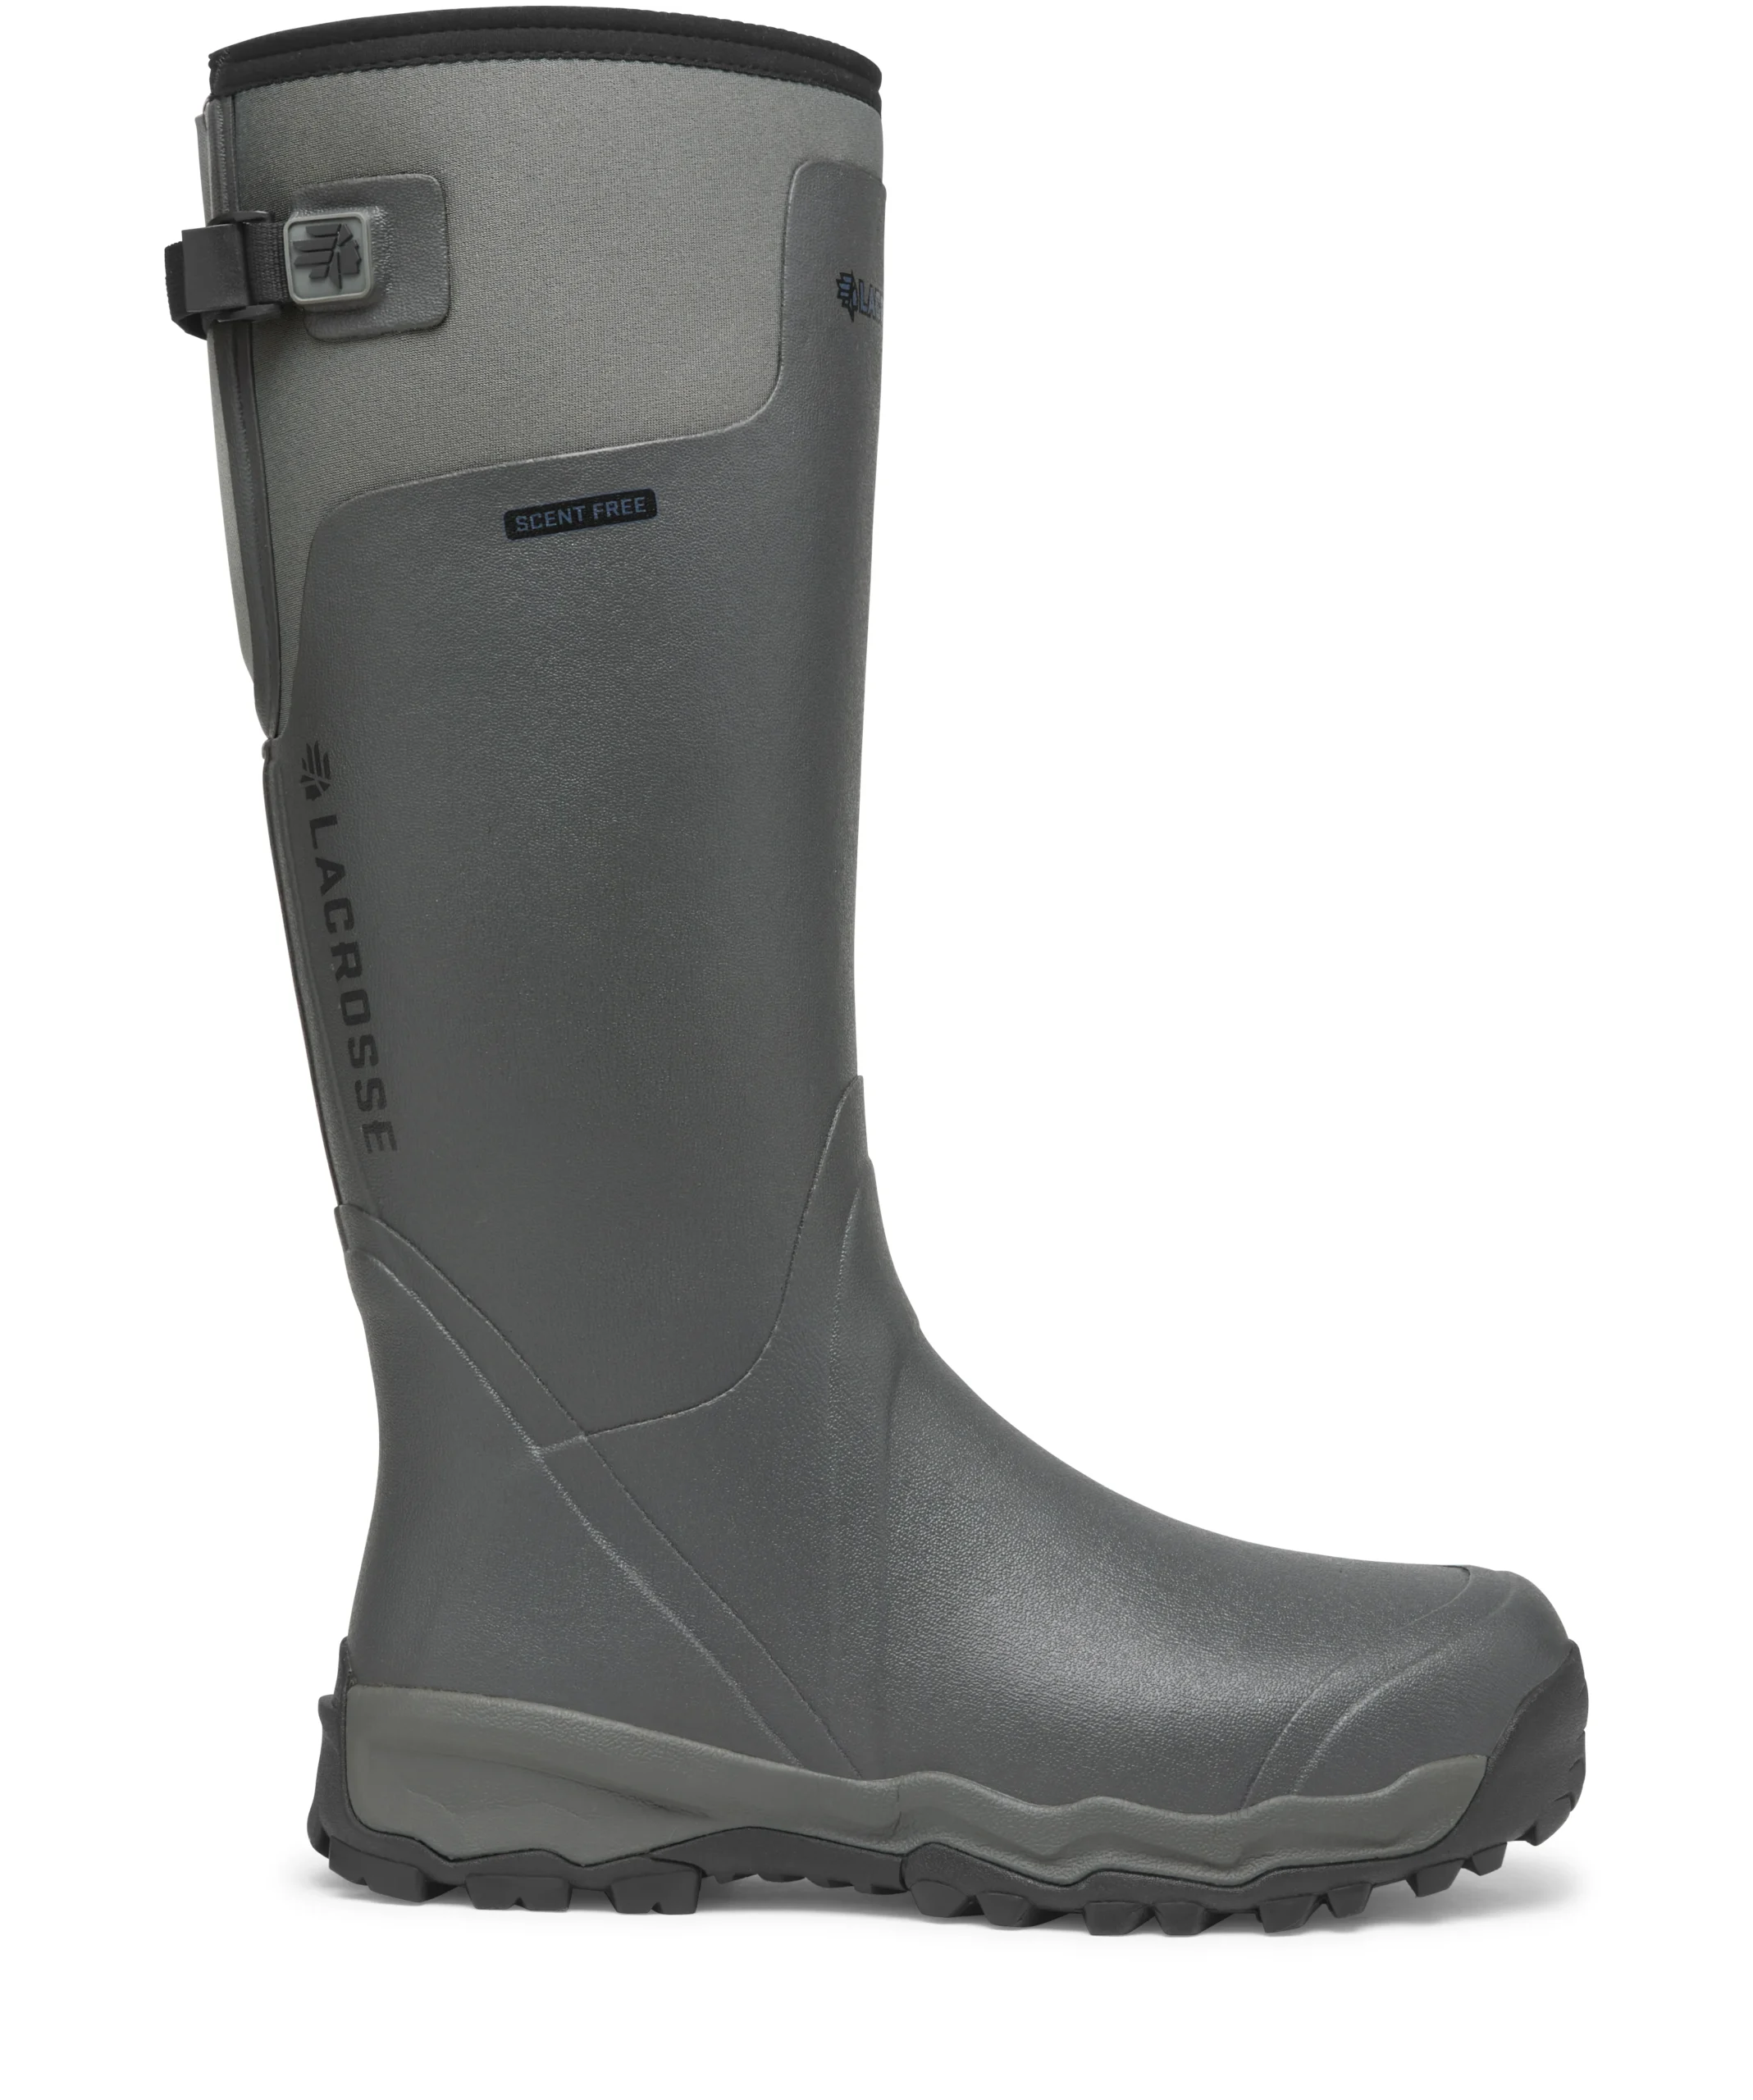
Boots are a big deal in Alaska. If you are near water or in a wetter climate, you’ll see deck boots everywhere. XTRATUF and Grundéns are likely the most popular in Alaska, and there’s even a Grundéns store in the Anchorage airport just in case you’re in a pinch. I’ve found that might feet sweat more than I’d like in rubber boots, but they are great for less active pursuits or wearing around a lodge or camp. The non-insulated LaCrosse Alphaburly Pro boots pictured above are outstanding in marshy or wet areas. I opt to use socks for insulation rather than possibly being too hot in their warmer boots. Note: These boots are heavy to travel with.
If I’m going to hike more, I go with the La Sportiva TX Hike Mid GTX boots. If you aren’t concerned about getting wet above the ankles, the La Sportiva Akyra II shoes are outstanding.
Miscellaneous Gear
Tripods
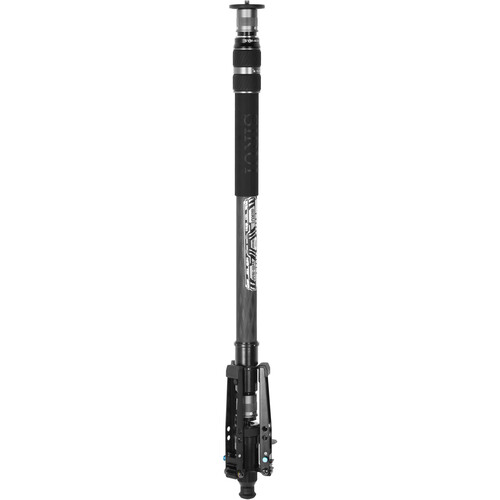
There are many different tripods to fit a variety of needs for photographers. For wildlife photography, a tripod that is light enough to not weigh you down when you are on the move and is strong enough to hold heavy lenses is what you’ll need to look for. The Sirui W-2204 Waterproof Carbon Fiber Tripod and the Sirui W-2004 Waterproof Aluminum Alloy Tripod are excellent. The carbon fiber option is lighter but a little more expensive. In Alaska, and especially if you are traveling on float planes, it is important to be mindful of weight. Monopods are also very useful. I use a carbon fiber monopod from Sirui. (See here.) With all monopods and tripods, be certain what you choose has a high carrying load weight. Stability and strength are essential, especially if you’re shooting at 600mm.
Gimbal
There are many great gimbals out there now. For wildlife photography, I like the Wimberley WH-200 Gimbal Tripod Head II with Quick Release Base. It is strong, easy to use, and has a nice smooth motion when set properly. It is metal, and it can be very cold to touch when it’s frigid outside. Tape or another wrap of some kind could help with that. This gimbal is fairly heavy, but a good gimbal is essential for stabilizing and utilizing those heavy camera and long lens combinations.
 Sunglasses
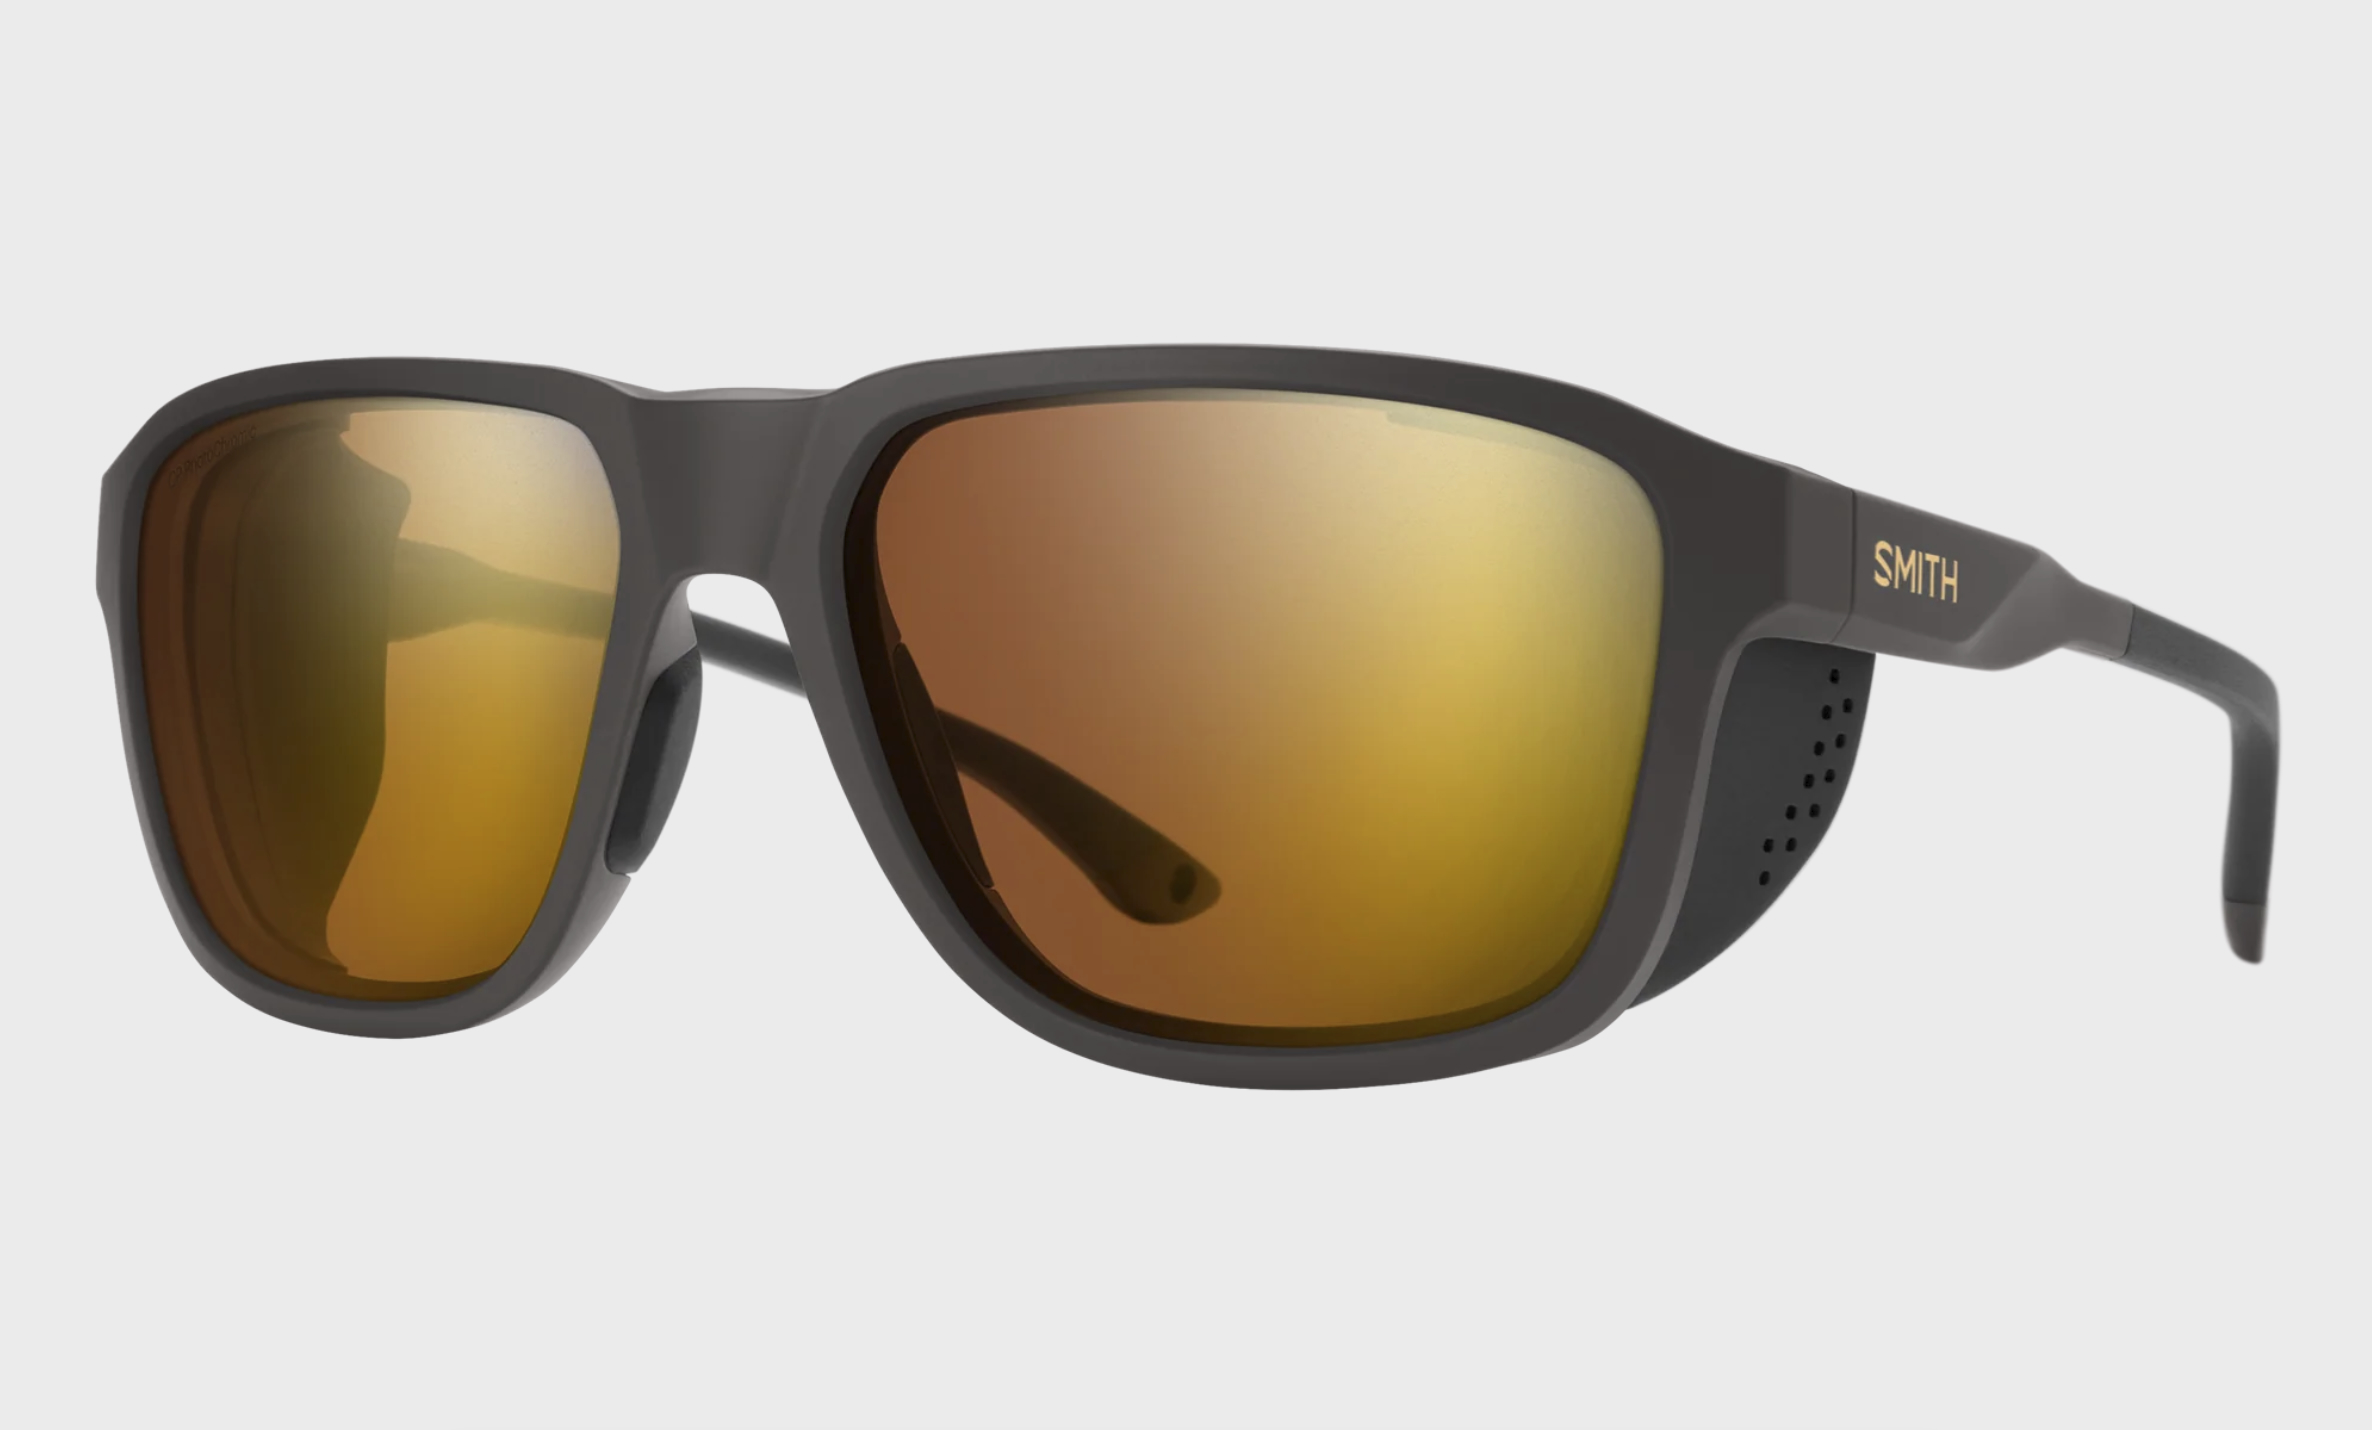
Good, quality polarized sunglasses can really help you see and reduce eye fatigue. Smith and Costa are among a number of top brands. The Smith Embark and Smith Venture sunglasses offer side shields that block light from the side, which can be very useful, especially if there is glare from water.
Backpacks and Packs
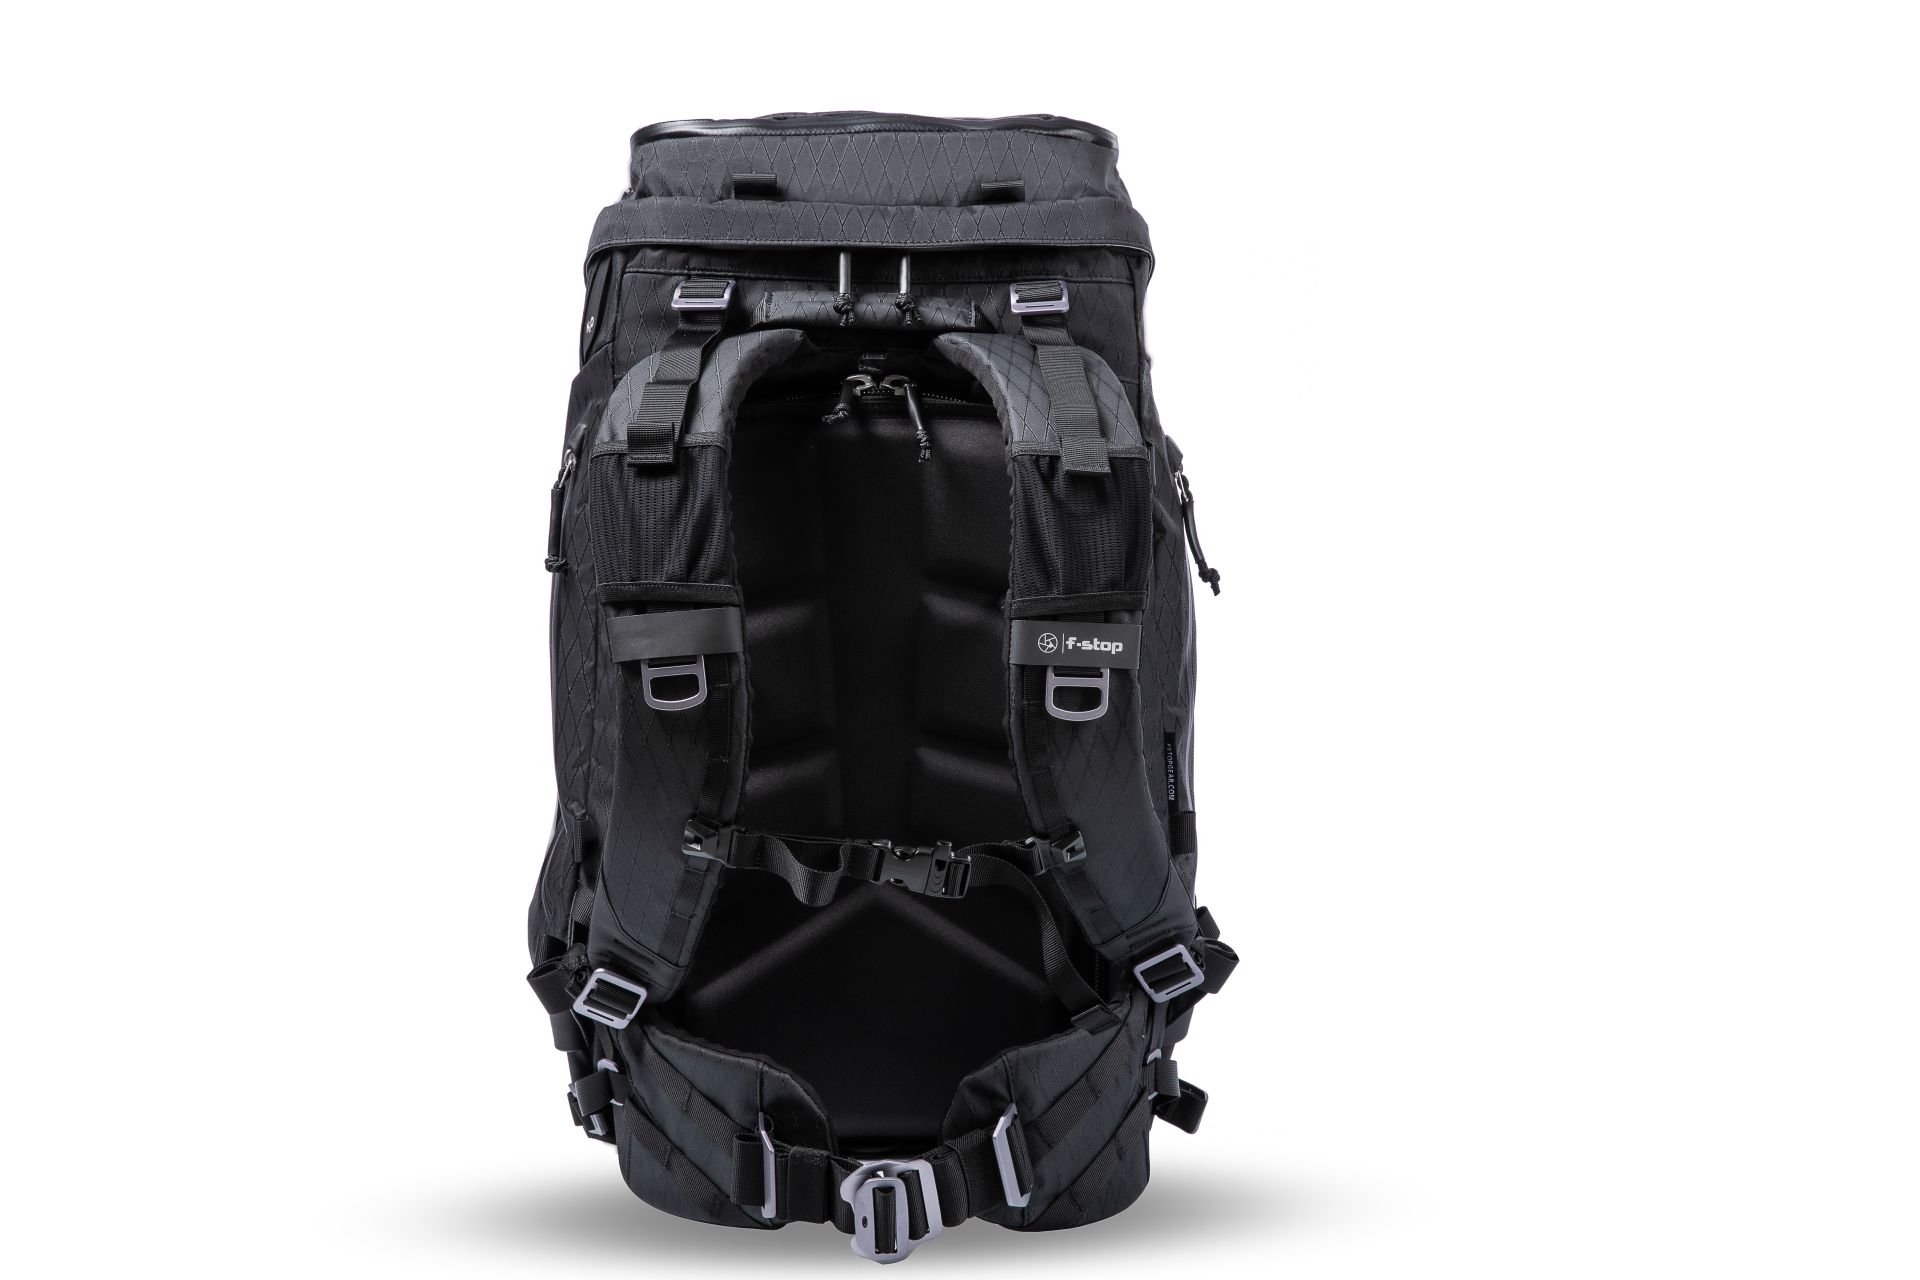
For carrying gear in the field, I highly recommend f-stop backpacks. The Mountain Series packs have gone with me to mountain shoots all over the world, and it’s very rare that I’m shooting in the mountains or in areas ideal for wildlife photography without one of these packs. I currently use the f-stop ANJA 37L DuraDiamond, the TILOPA 50L DuraDiamond, and the SHINN 80L DuraDiamond backpacks. When I am solo and on most trips, I use the TILOPA. If I am guiding or need more than one big lens with me, I go with the SHINN. I have put these packs through a lot, and they are durable and tough while remarkably comfortable to wear with a lot of weight inside for hours and hours on end. These packs have an endless number of features, but their comfort and ability to withstand weather and more are at the top of my list of reasons to go with one (or all) of these packs. For Alaska, I remove the inserts because I am also traveling with a Pelican case and can have my dividers and inserts in there. I then stuff the TILOPA into a checked bag and reassemble when I get to the destination. Note: I am an ambassador for f-stop, but I was solely using their backpacks for years prior to coming onto the team.
Pelican Case
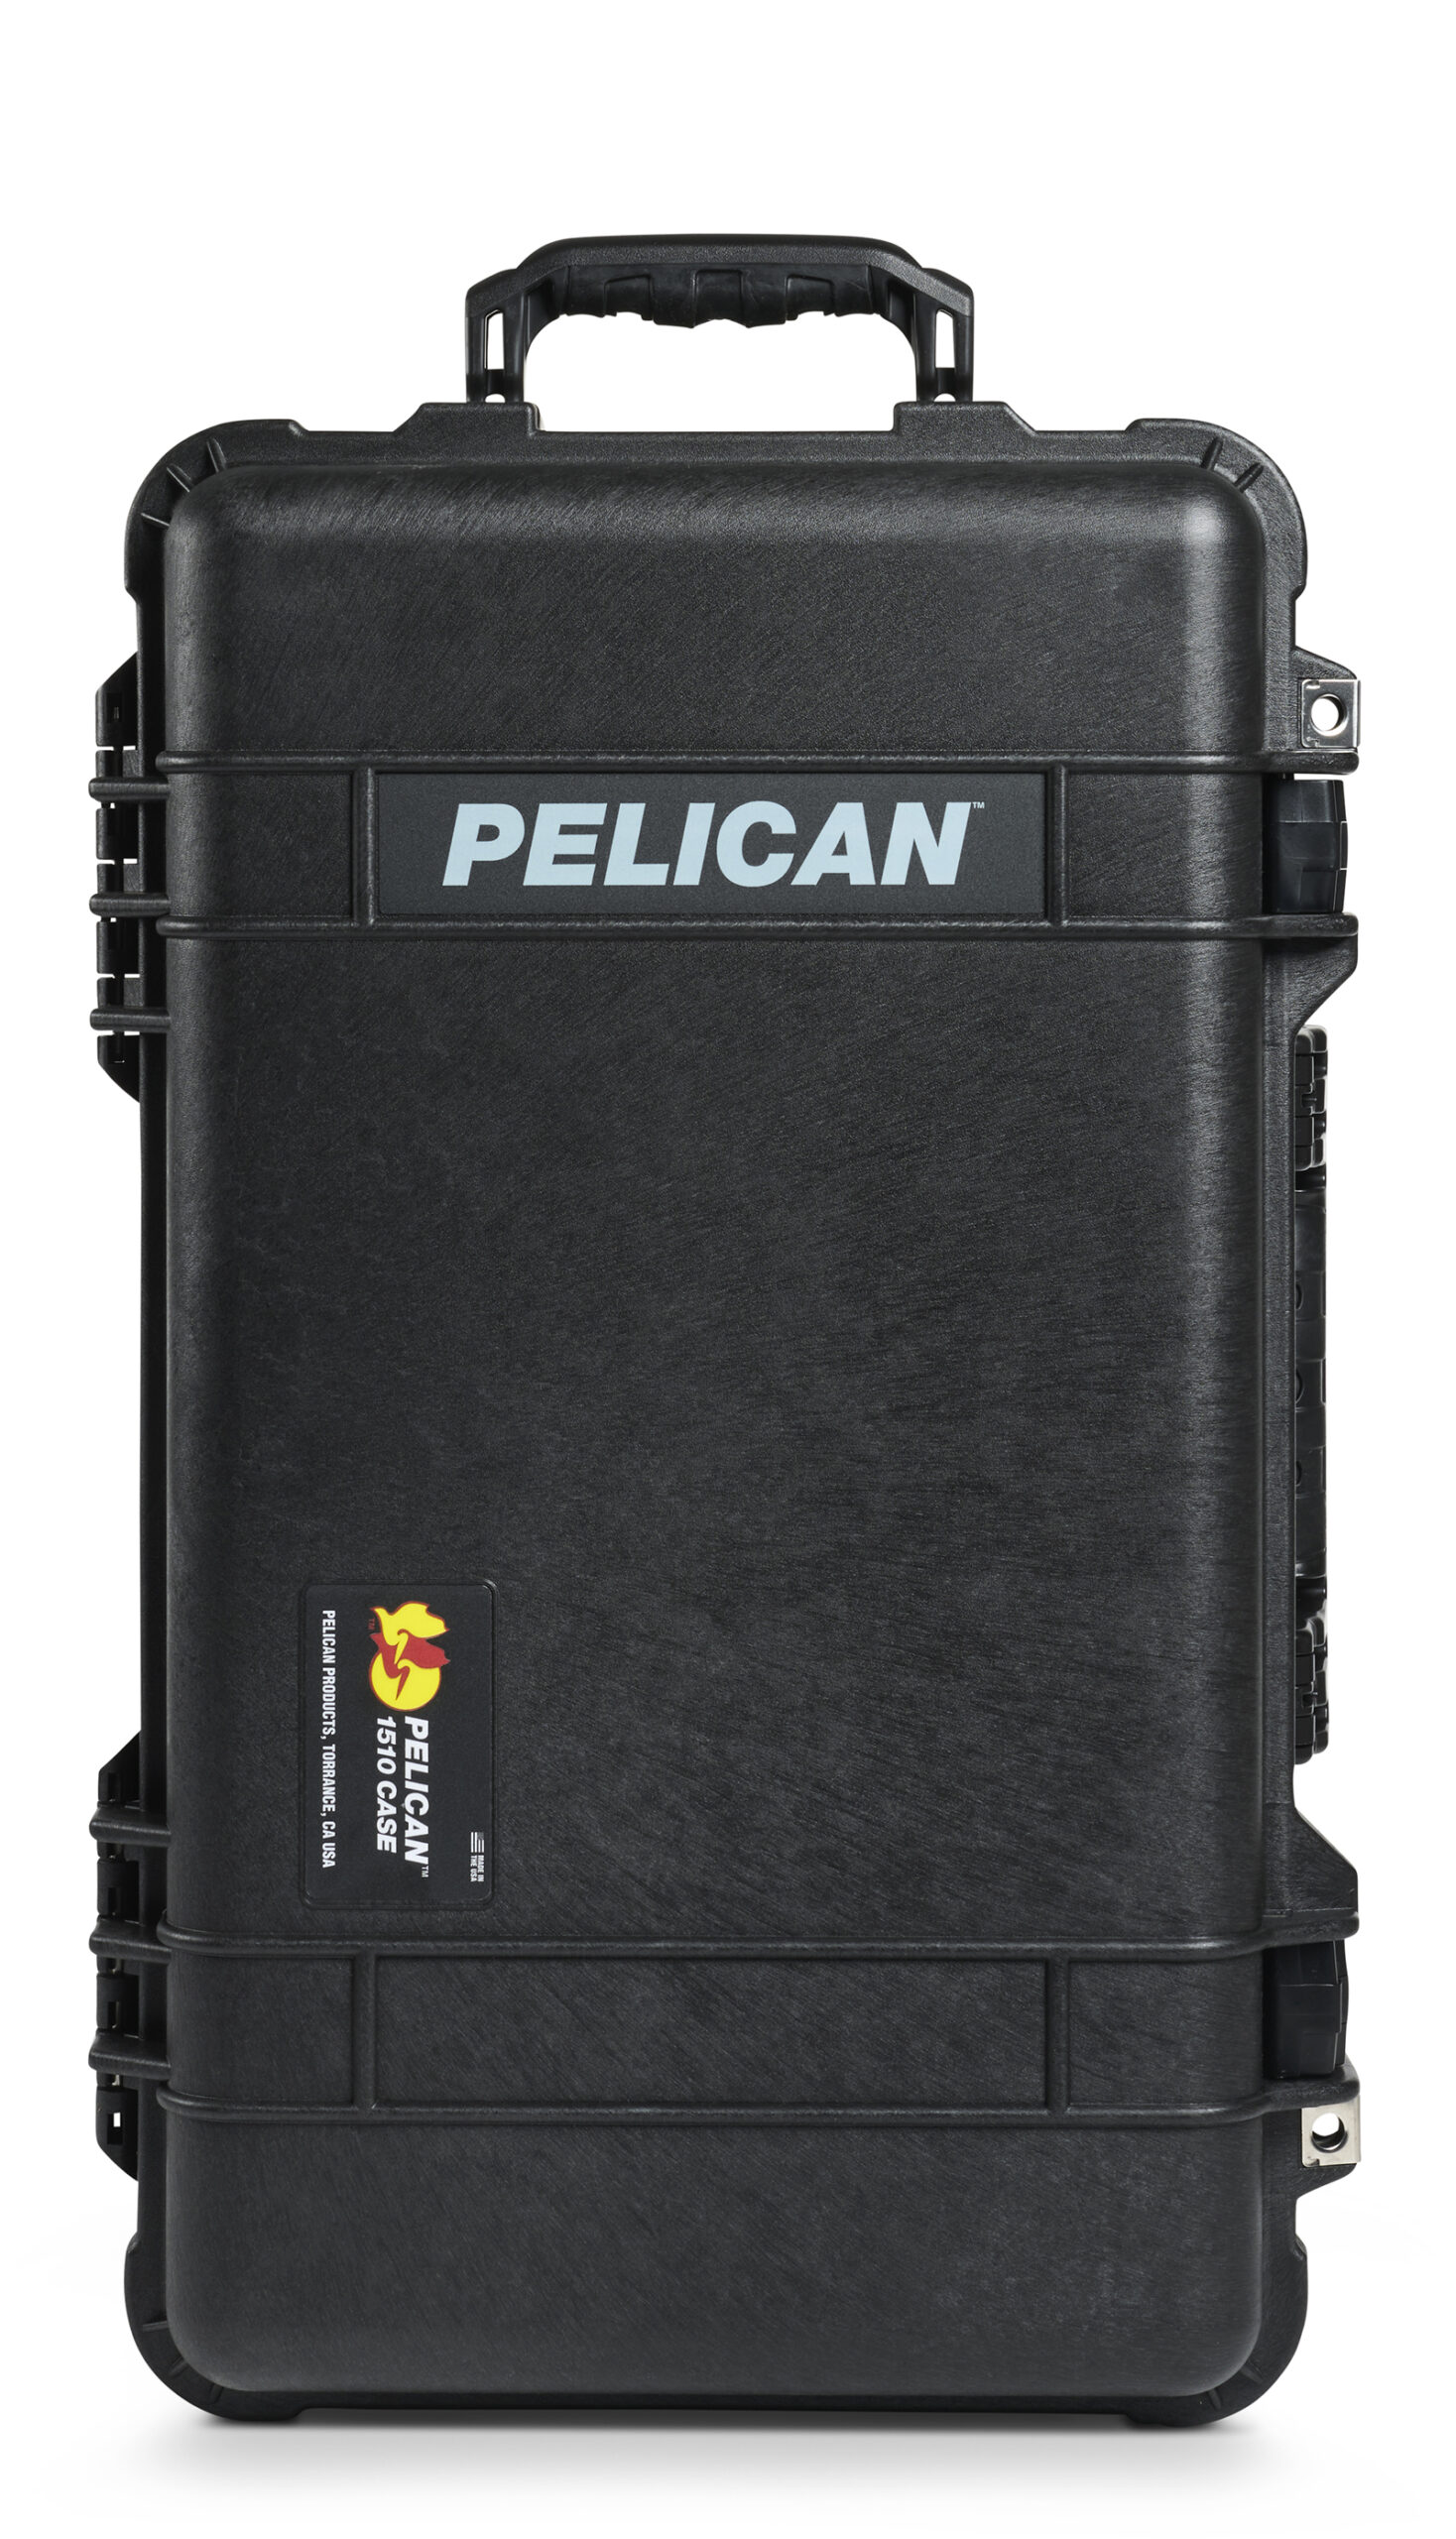
The Pelican 1510 Case is my carry-on on almost every trip. In fact, when I was told once by an airline that I couldn’t take it as a carry-on, I changed flights. These waterproof cases are incredibly tough, have wheels to help with managing the weight, and they fit in the overhead bins on flights. In my Pelican case, I have portable hard drives, a car reader, camera bodies, and essential lenses. If everything goes wrong, a bag is lost, et cetera, I have enough to get by with the essentials in the Pelican. If I am on a boat all day, the Pelican keeps everything dry inside. Complete peace of mind. The case can withstand some abuse. More peace of mind. If I am switching to a backpack for the day, I swap out the inserts, and put them in the pack (and often put the f-stop inserts in the Pelican before flying). I have tried other brands of similar cases, and they all fall short, sometimes for a small reason, but enough of a reason to stick with the Pelican. I also recommend a good lid organizer.
Underwater Housing
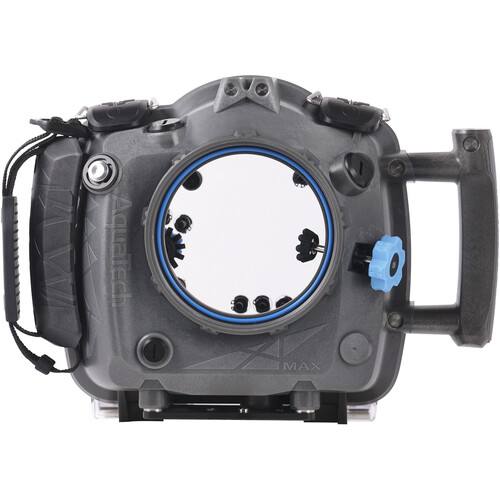
Taking an underwater housing (and dome, et cetera) to Alaska is a bit of bulk and weight to add to your luggage, but when salmon are filling rivers, photographers have a great opportunity to photograph fish. Species such as sockeye take on vibrant red and green spawning colors, and images can be extraordinary. I have AquaTech underwater housings, but people have other preferences. Note: With the housing you’ll need a dome and other accessories, and housings are designed to fit specific camera bodies, so make certain your camera fits. And be sure to test the housing at home before going into the field to make certain there is no leakage.
 Drinkwear
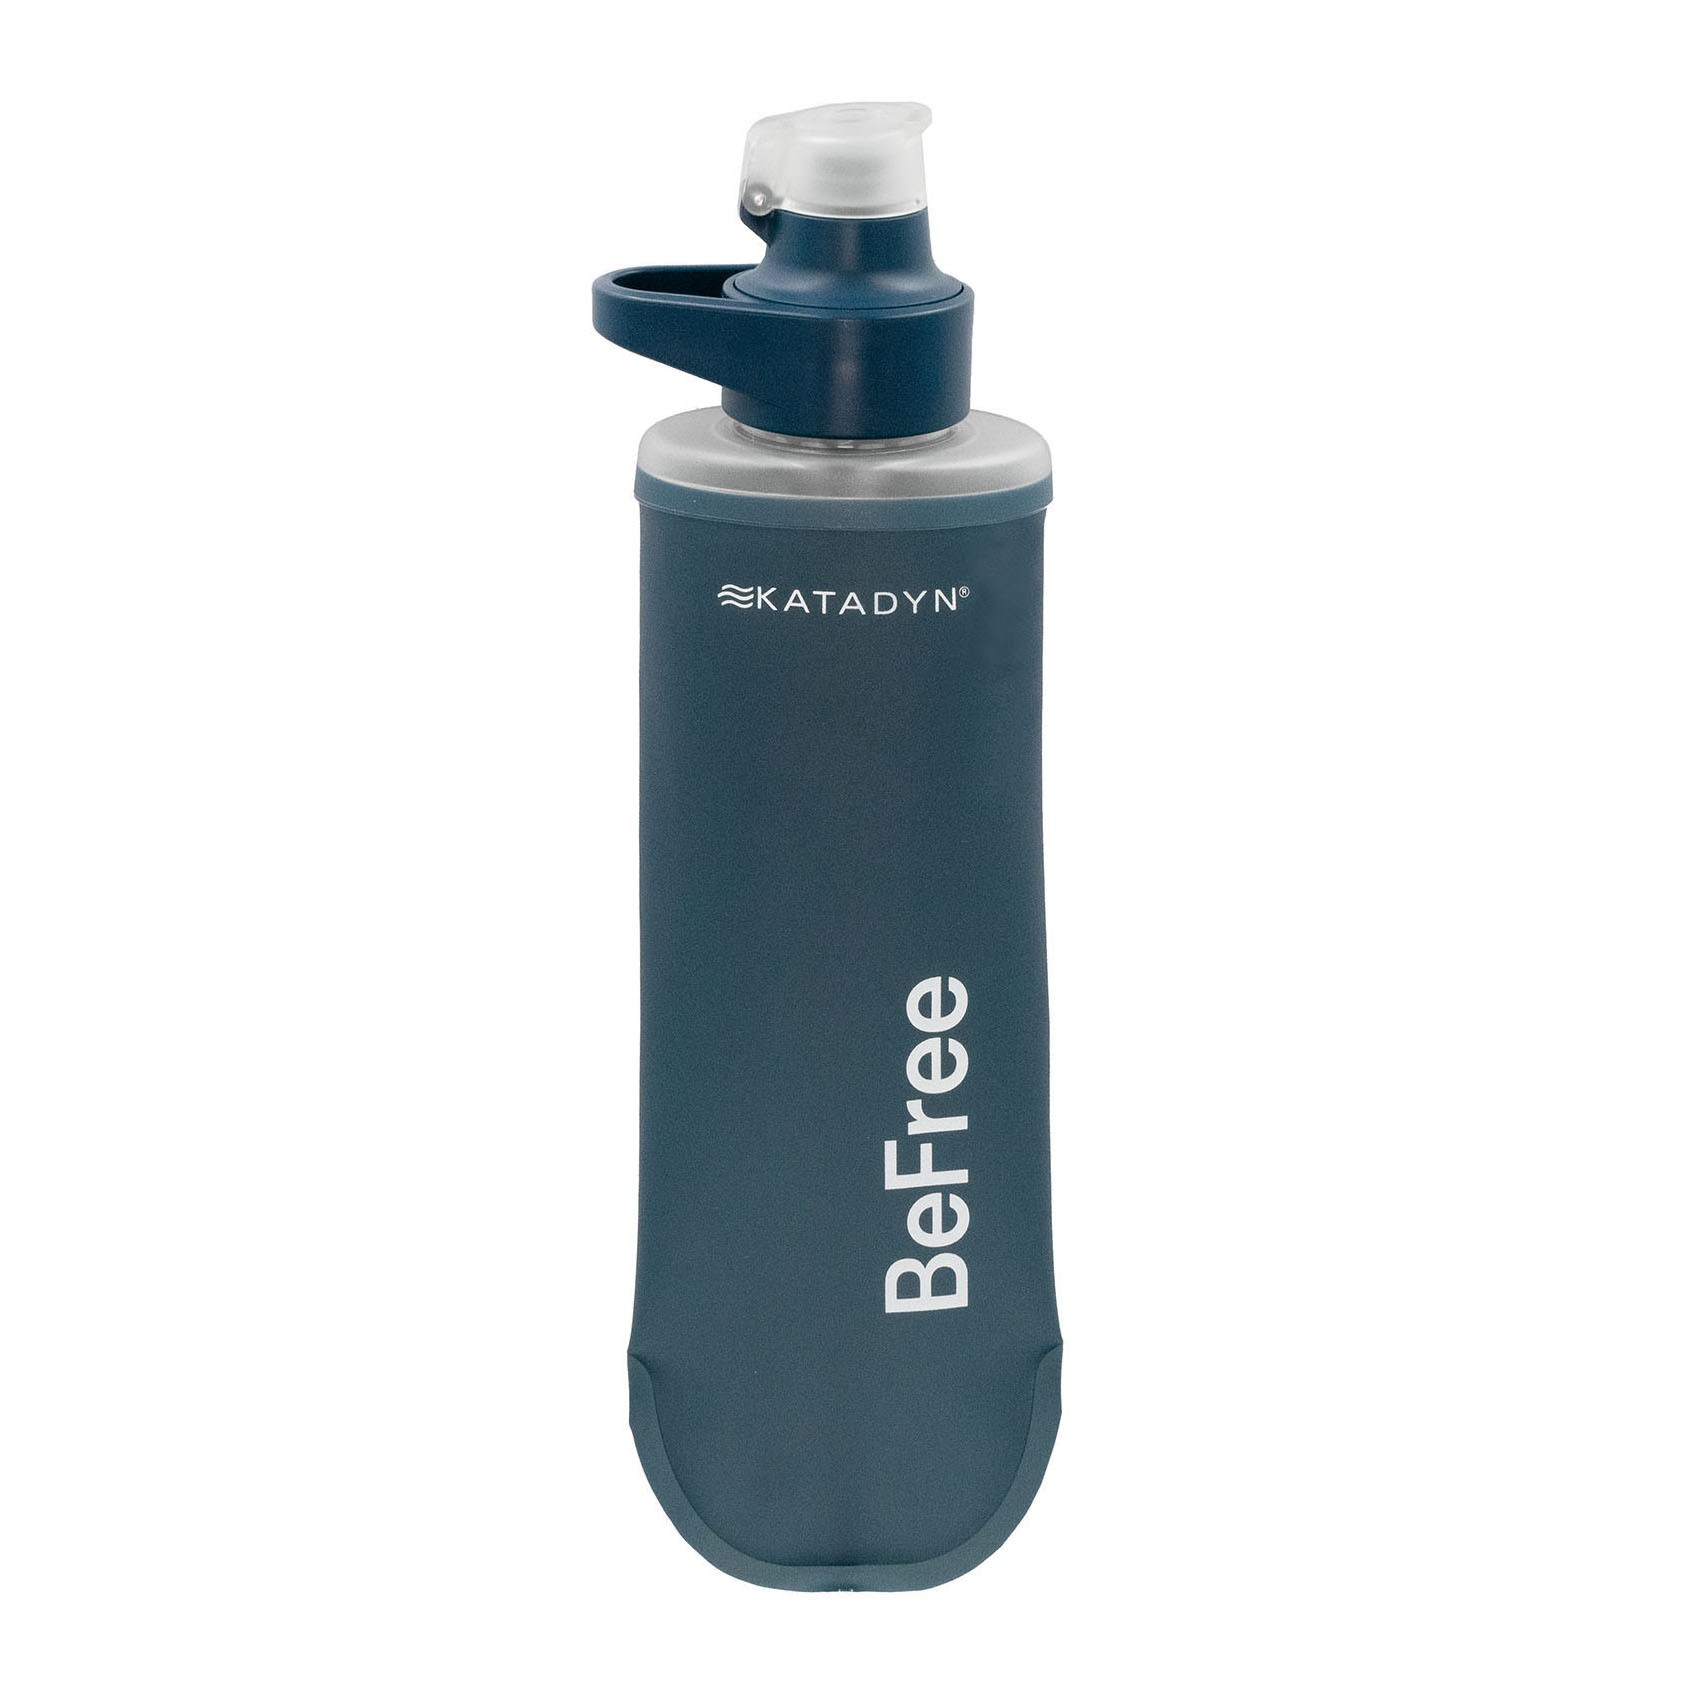
One of the most important items you can have with you in the mountains is water. Camelbaks are easy and convenient and can often be incorporated into your pack. A Katadyn BeFree filter packs easy and can get you water in a pinch, especially if you are near a river or creek. The YETI Yonder bottles are fairly lightweight and are generally in a side pocket of my pack. The YETI Rambler bottles are somewhat heavy, and I might not want to travel with them, but they can keep your coffee warm.
Trekking Poles
As photographers, and especially as wilderness photographers, we carry heavy loads on uneven terrain, and we frequently need to hike to get closer to our subject. Trekking poles are great for keeping balance and hopefully decreasing fatigue. The Black Diamond Trail Cork Trekking Poles are excellent. The Black Diamond Alpine Carbon Cork Trekking Poles are a bit lighter but also nearly twice the price.
 Headlamp
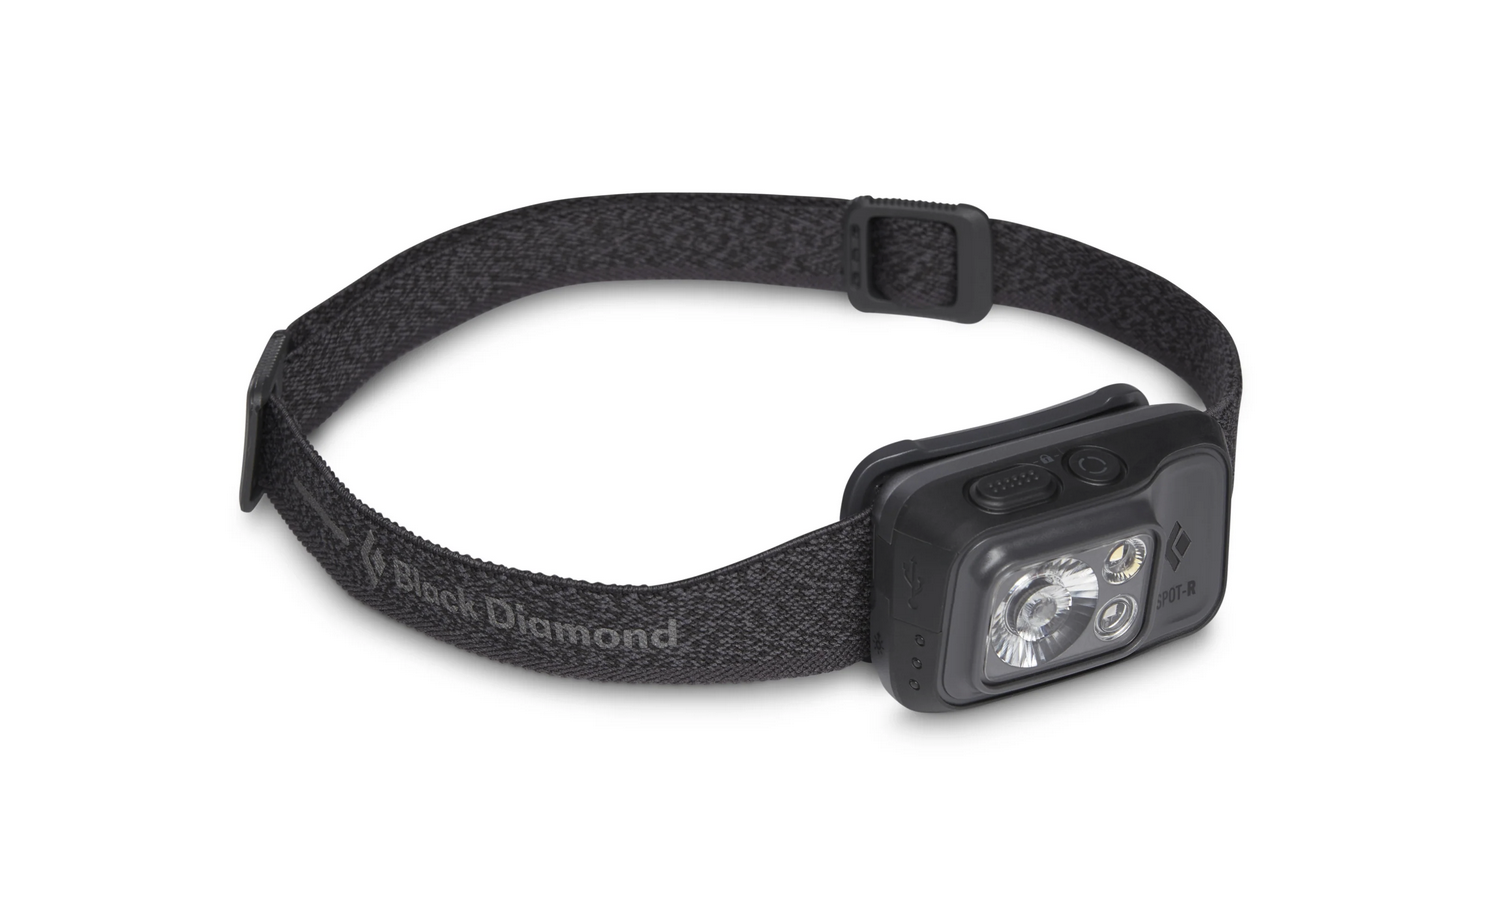
I won’t go many places without a headlamp. They are in my packs, glove box, camera kit, and more. For photographers, they are useful for everything from sorting through gear at low light to being a light source when hiking. It’s pretty tough to gear up in the dark or get setup for night sky photography without them. My favorite headlamp is the Fenix HM50R. This headlamp offers good brightness and distance and a rechargeable battery. There are other features, but the rechargeable battery is what makes this the preferred lamp, especially for travel or multiple days in the outdoors. The Black Diamond Storm 500-R Rechargeable Headlamp is also a good option, and Black Diamond now makes numerous good rechargeable options. Rechargeable is the way to go for Alaska so you aren’t traveling with and wasting batteries.
Multi-tool
The Leatherman Skeletool has come through when things go wrong. Good for gear fixes. They are a bit heavy, but when they are needed, I am grateful to have one.
 Other
Other
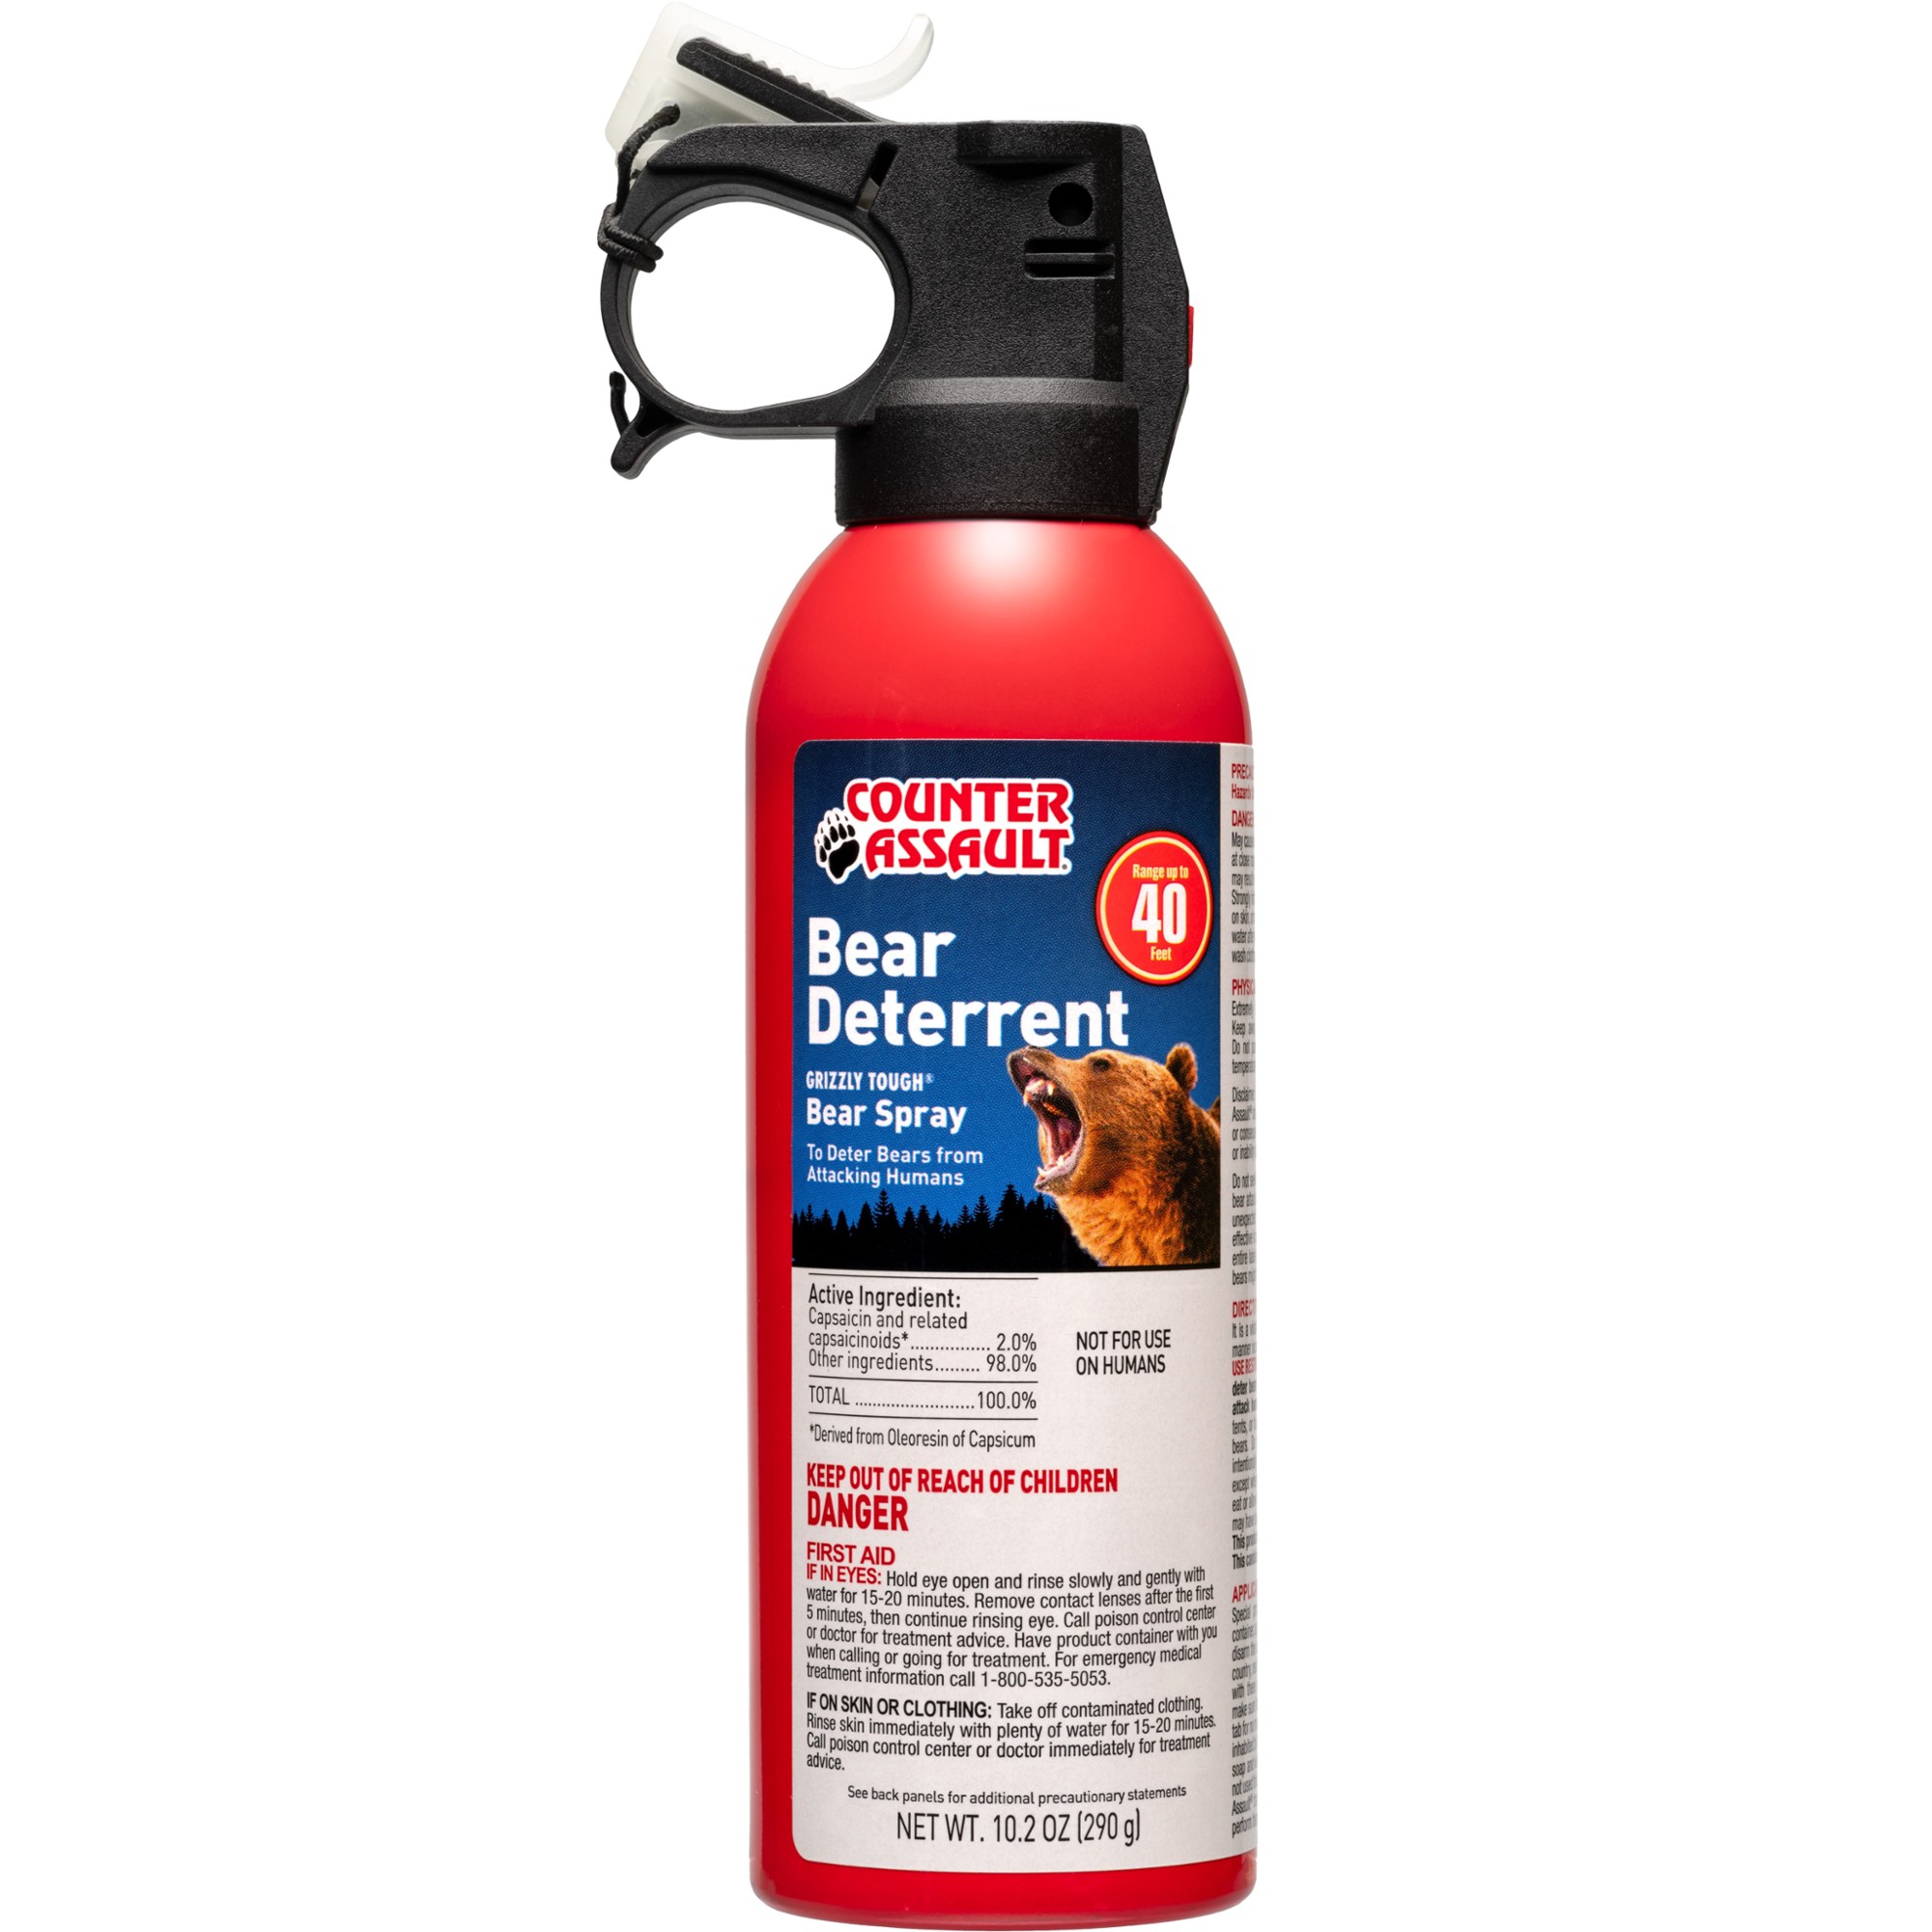
For Alaska, you’ll need bear spray. You can’t fly with it, but the airports and local stores will have it. You might even be able to ship to a hotel or other stop along the way, but shipping to Alaska can sometimes be a pain.
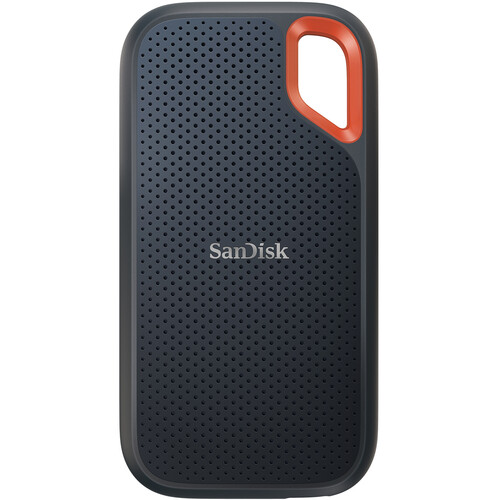
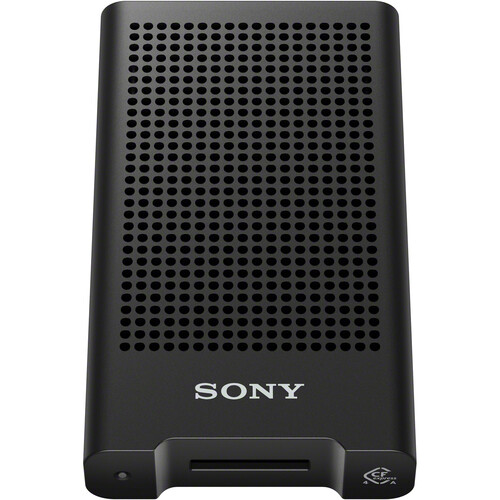
When photographing wildlife, and especially with big files from high megapixel cameras, it is easy to blow through batteries and SD cards. Pack extra batteries and cards, and be certain your cards are fast enough to take on high burst rate shooting sessions. A good card reader saves a lot of time after the shoot. Backing up files every day is extremely important.
You can never have enough lens wipes, and a lens cover can be key in there is rain or when river water splashes on lenses. I’ve used Sony and AquaTech but do not have an overall preference. Do remember it will need to be large enough to cover long wildlife lenses.
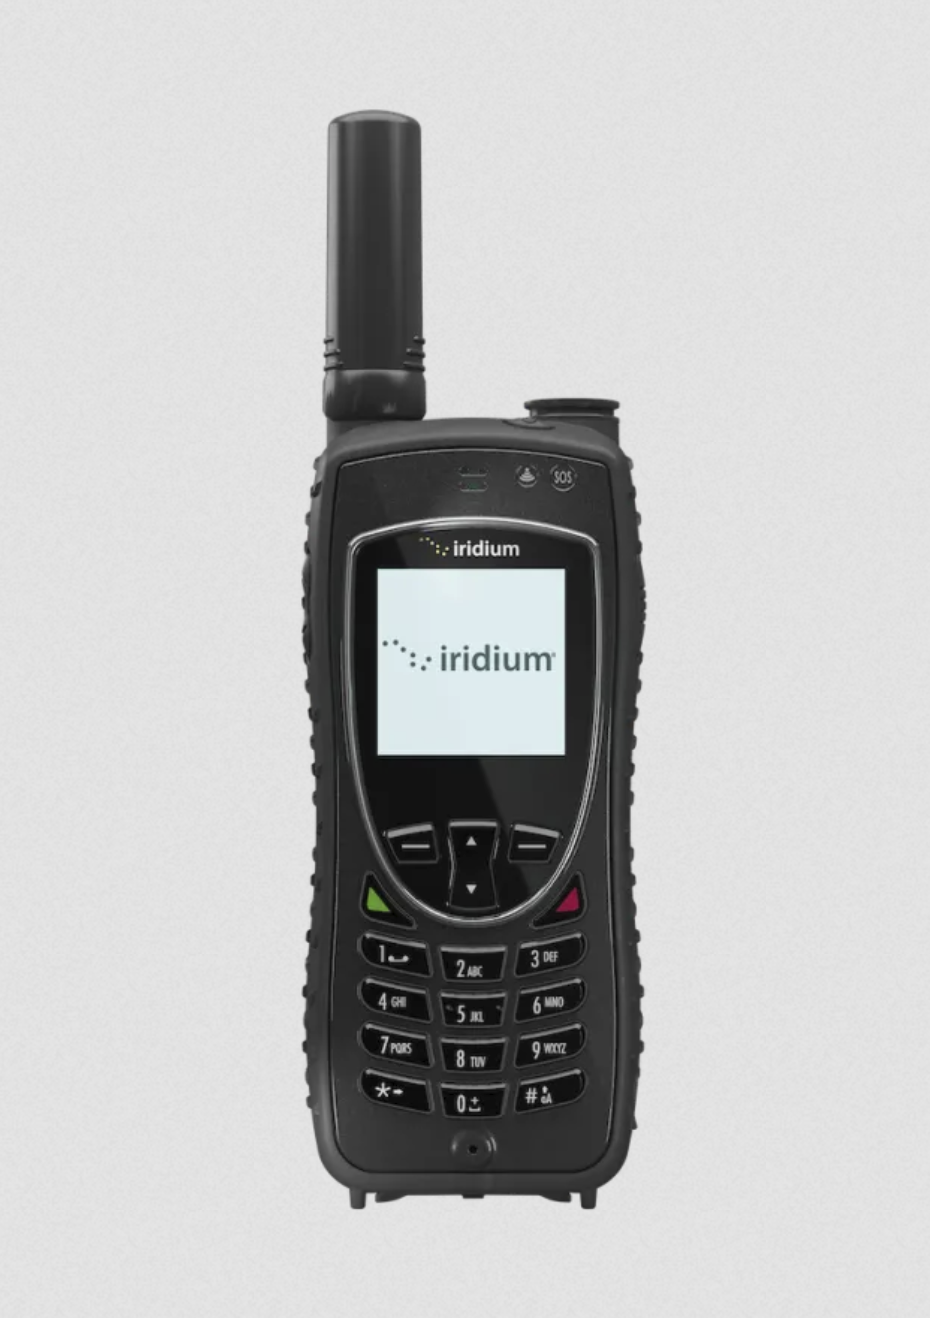
When I am in the wilderness, safety and safety communications are priorities. A Garmin inReach Mini 2 is a very lightweight and compact satellite communications tool with an easy-to-access SOS function. Garmin now has an inReach Mini 3 that has some improvements. In Alaska, I take a satellite phone. I use an Iridium Extreme Satellite Phone and keep it in a Pelican 1060 Solid Micro Case. The phone is lightweight and durable. The case does add some bulk, but the phone and enough of the charging accessories fit well inside. You could go without the case, but I am always concerned about breaking the antennae.
Other Travel Items
I’m a big fan Global Rescue and am a proud ambassador and partner with them. When in the wilderness, things can go wrong. Injuries and health emergencies can present huge challenges. A Global Rescue membership can go a long way with everything to medical support to evacuation. The reality is that there are some dangers when venturing into the Alaska wilderness to photograph bears. For me, having a satellite phone and Global Rescue are essential safety tools.
Lastly, flying to Alaska isn’t usually easy or convenient. Alaska Airlines is likely what you’ll be flying. Having rewards and maybe even lounge access through their credit card can go a long way, especially with redeyes and long layovers. If you get lounge access, you immediately start saving on food spending in the airport. I’m not one to push credit cards, but I do value this one, and it’s easy to rack up miles when traveling so far.
— Tim Harden
–
–
Disclosure: Some of the companies above are in a professional relationship with Bighorn Wilderness Tours. There are also some affiliate links in this post. Though potentially benefiting from this relationship and these links, we do not post what we do not believe to be true. To read more, click here.